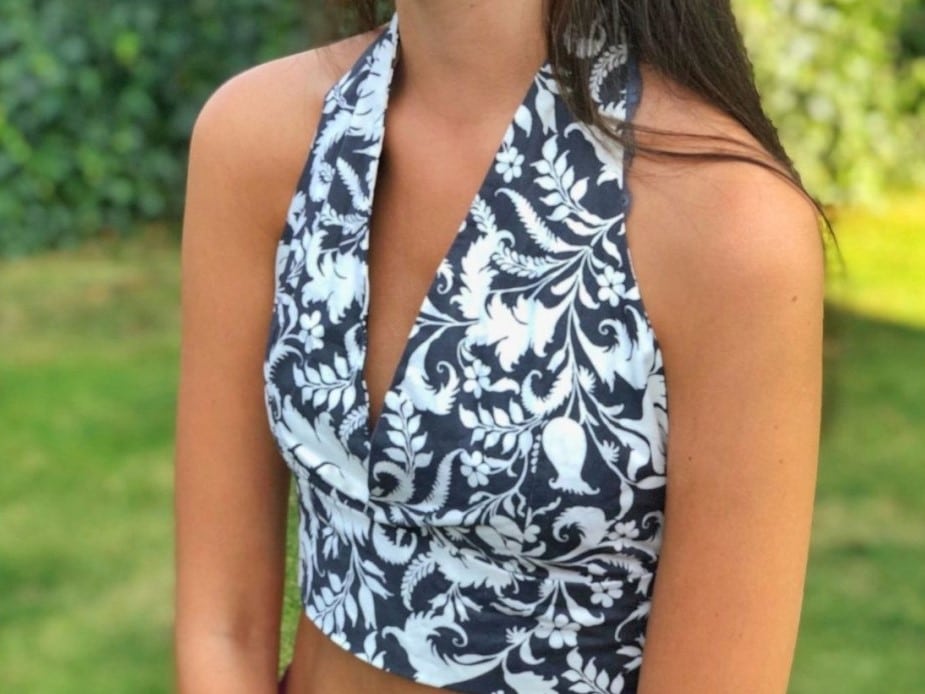
There’s no neckline that’s as alluring as the gracious and flirty sweetheart neckline. It is perfect for feminine clothing designs like dresses, fitted tops and halter tops. It is also a great way of showcasing that pretty drop necklace of yours. The neckline has an alluring pattern that features a gentle curve above the bust and a pointy end. It is feminine and less fussy. Its distinctive heart shape makes it a top favorite for most brides.
The sweetheart neckline pattern combines the features of the popular V–neck and the square neckline. The neckline is also popular because it suits early everyone regardless of their body and face shape. Making the sweetheart neckline is very easy. You can even do it without a pattern as long as you take the measurements carefully, then use them to draft the design onto your fabric. We will take you through the process of sewing a sweetheart neckline in this post.
You need the right set of tools to make a sweetheart neckline pattern. You don’t have to dent your wallet buying an overly expensive tool kit. If you sew, you probably have all the tools you need already. If you are a novice without any tools, here is a list of what you should get:
To make the sweetheart neckline shape on your dress or blouse, follow these steps:
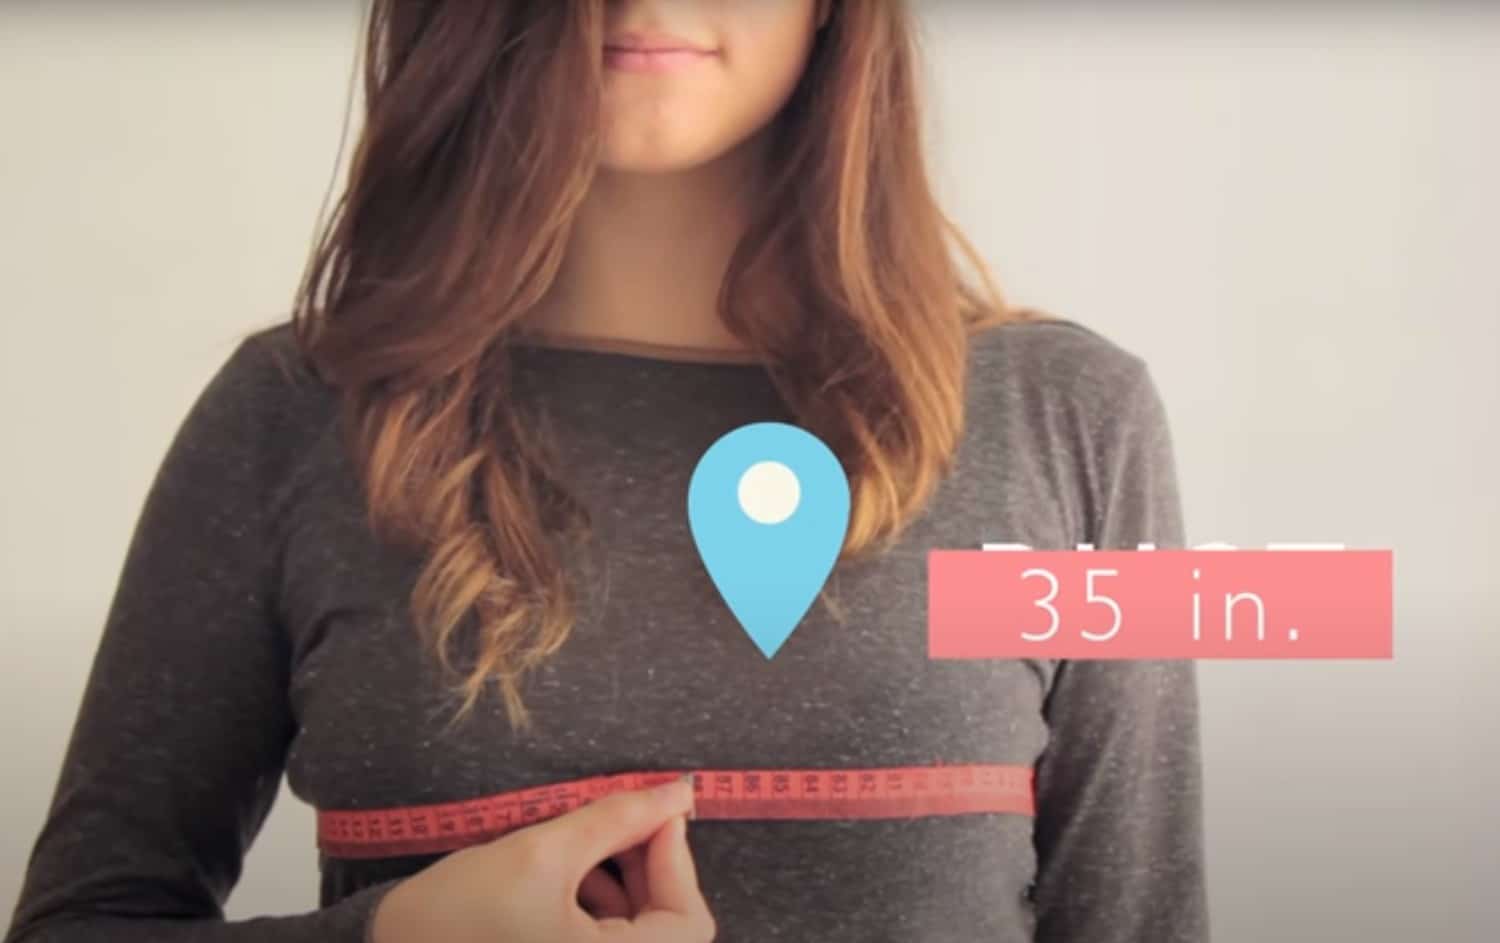
Measure yourself or the wearer of the garment. Take measurements around the bust, the desired length of the bodice extending from the armpit, the distance across the chest, and the distance from the center of collarbone to the desired depth of the neckline. If you don’t want a super-revealing look, then don’t make the neckline too deep. Record the measurements.
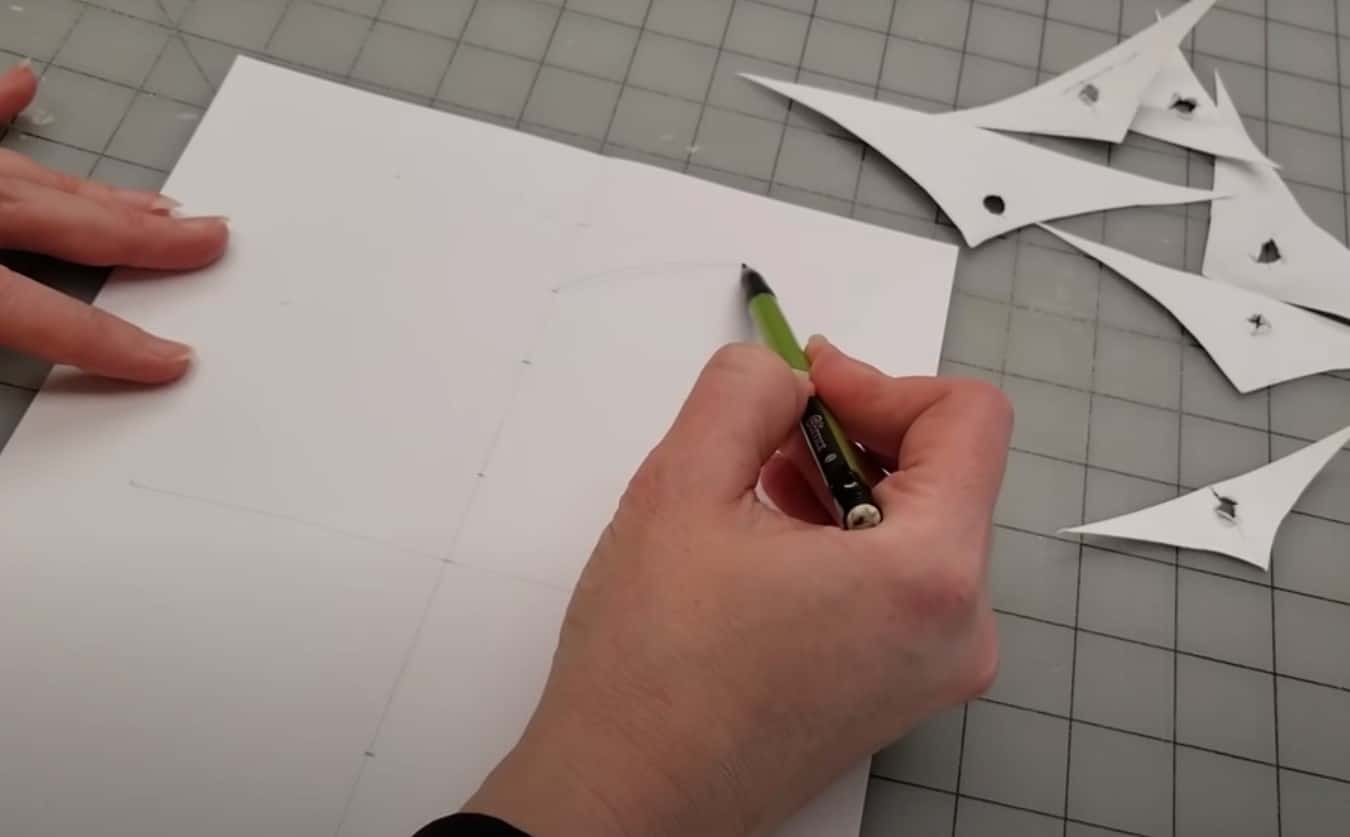
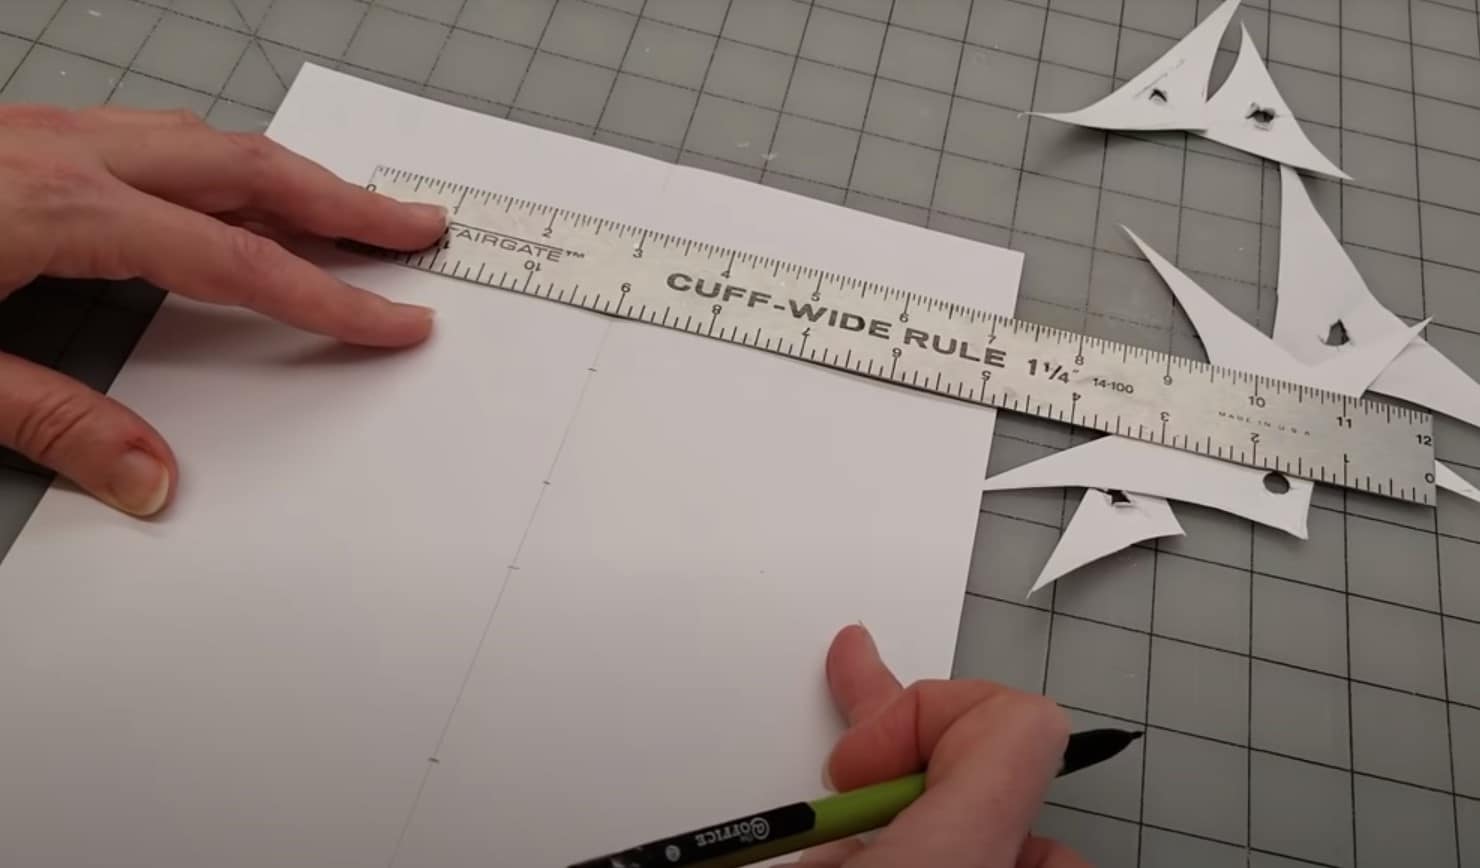
Begin by drawing the neckline on a folded piece of paper. Mark a point 1 inch from the neck edge along the garment’s shoulder line. Use the ruler to draw a line 4 inches down perpendicular to the shoulder line. Ensure the intersecting line is 90 degrees.
On the line at the center front, mark another point 3 inches from the neck edge. Connect this point with the end of the 4 inch line with a curved line. The curved line should be gentle towards the face.
The back is much easier to draft. Scoop out at least an inch along the back neck. Measure 1 inch from the neck edge then mark a point. Do the same along the center back line. Follow the curve of the first neckline but an inch away.
The width and depth of the back neck should now match the front with a slight openness at the back. You can adjust the shape to your preference by making it wider, lower, higher, curvier or more gentle and modest.
Besides a sweetheart neckline bodice pattern, you can apply these steps to make a free sweetheart neckline pattern, a sweetheart neckline dress pattern, and a strapless sweetheart neckline dress pattern.
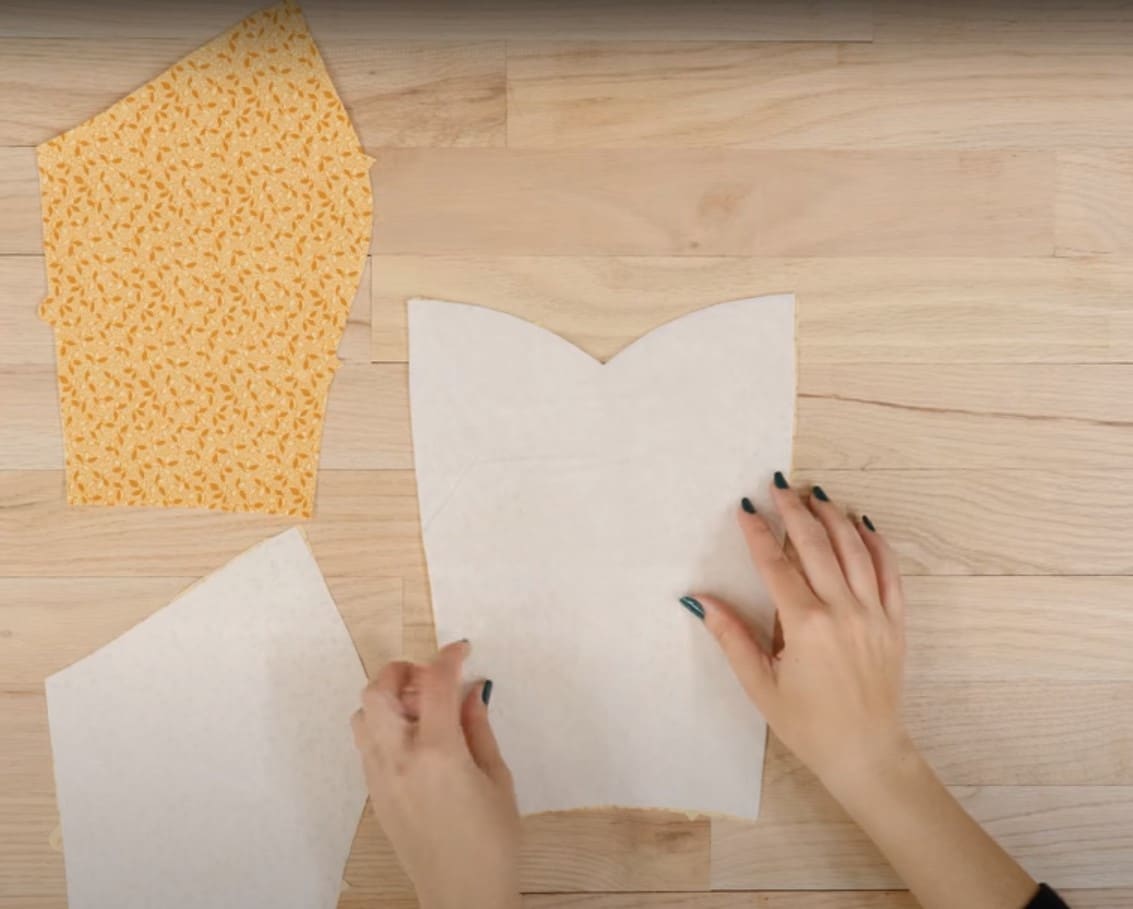 Step 1. Use a tracing wheel to trace the sweetheart neckline pattern you just made on your garment (bodice). Cut along the lines and curves you have drawn to get the pieces. You should be having 2 bodice pieces once you are done cutting. Do not cut along the fold.
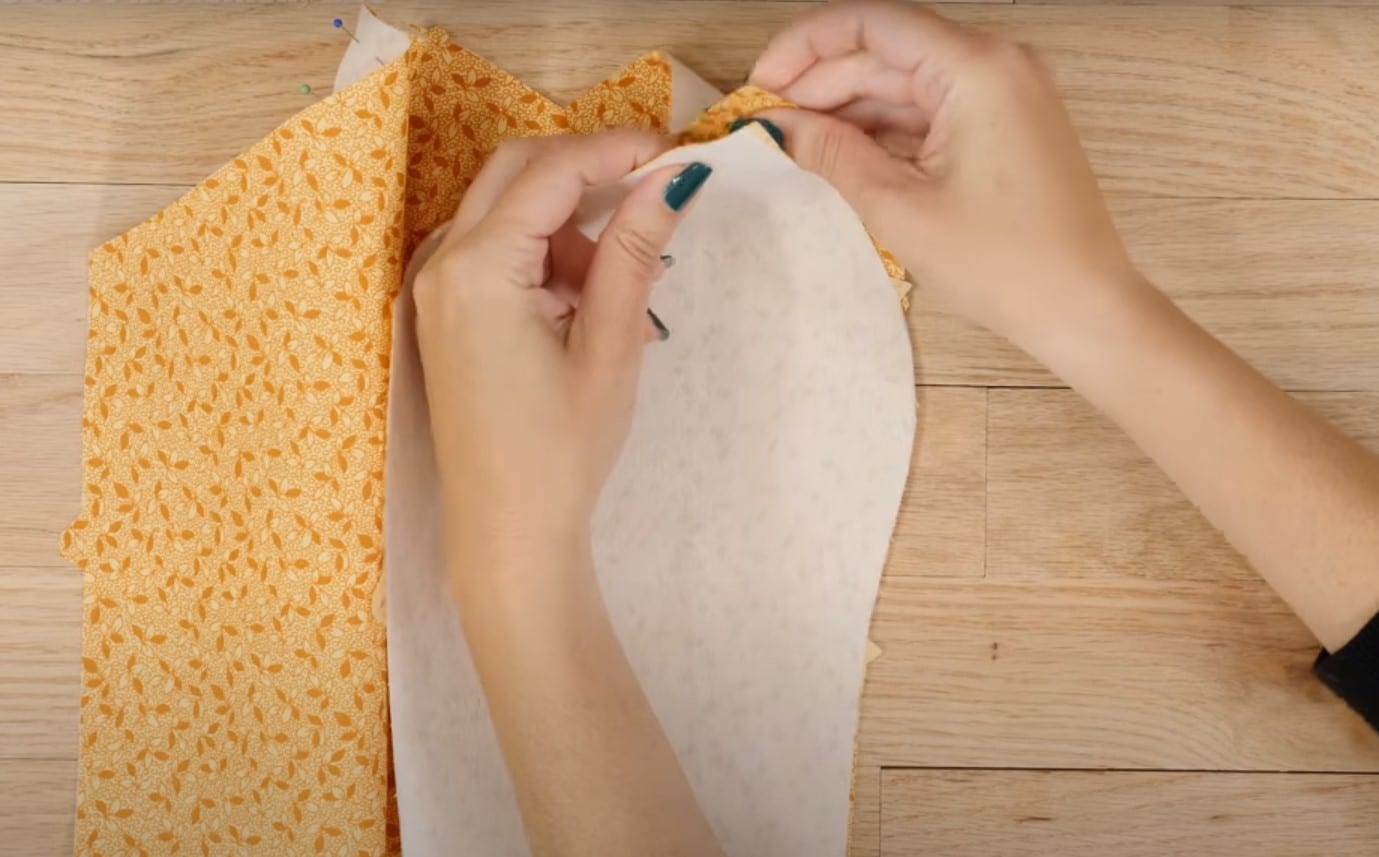 Step 2. Pin the bodice piece and the front pieces together with the right side of the fabric facing each other. Ensure the flat edges and curves are lined up. Sew along the pined edges and remove the pins as you go.
The sweetheart neckline pattern is a distinctive type of neckline loved by many for its alluring shape. It is considered romantic because of the heart shape it sports. Also, it can be worn in anyway by anyone regardless of the body and face shape. Although the neckline is sophisticated in its beauty, it is pretty easy to make. Only a beginner sewist might find it slightly challenging but with the hints and tips on this guide, anyone can breeze through the process.
You can adjust the shape of the neckline to your preferences. If you love a revealing cleavage then you can lower its depth, if you like a modest look, you can make the neckline depth higher. The measurements of the neckline all depend on the type of dress or blouse you are making and your personal preferences.