Halter Tops are a very popular style of clothing and are also commonly referred to as halter necks. This is because of the way the clothing strap goes from the front of the garment and wraps itself around the back of the neck, leaving the upper back, shoulders and arms exposed.
The fact that there are so many halter top patterns results in this clothing being worn by many, allowing for variation in both styles and the material being used. There is no doubt that halter tops are a glamorous and classy piece of clothing, now even being worn by men.
In this article, we will give you a step-by-step guide on how to sew or crochet some of your very own halter top patterns, clothing that won’t only look stylish but also be complementary to your personal style and aesthetic. We hope you have fun trying out these different styles!
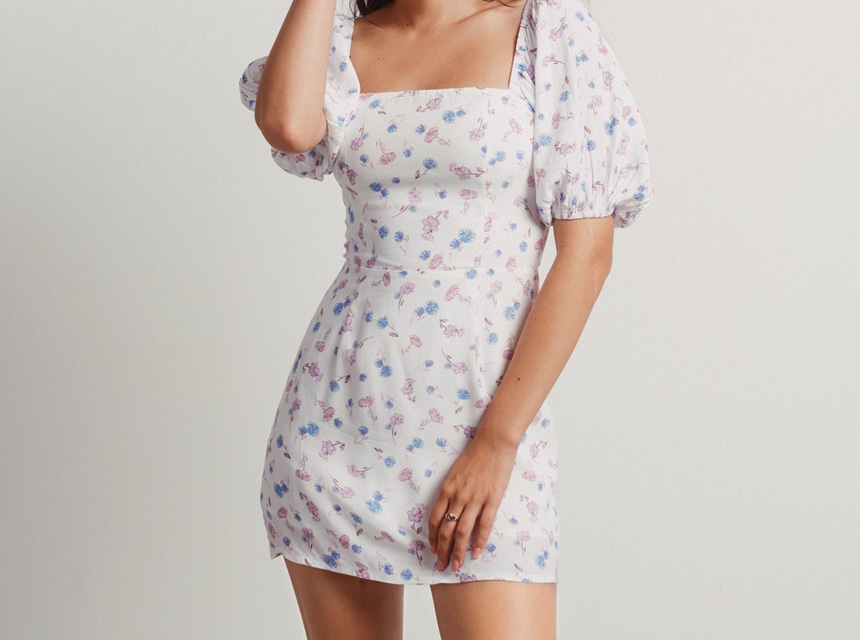
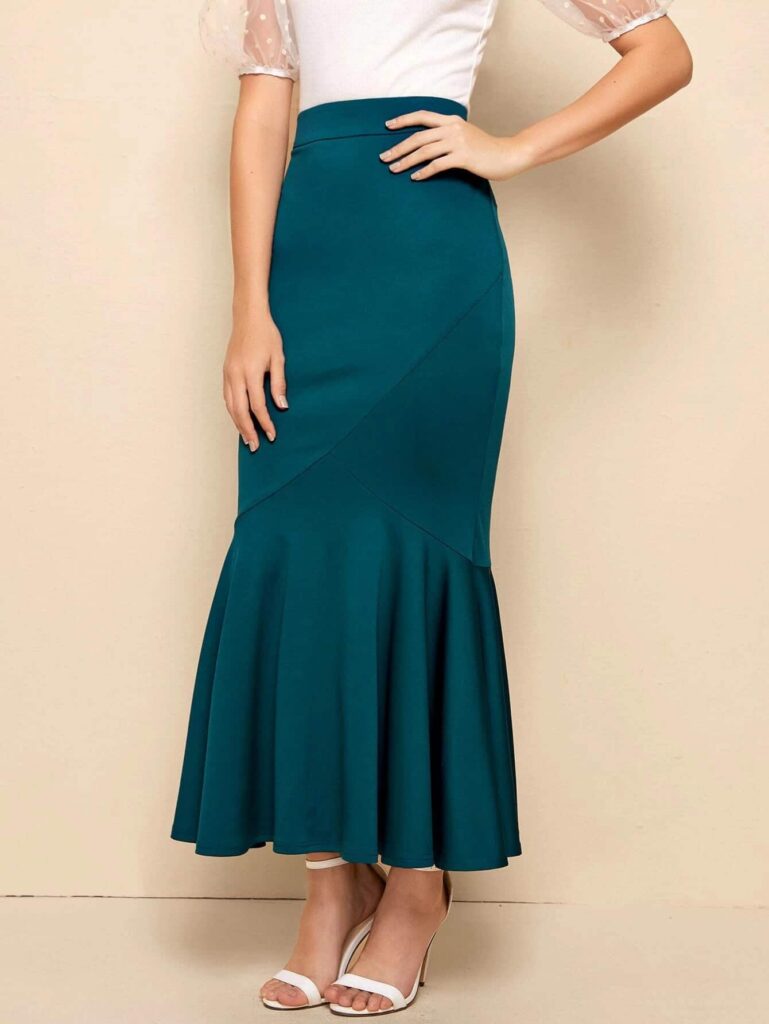
The best thing about halter tops is that they allow a lot of versatility. They can be made from almost any material; a simple cotton halter top ideal for a hot summer day out or a glossy silk one paired with a skirt perfect for date night. They also come in many different cuts, so you can sew any that you think would look best on your body or would suit your style the most. Here we will show you how to make a halter top, an easy step by step that will upgrade your wardrobe and barely cause any dent in your wallet!
Before starting your work on making a halter top, you need to make sure you have all the tools and materials in place. This will help keep everything organized and make the process of sewing a halter top, especially if you’re doing this for the first time, quick and easy. The good thing is that making your own halter top doesn’t require a lot of materials. A pair of scissors, a thread and needle and any kind of fabric are great starting points! The fabric can be anything you have at home, like cotton or polyester. You can either use block colors or even something with patterns on it, if that’s your style.
In this particular step-by-step guide, we will be showing you how to upcycle an old t-shirt into a fun halter top, thus, if you have one of those lying around, it would be amazing! Other materials you will need are a measuring tape or ruler, paper, a marker, straight pins and safety pins.
If you’re someone who wants the process to be faster, you could interchange the needle and thread with a sewing machine, which will be way more convenient and will also take less time.
Now that all the tools and materials for making this funky halter top pattern are in place, let’s start looking at how exactly to make it!
Here is an easy step-by-step guide on how to sew your own halter top from a simple t-shirt:
Step 1: Creating the halter top pattern
The most important thing to start off with is doing the measurements and creating the pattern for your halter top. First measure your torso, from your neckline to whichever part of your abdomen you want your halter top to reach. Use these measurements to draw a straight vertical line of the same length on a piece of paper. For your convenience, you can mark these different points, for example A being the center neckline and B being the center of the bottom hem.
Now, put the ruler against your neck and measure the width of the front part. Divide the measurement into four and use that number to make a line of the same length, horizontally from the center neckline point. You can mark this new spot C.
Divide the length between the center neckline and (A) and the center bottom hem by four. From the resulting length number, make a diagonal line the same length starting at the outer neckline (C). The end of this is the outer chest marking and can be labelled as D.
From the outer chest marking (D), go down in a straight line and stop when it lines up with the bottom hem (B). This new spot is the outer bottom marking (E) and you can connect this in a horizontal line with B. With these five connecting lines, you now have a pattern for your halter top!
Step 2: Cutting your shirt
Once your pattern has been created on the piece of paper, you can cut it out with a scissor.
Then, take your T-shirt and fold it into half. Its front should be the side facing out. Place your pattern cut out against the folded shirt. It should ideally be set below the collar line and in a place where important parts of your T-shirt logo or artwork don’t get cut off. Now with a scissor you can carefully cut around the pattern.
Once this is done, and you unfold the shirt, you will find out that there are two separate pieces. However, you only need one for this particular halter top. You can either discard the other piece or make another halter top with it!
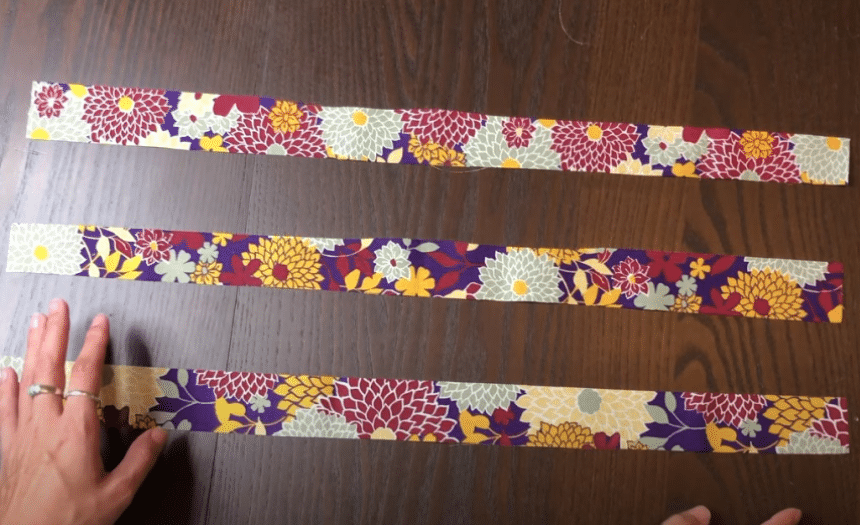
Step 3: Making the straps
After cutting out the halter top pattern, you will see that there is quite a bit of your folded T-shirt left over. From this piece, cut out two one-inch strips of fabric. They are going to be like rings of fabric and the ideal place to cut them out from is the bottom of the T-shirt. You then have to cut open these rings of fabric so that they are straight pieces of cloth. These will act as straps for your halter top.
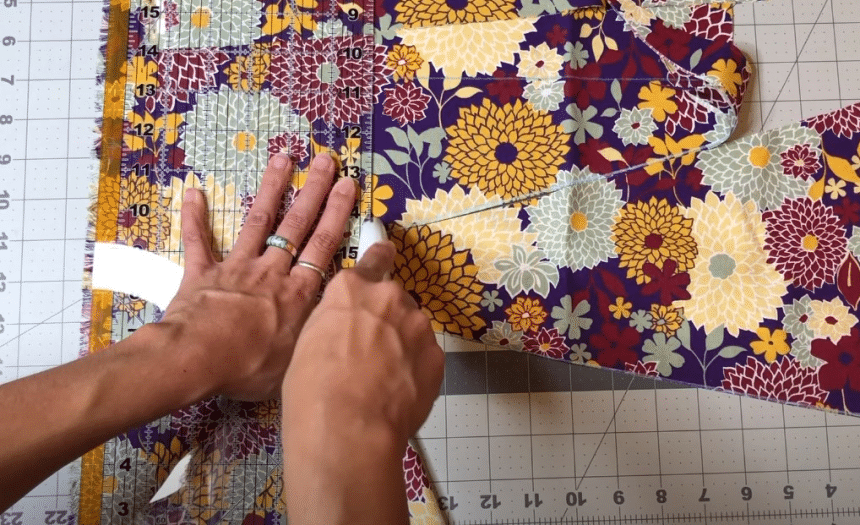
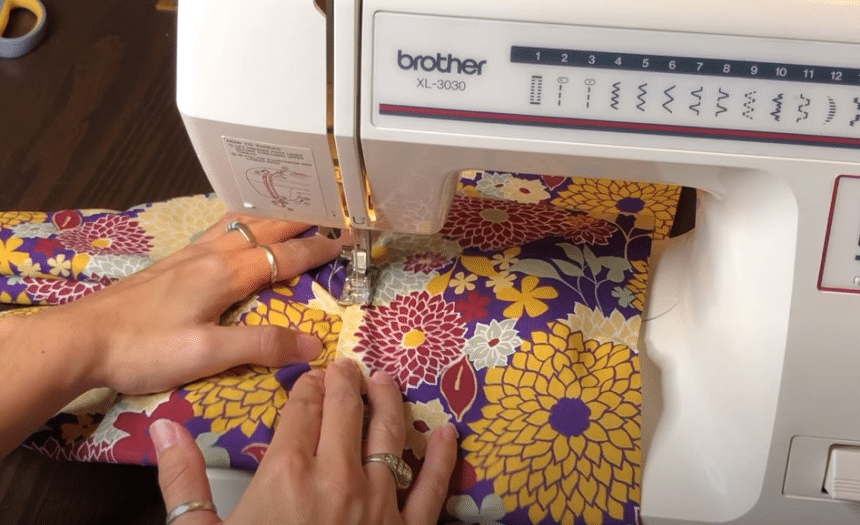
Step 4: Sewing the folds
Take the piece you cut out earlier into your halter top pattern and fold both the top and bottom of it by an inch. Secure these folds with straight pins for now and then carry them over to the sewing machine. Stitch a straight line over the folds, almost three quarters of an inch from the fold. This type of sewing will result in empty space within, which you will then use to pass your halter top’s straps through.
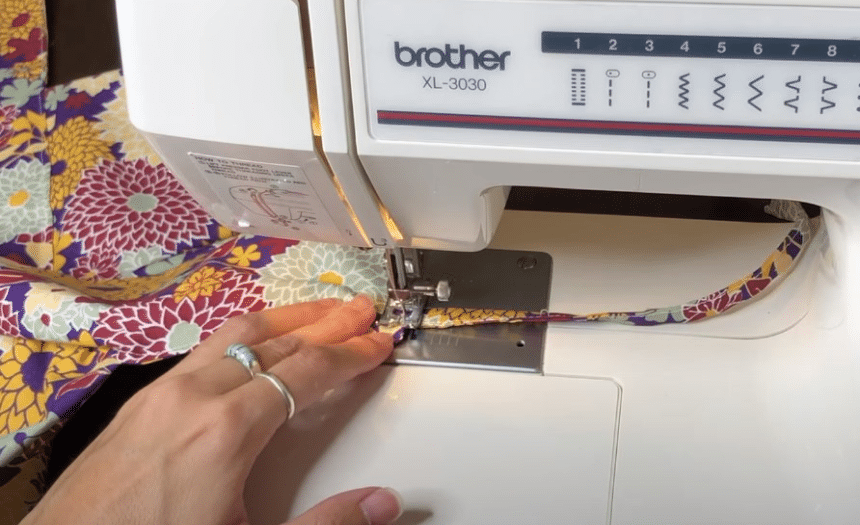
Step 5: Adding the straps
To make the process of adding the straps to your sewed top easier, attach safety pins to the end of each fabric strip. Then use it to slide the straps through the empty space within the fold, going in at one end and coming out at the other. This will be done the same way for both the top part of your halter top and the bottom part. After this final step, you are at long last done! You can tie these straps around your neck and back once you’re wearing the top or even before.
We hope you try out this simple DIY halter top pattern, which can be easily made from things found at home!
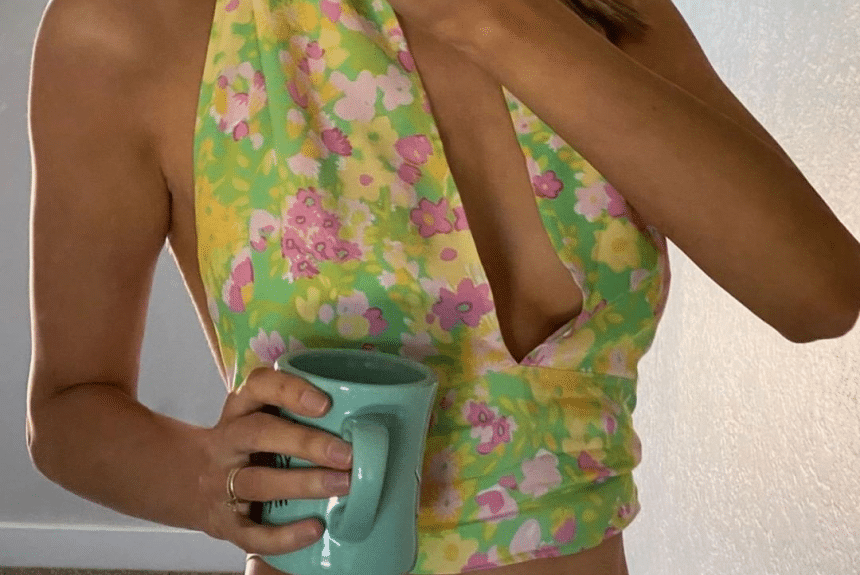
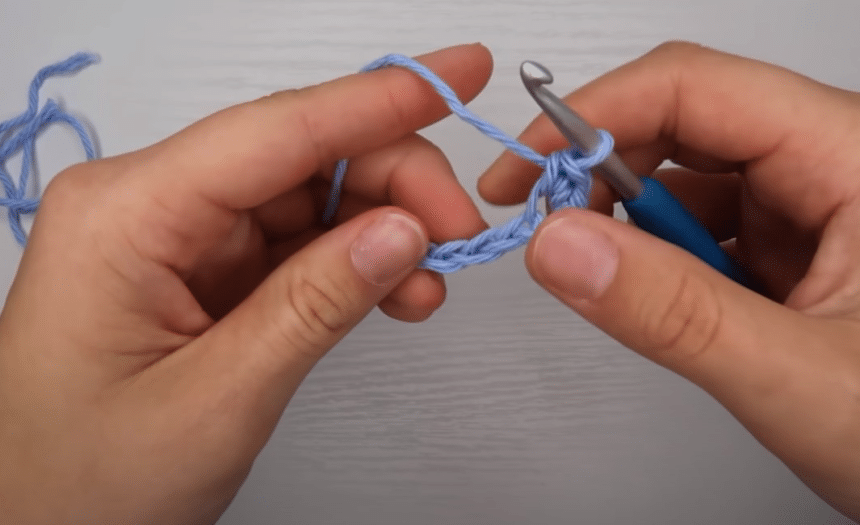
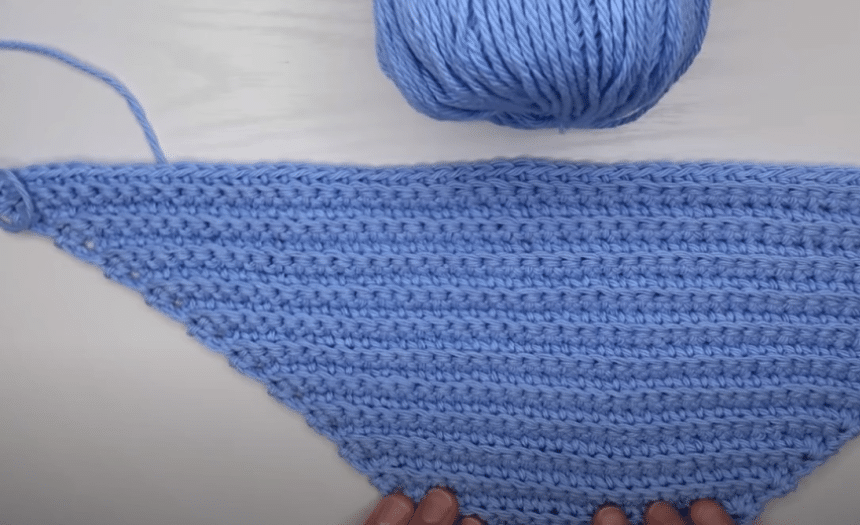
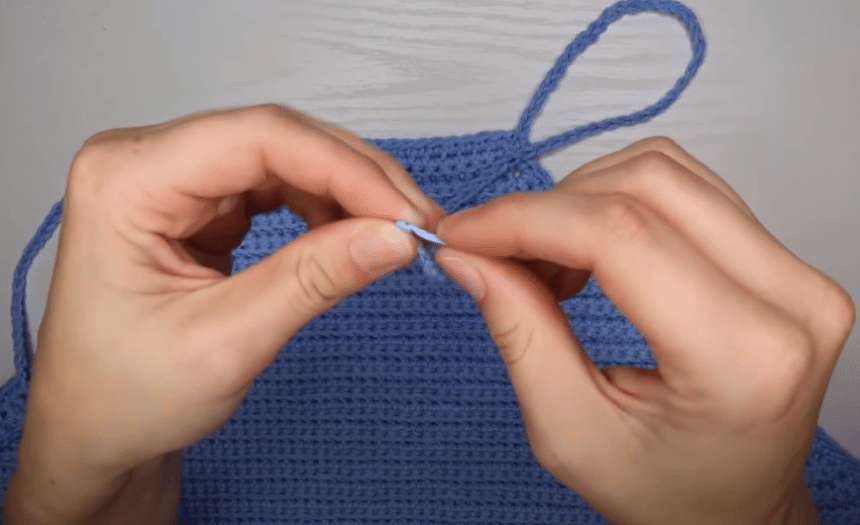
Crochet halter tops are perfect to wear during warm summer months. Halter tops are already meant to be without sleeves, but these crochet ones are even better as the material is soft and breathable. Making these on your own might require time, but the beginner level ones are quite easy to pull off and will result in a cute crochet crop top that you can rock at any summer party or meetup.

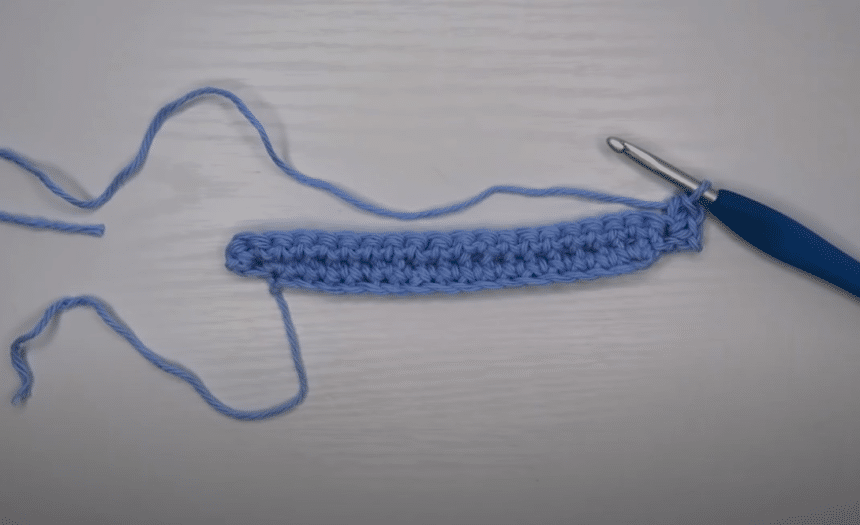
When making a crochet halter top, the most important aspect is the process and thus, to ensure that it goes smoothly you have to be in possession of all the tools and materials required beforehand. It’s not a complicated or very expensive bunch of equipment. You will just need chunky yarn (around 150g in total), a crochet hook (ideally 6 or 7mm), a needle, scissors and a tape measure. Once you have all these materials in one place, you are ready to go!
Here is a simple step-by-step guide on how to crochet a halter top for the perfect summer outing look! One thing to be noted is that this size is for a small/medium fit. You can change the size by increasing or decreasing the number of stitches.
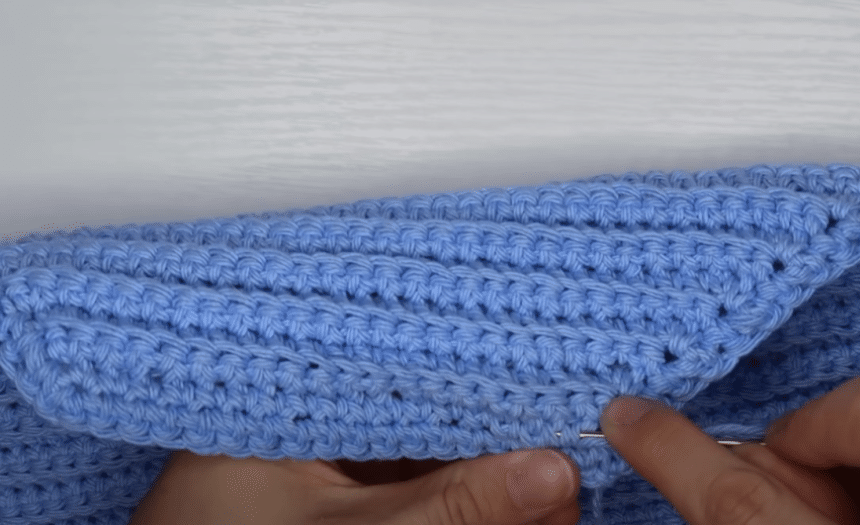
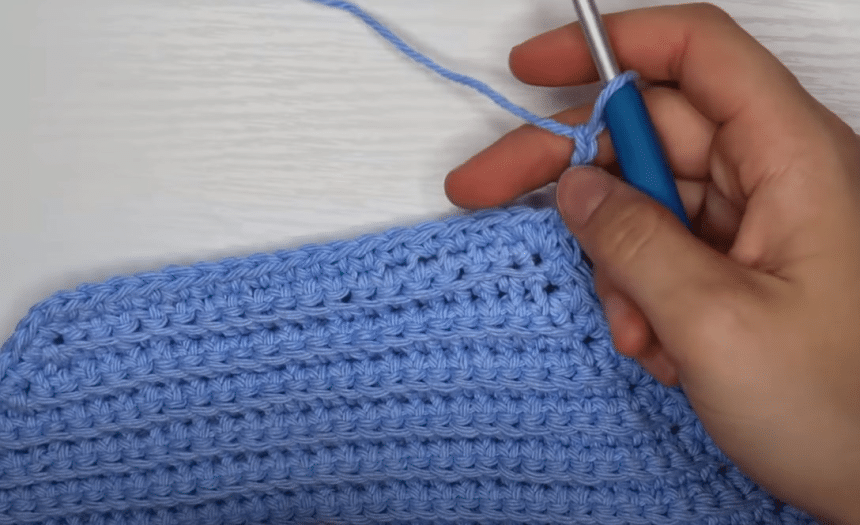
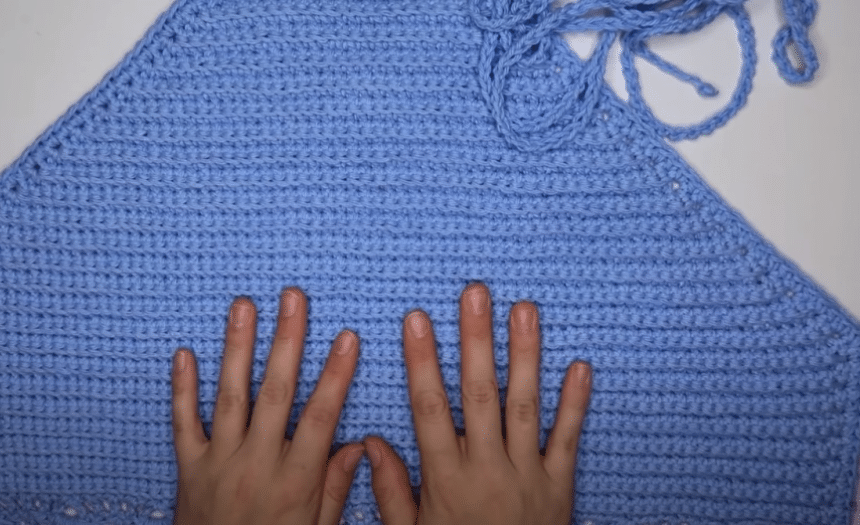
As you can see, making your crochet halter top pattern is quite a journey, but you can have fun with it and make it however you want. Above was a step-by-step of a simple design, that you can add on to depending on your style and what occasion you’d be wearing this halter top for.
With the variety that halter tops offer, there is no wonder why they are such a popular piece of clothing among women. You can design them however you want to and wear them wherever you want to. Not only are they stylish, but they are also quite functional as clothing to be worn when it’s really hot and there seems to be no escape from sweating or burning up under your T-shirt. However, the best thing about halter tops has to be the fact that you don’t have to buy them! You can just make them at home with whatever piece of clothing you have lying around and end up with a cool and classy summer look. We hope that our step-by-step process into sewing and crocheting different halter top patterns has been helpful and that you’ll be trying them out soon!