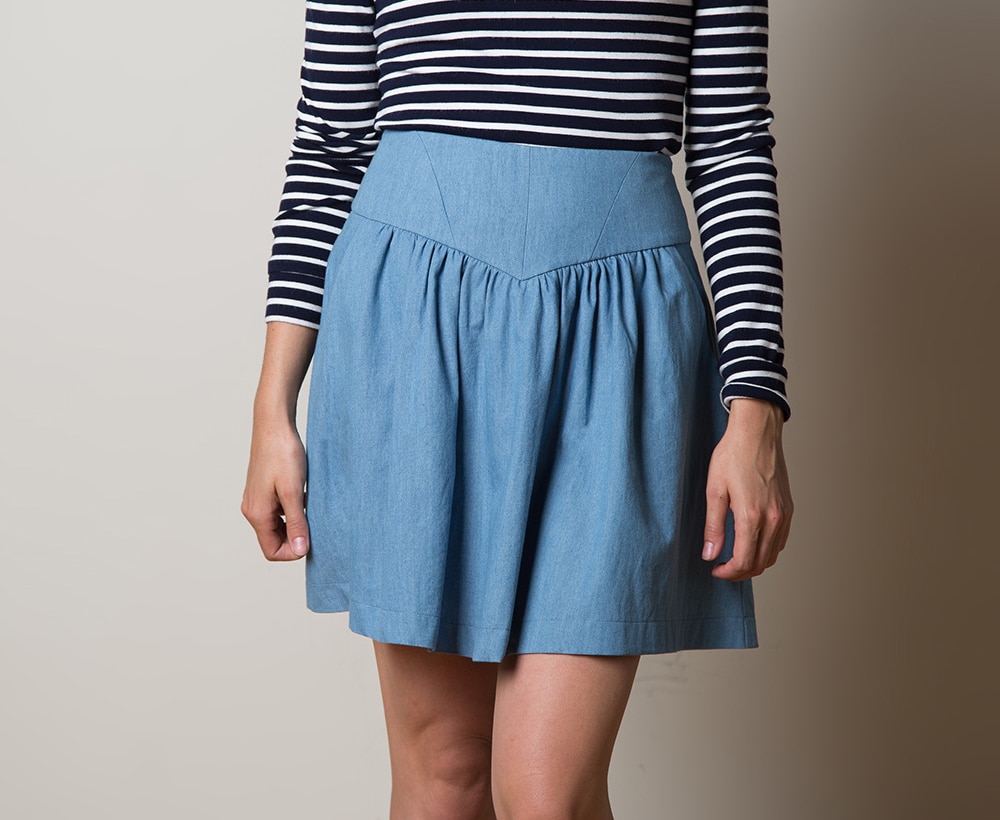
You may not want to admit it, but when you were young, you probably wanted to be a mermaid. Maybe it’s because of how beautiful they seemed or how shapely their bodies were. Whatever the case, it’s no surprise that the mermaid skirt pattern is a major hit. Sadly, according to the BBC, there’s no evidence that mermaids exist. Mermaid skirts are flared from the knees all the way to the bottom and are tight in the hips and thigh area. They are also referred to as trumpet skirts and fishtail skirts.
Mermaid skirts accentuate your figure and make you look curvy irrespective of your height. You can also play around with various designs and fabrics to create the mermaid skirt of your dreams. If you’re not sure of where to begin, we’ve created a DIY guide to mermaid skirt patterns just for you! Check out our step-by-step tutorial below!
For this DIY project, you’ll need:

Since mermaid skirts are snug around the thighs and hips, it’s crucial that you find material that’s not only sturdy but also comfortable enough for you to walk around in. It should have the following qualities:
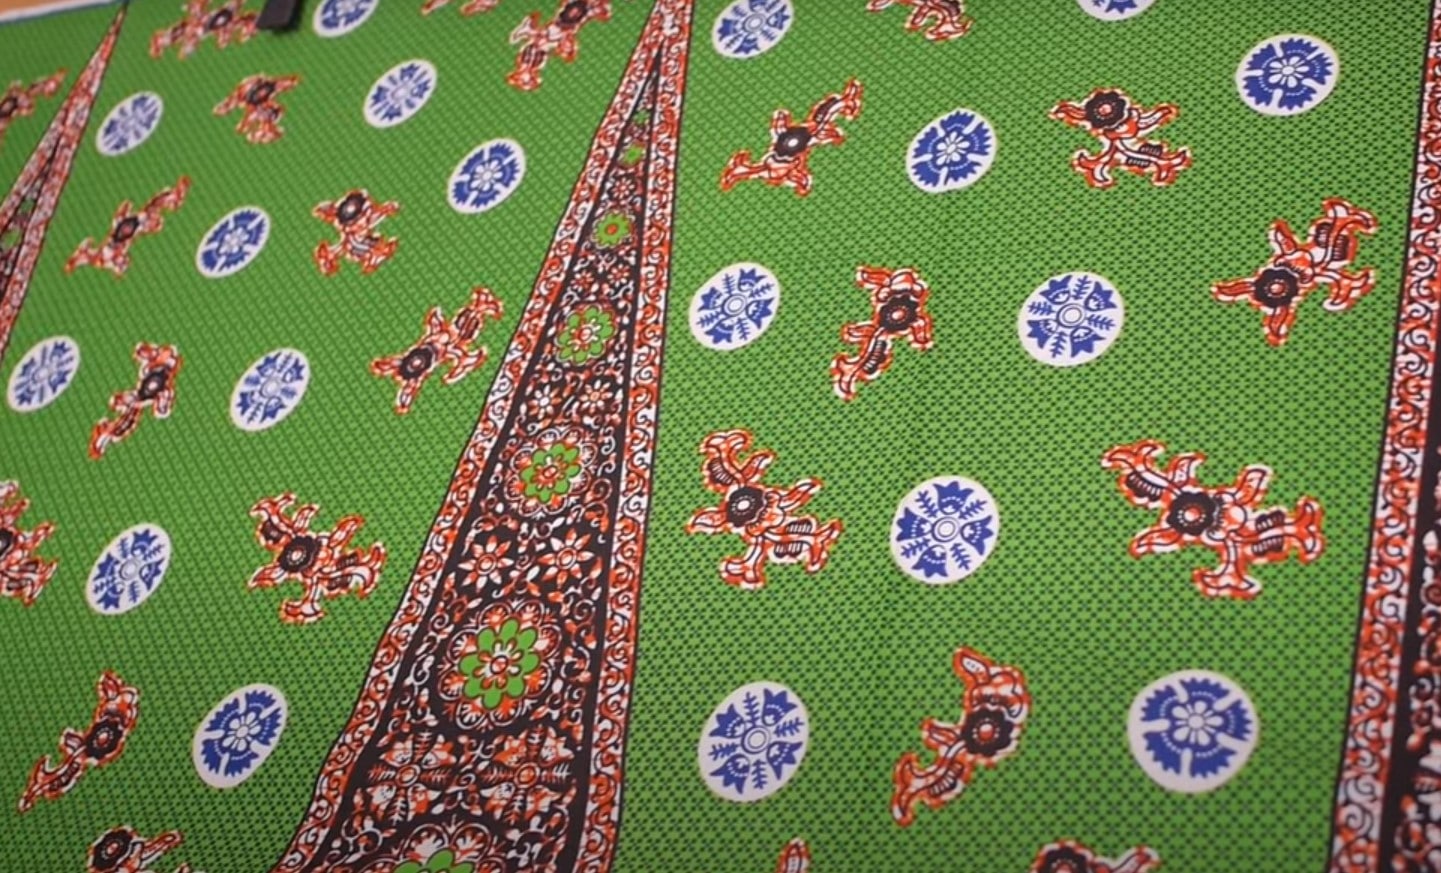
If you go for a fabric that’s rigid, walking in the mermaid skirt will be a nightmare! The fabric you choose should stretch at least 1.2 times lengthwise for it to be a good fit. Here’s the trick; instead of sifting through tens of regular fabric, ask the store attendants for dancewear fabric. It’s usually infused with spandex and can stretch with ease. Dancewear fabric also usually has a smooth finish that will give your skirt the complete mermaid look!
Go for a fabric that can withstand stretching without losing its form. Keep in mind that the skirt will be snug around the hips. If the fabric isn’t sturdy, it will lose its beautiful mermaid shape once you take the skirt off. We advise that you go for a material that stretches both ways.
Due to the level of stretching that the mermaid skirt will undergo, ensure it’s not see-through. Make sure you stretch the fabric before buying to check for opacity.
The amount of fabric you should buy depends on your measurement, but ideally, you should go for fabric that’s 3 times the size of your mermaid skirt and an additional 6 inches.
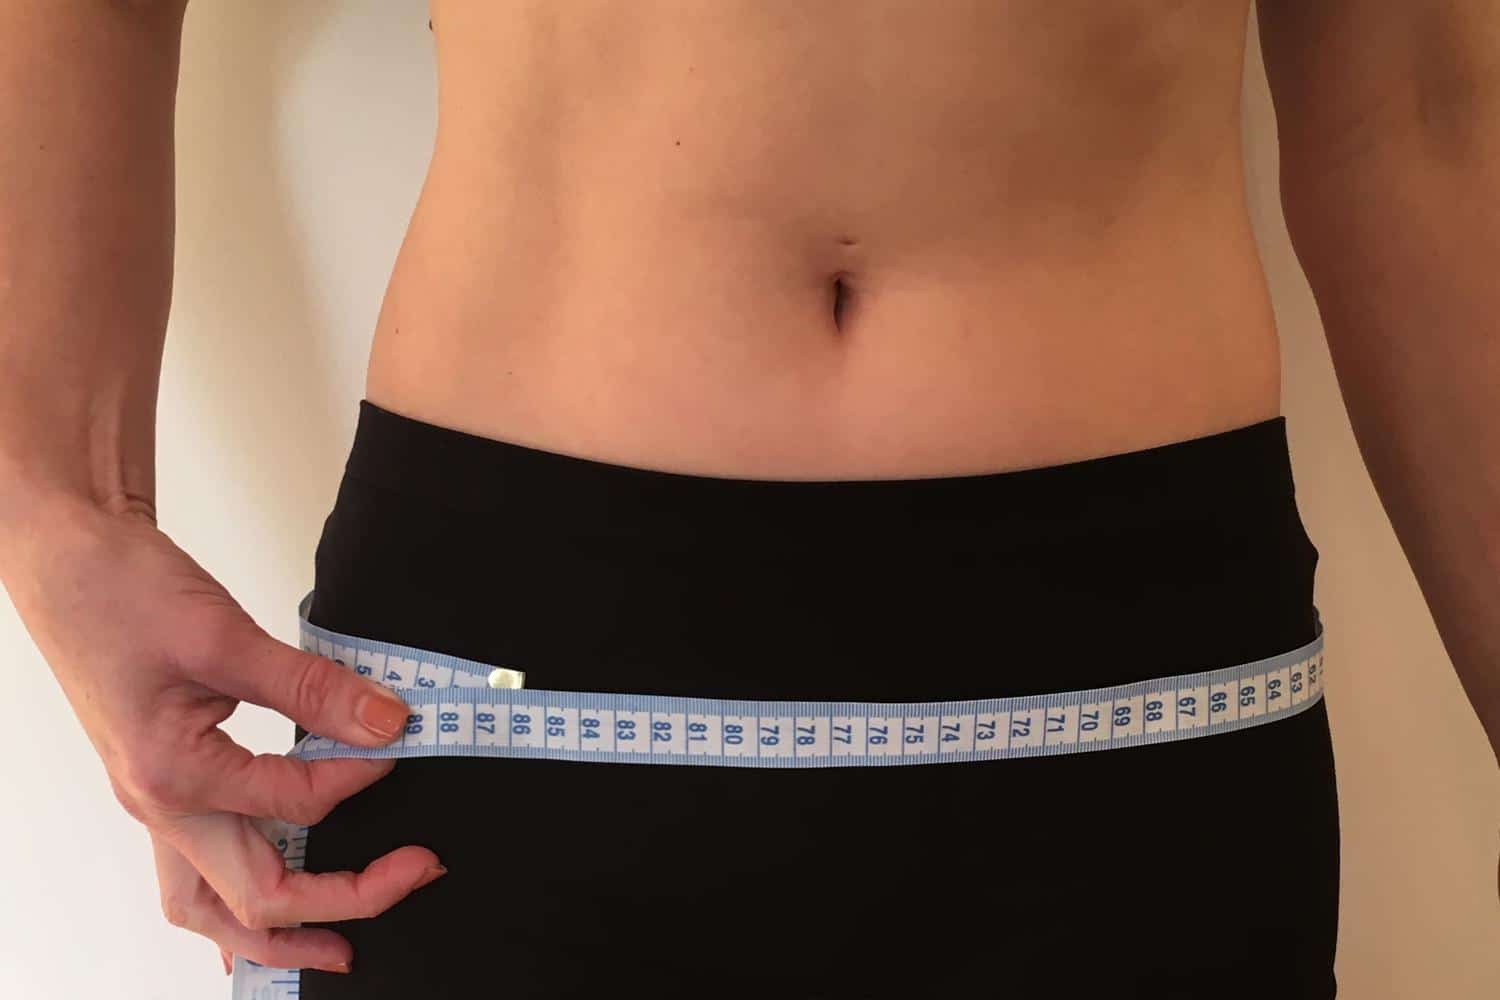
There are 7 different types of measurements needed for a mermaid skirt pattern.
At the front, you should measure:
At the back, you should measure the distance between;
Taking this measurement on your own is very exhausting and frustrating, which is why we recommend that you involve a friend in this exercise. If you do it alone, you’d have to measure the distance first and then move the measuring tape to record it. This leaves a lot of room for errors, and accuracy is key when it comes to mermaid skirts.
One of the mistakes that sewists also make when taking measurements is measuring in straight lines. Fishtail skirts are meant to be tight around the hips, and measuring in straight lines will most likely result in a skirt that’s too short. We recommend that you measure along the fullest curves of your body.
This is the calculation section for your DIY mermaid skirt. Keep in mind that the fabric you use will have to be snug and stretchy. If you use the exact measurement, the skirt will end up being loose and unflattering. This is why you should use slightly smaller measurements.
To calculate the amount of fabric needed, you should:
Step 1: take the first 3 measurements around your hips, thighs, and beltline. Earlier on, we had highlighted that you should go for a material with a strength of 1.2. Divide these measurements by 1.2 to account for the stretch and ensure the final skirt fits perfectly.

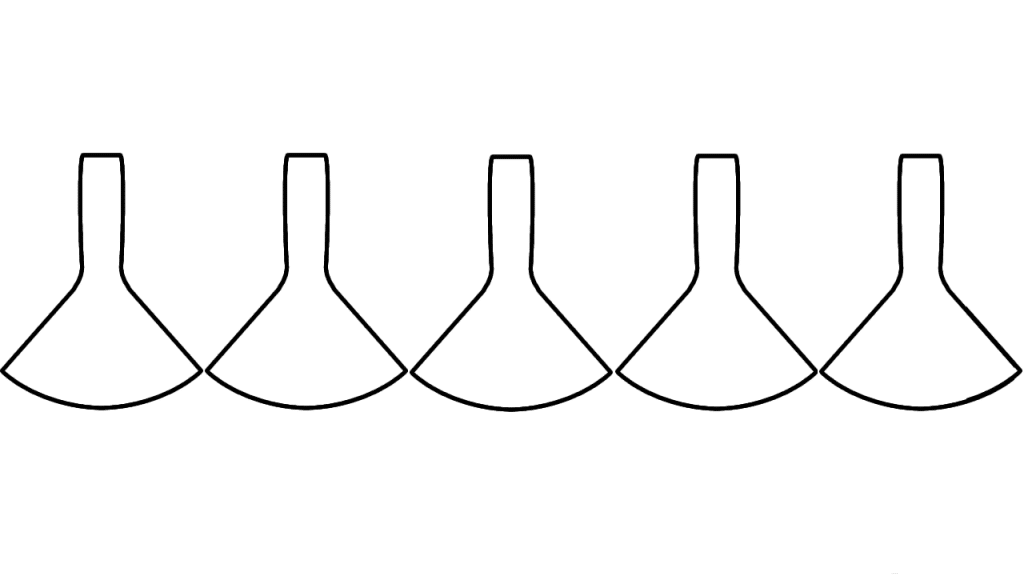
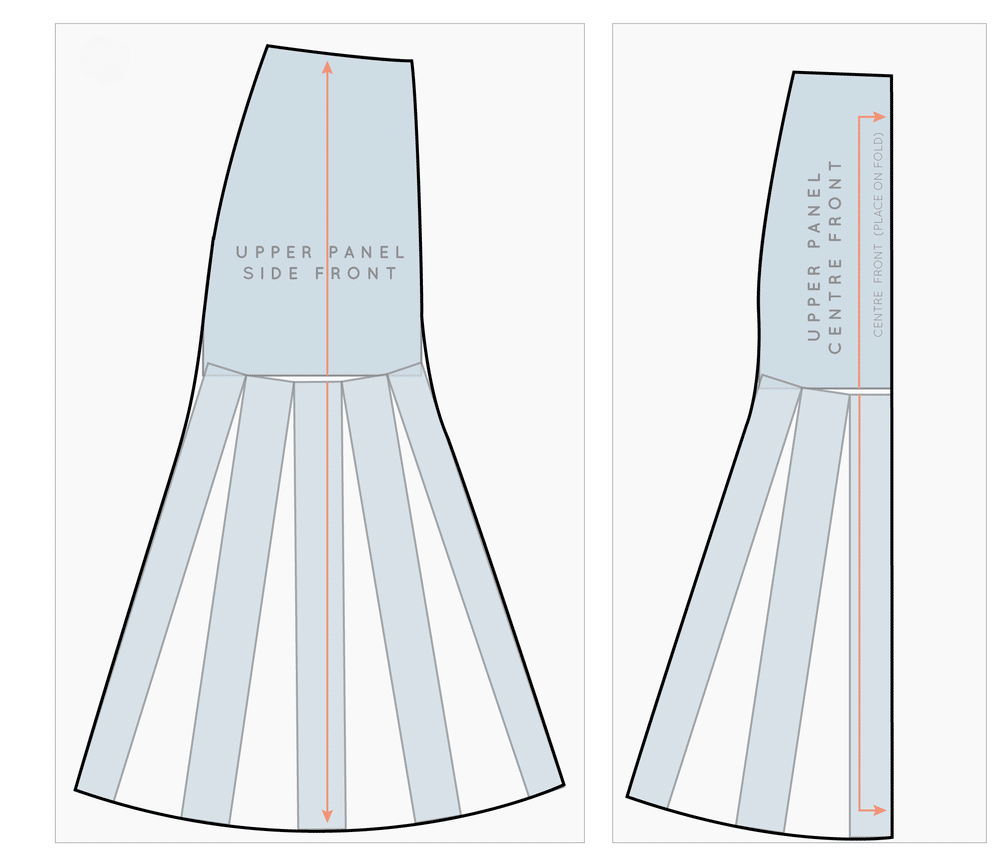
Step 2: identify the number of panels you’ll be using for the mermaid skirt pattern (2, 3, or 5). For instance, if you go for a 3-panel mermaid skirt, add up all the measurements you took earlier and divide them by 3. This will give you the measurement for each panel. Make sure you increase each panel by ⅝ inches to account for the seams allowance.
Please note that these are the measurements that you’ll use to create the patterns for the panels. This means that, for instance, when you’re cutting the fabric for the hips area, you’ll not use the original measurements but the panel measurements.
Step 3: make a pattern. This is often considered the most challenging part of the entire process, but it doesn’t have to be. We’ve compiled a comprehensive guide on the same below.
Don’t be discouraged by the numerous instructions below. Making a mermaid pattern is actually quite easy. If you have a hard time following them, we’ve attached a video at the end of the guide to help you along.
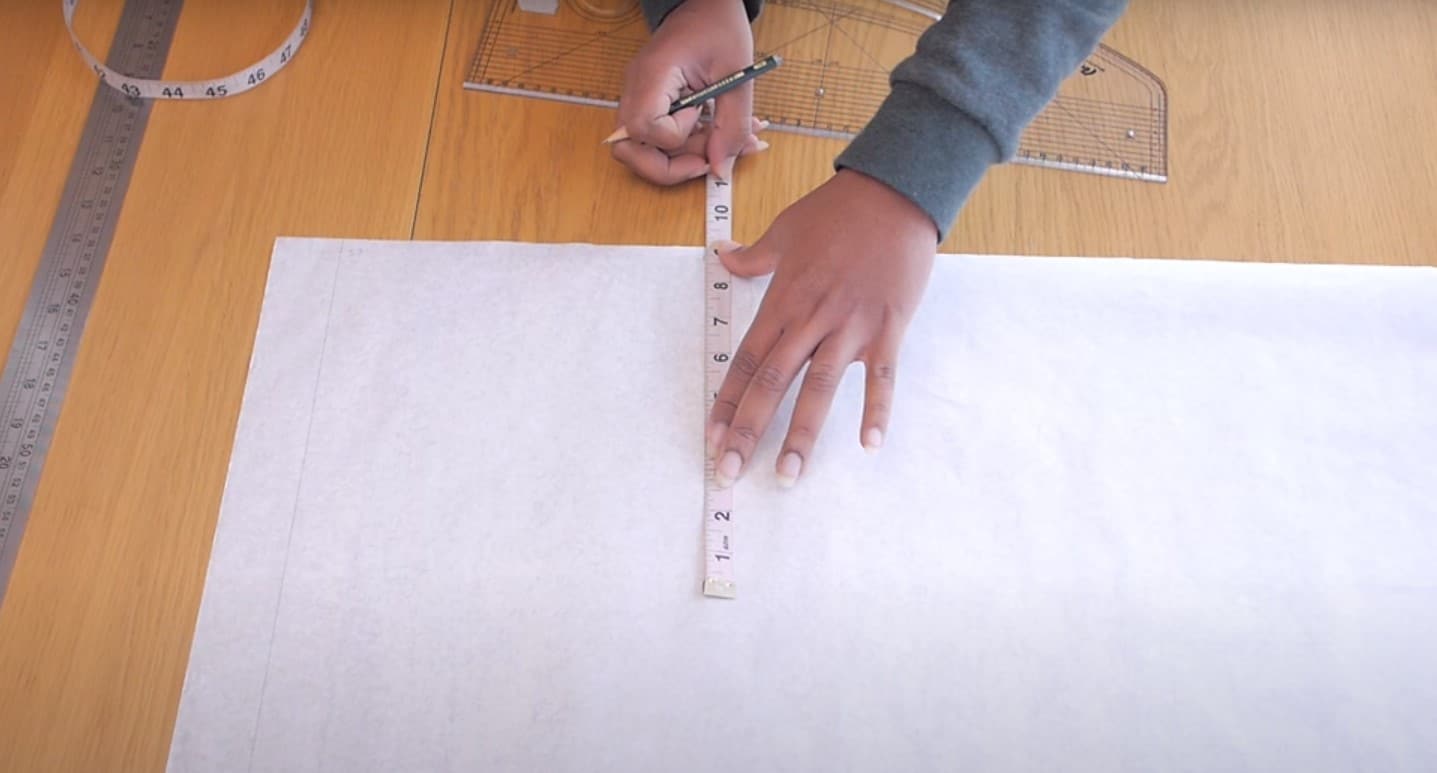
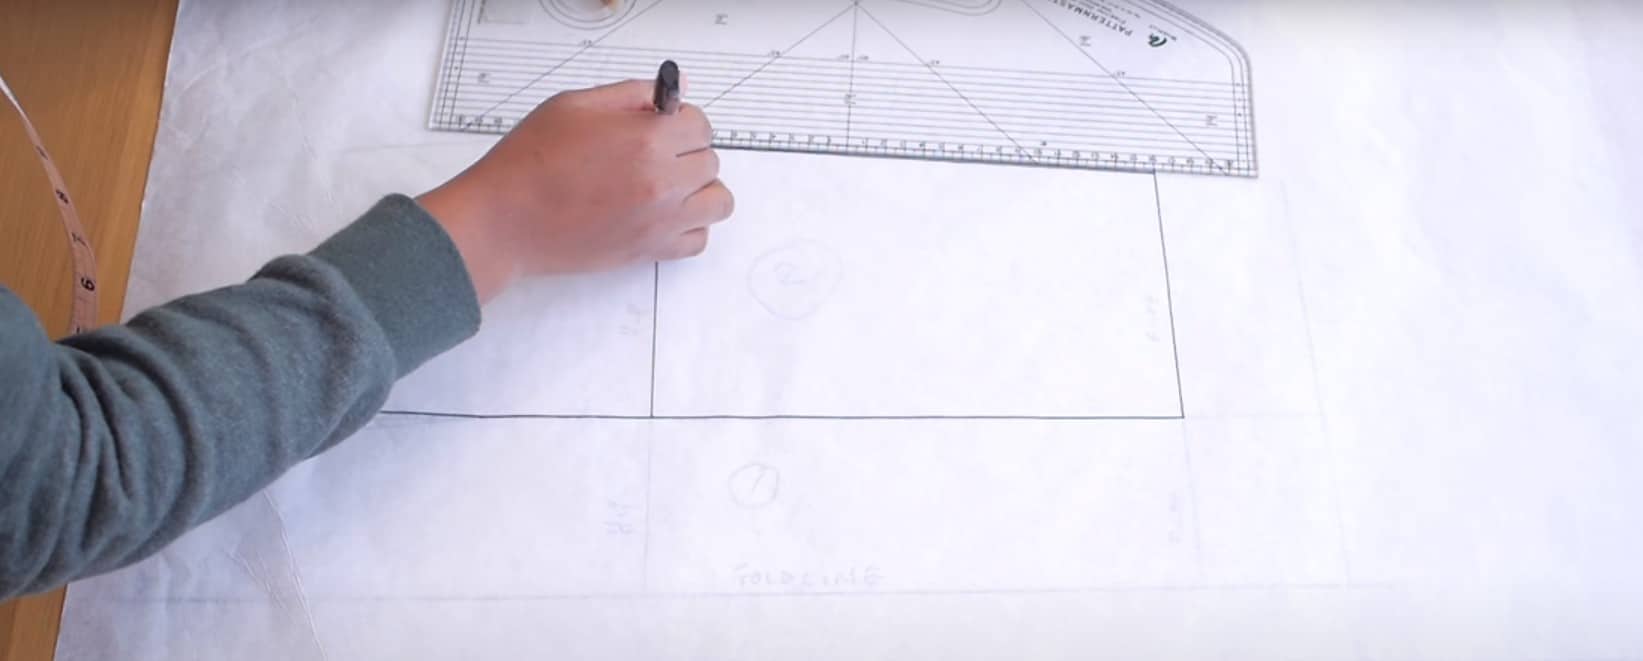
Step 1: take your sheet of paper and fold it in half. Mark your starting point and begin by taking the beltline measurements (remember that you shouldn’t use the original measurements but the panel measurement). Don’t forget to make a ⅝ inches allowance for the seams.
Step 2: mark the distance from the belt/ waistline up to the fullest part of your hips from the folded edge. You should then mark the measurements of your hip line.
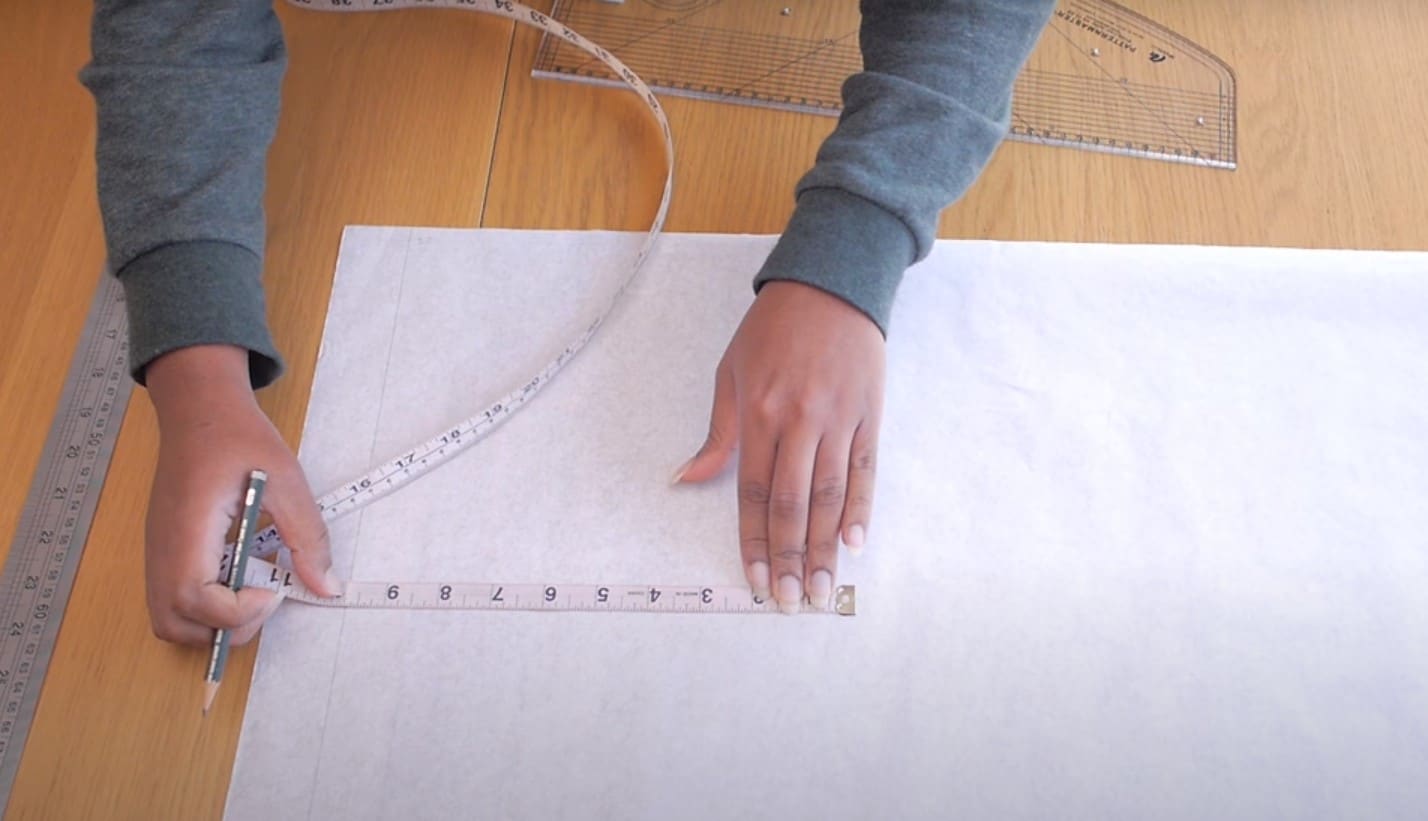
Step 3: mark the distance between the end of your hips and the hipline from the folded edge. You should then measure and mark the thigh line.
Step 4: mark the distance between your hip ends and around 4 inches above your knees from the folded edge. You should also measure the thighs again.
Step 5: mark the distance between the floor and 4 inches above your knees. Add an allowance of 0.5 inches to eliminate the risk of the dress being too short.

Step 6: measure and mark the thigh measurements and multiply by 5. Connect this point with the thigh measurement in step 5. From here, connect this measurement to the bottom of the folded edge using a curved line.
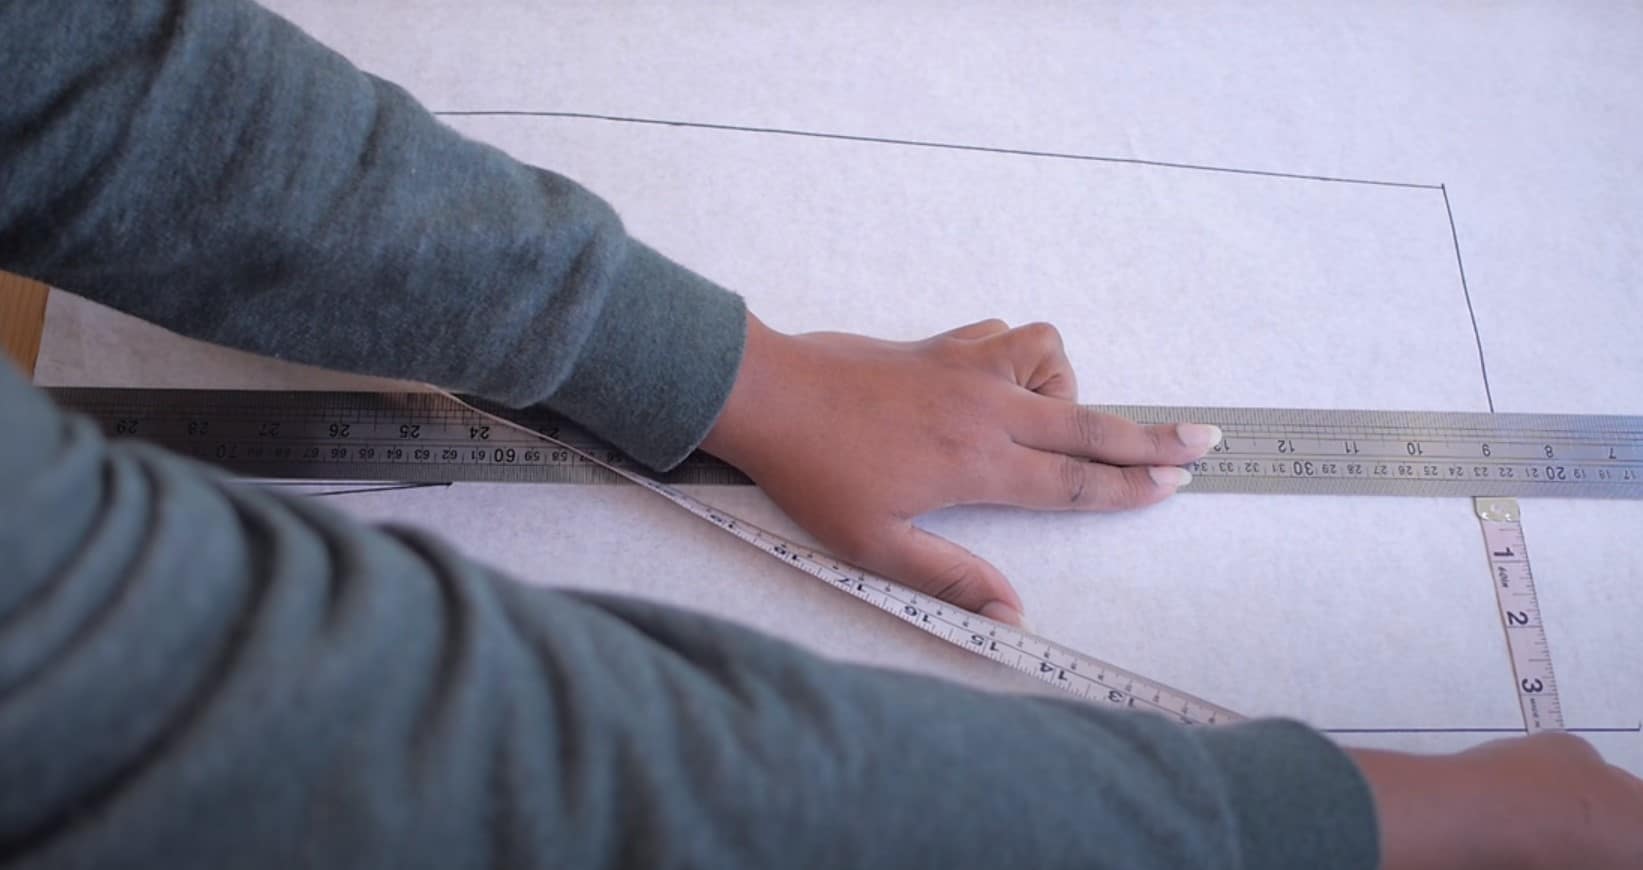
Connect all the dots/marks you made in the above steps. Make sure you use curved lines and avoid corners or straight lines.
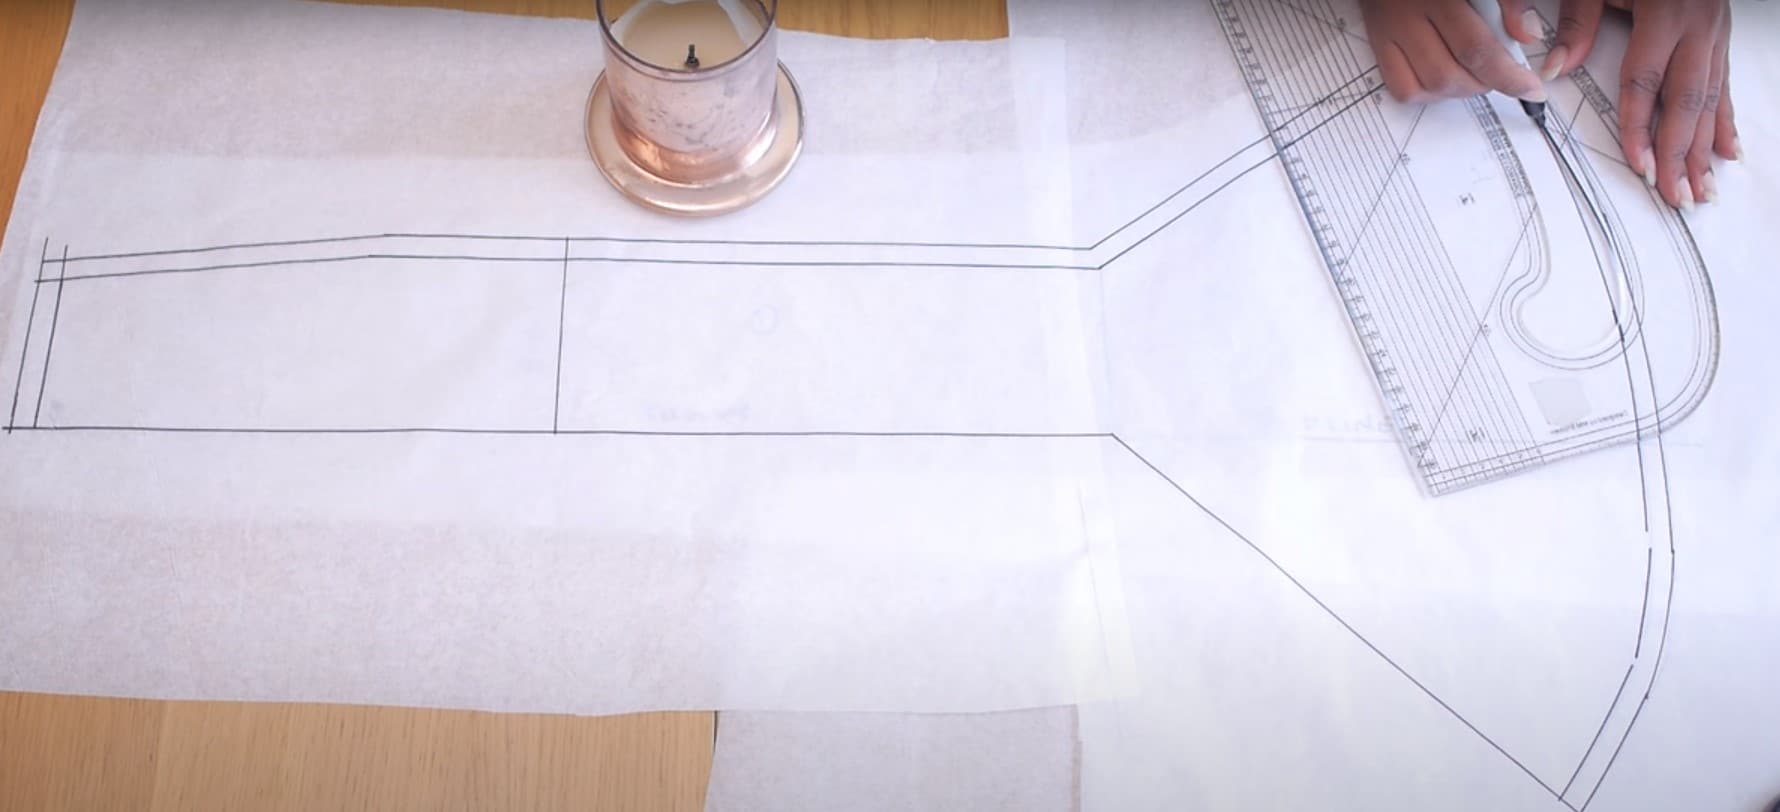
Step 7: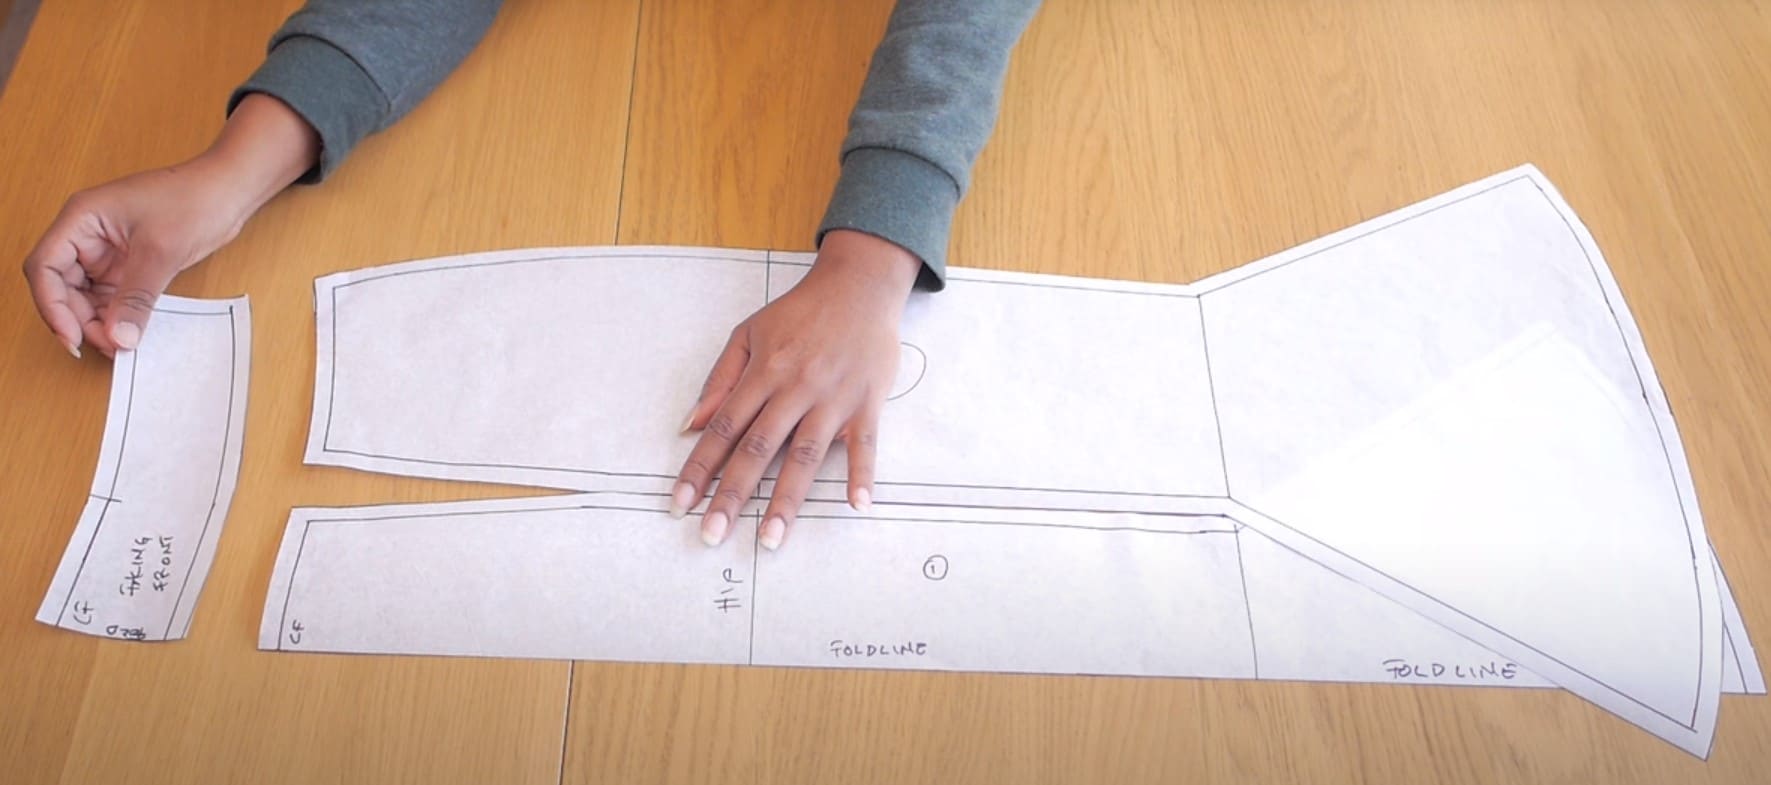
cut along the connected dots, and you’ll have your mermaid skirt pattern!
Now that you have your pattern, the final process is sewing the mermaid skirt. Here’s a simple step-by-step guide:
Step 1: lay the fabric on a large flat surface (it could be a table or the floor). Make sure you check the direction in which the fabric stretches. Since you want the mermaid skirt to stretch wide and not long, make sure the waistline is parallel to the stretch.
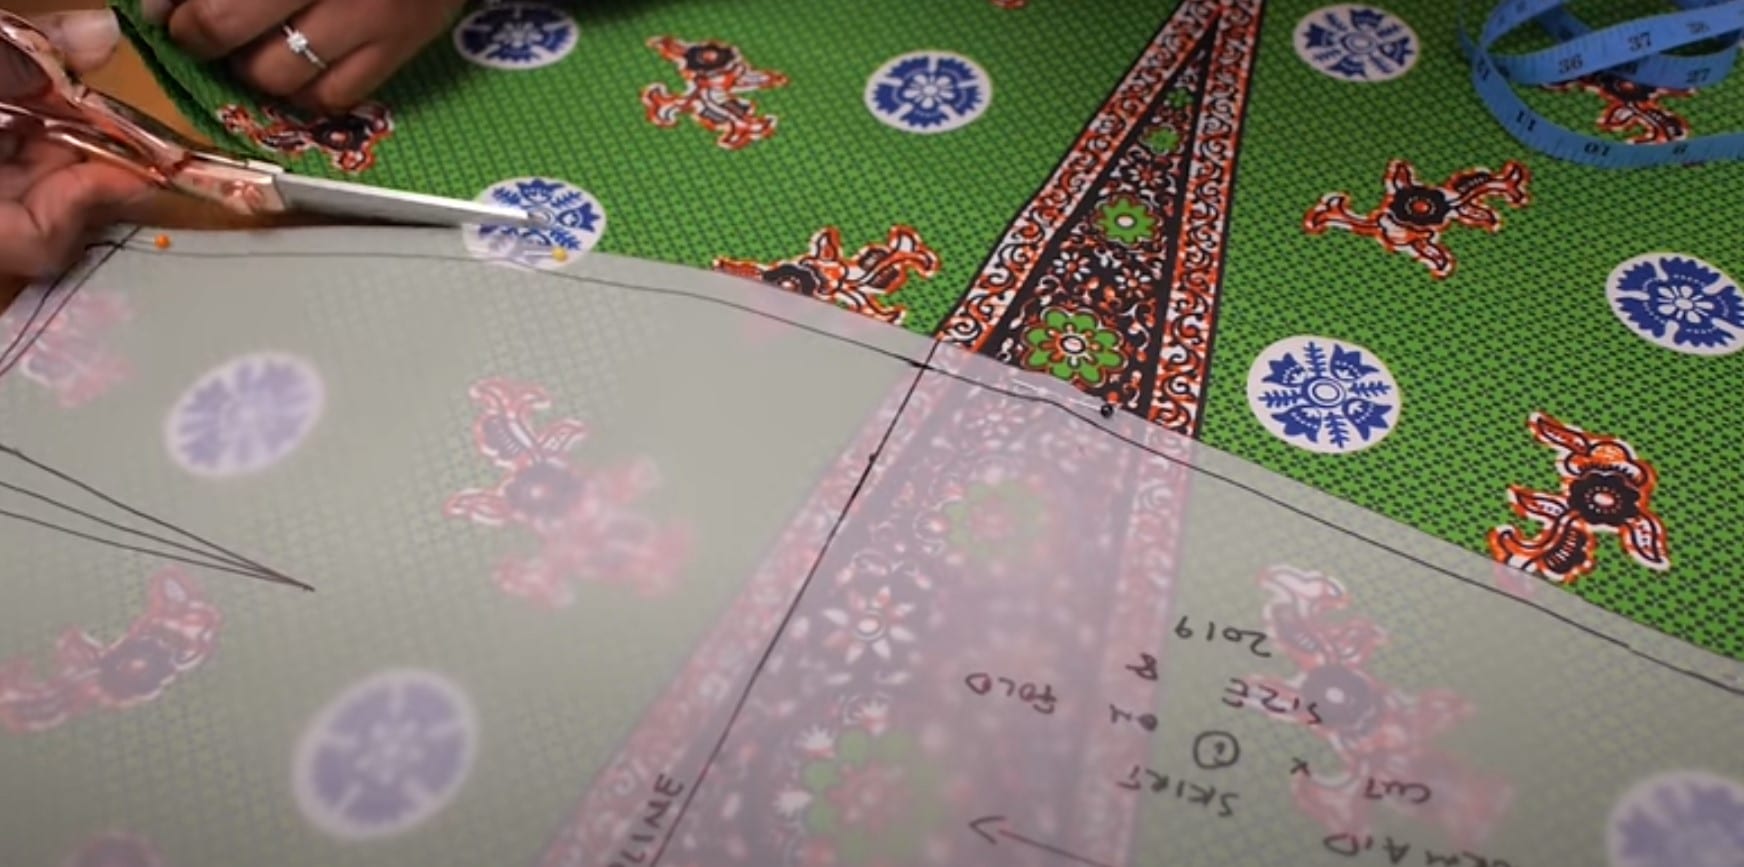
Step 2: place your pattern on the fabric and put weights on it to hold it down. Trace the pattern along the fabric and cut. Repeat the process based on the number of panels that you plan on using.
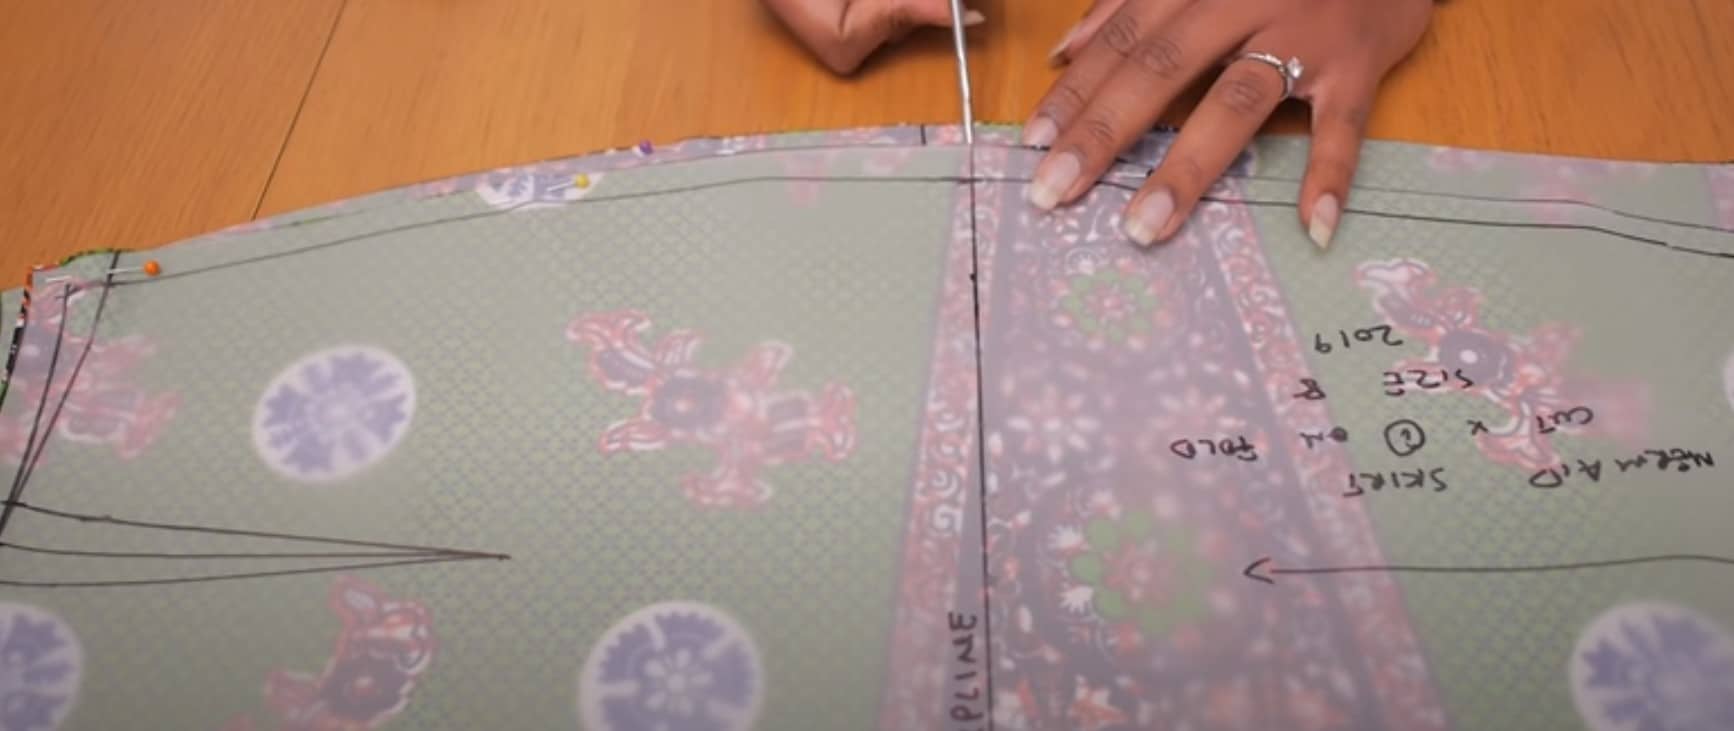
Step 3: use a cutter or scissors to cut the fabric.
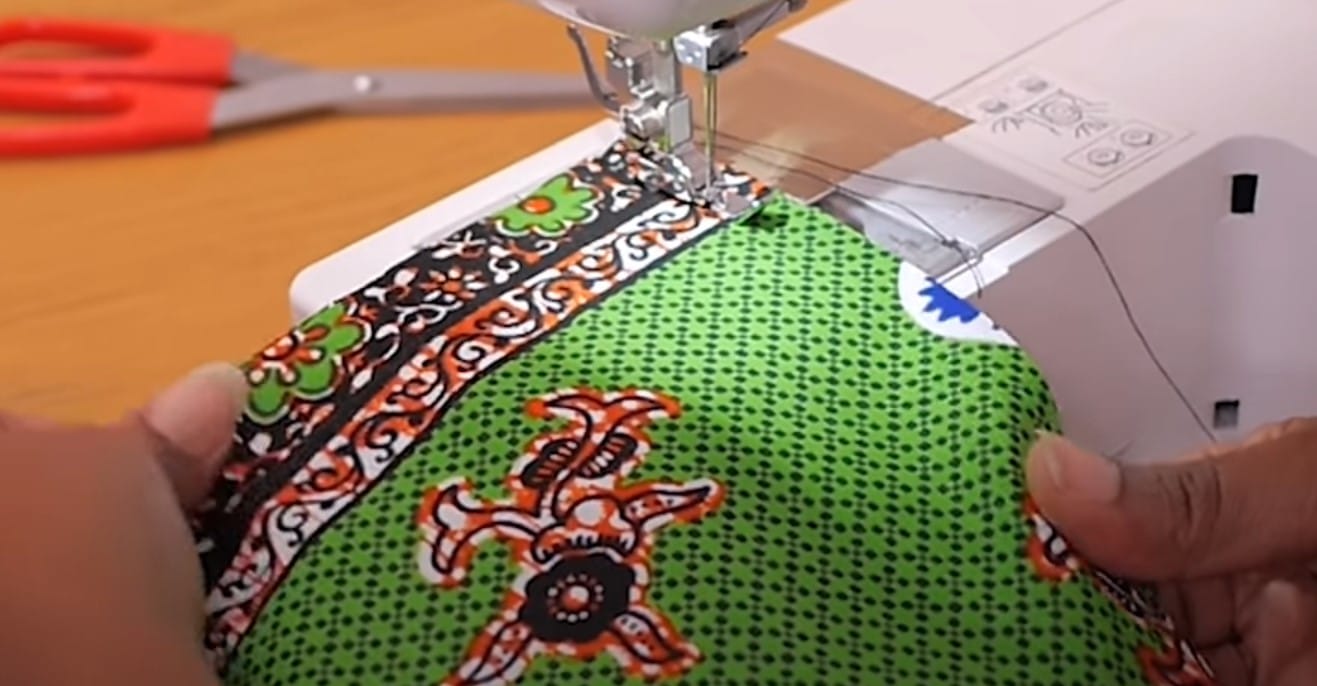
Step 4: sew the panels together!
The sewing part is relatively simple, and you only need to place 2 panels together on their right sides. Pin them on the insides making sure you consider the seam allowance, and then sew along the sides. The seam allowance ensures that you don’t have to cut out new panels if the skirt is too tight or requires adjustments. Repeat this process until all your panels are connected.
According to CNN, the National Oceanic and Atmospheric Administration published a website highlighting that the number of questions regarding the existence of mermaids had significantly increased. It’s not hard to see why! Mermaids, as depicted by films, are beautiful! If you’re thinking of making a DIY mermaid skirt pattern, the above step-by-step guide will help you get started. The good news is that you can easily customize your skirt using various patterns and fabric designs. If you’re feeling a bit explorative, you could even add a slit to your mermaid skirt!
SEO title: How to Make a Mermaid Skirt Pattern: Simple Instructions
Description: We have created a simple DIY guide to mermaid skirt patterns just for you! Check out our step-by-step tutorial!
Excerpt: Learn how to make a DIY mermaid skirt pattern and how to sew a mermaid skirt from our guide below.