How to Easily Create a Slip Pattern and Sew the Perfect Dress

By
Jean Chaney
Jean Chaney
Research Writer
Jean is the brains behind her fashion label. She's a whiz with a needle and thread, and has been sewing since she was old enough to hold a pair of scissors. Jean has always read more
reviewed
Reviewed By
Isabel Misner
Isabel Misner
Expert Consultant
A professional seamstress. Isabel has her own video blog where she shares her experience about all the aspects of sewing – from choosing suitable materials to step-by-step read more
Last updated: August 09, 2023
JustToSew is reader-supported. We may earn a commission through products purchased using links on this page. Learn more about our process here

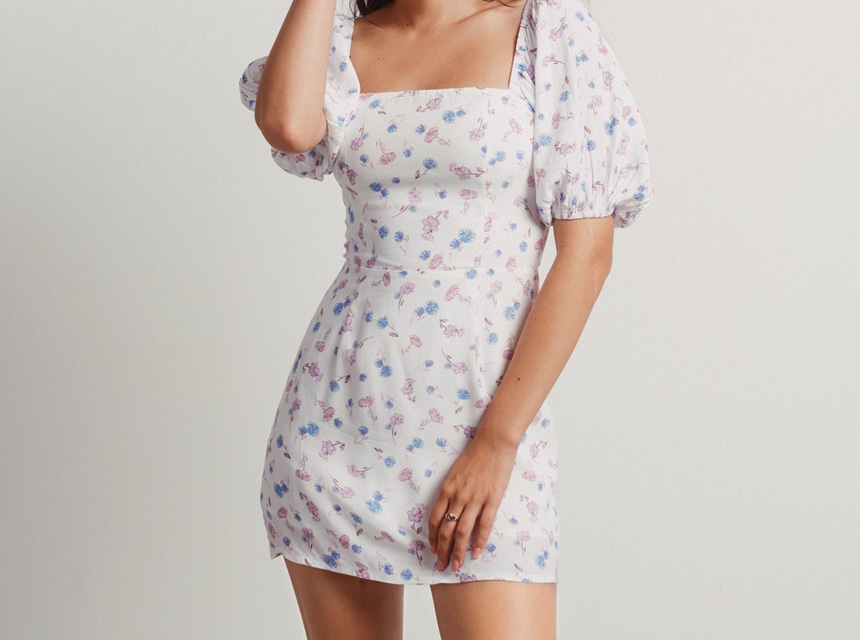
Are you sick of looking for the perfect slip dress that’s not only comfortable but also looks flattering on you? Well, one way to end this search is by stitching your own slip dress!

This may sound like a daunting task but once you get the slip pattern right, it becomes easy to stitch the dress. While a slip dress may look like an underslip or petticoat, it’s actually quite a versatile design and you can stitch some formal and fancy slip dresses as well.

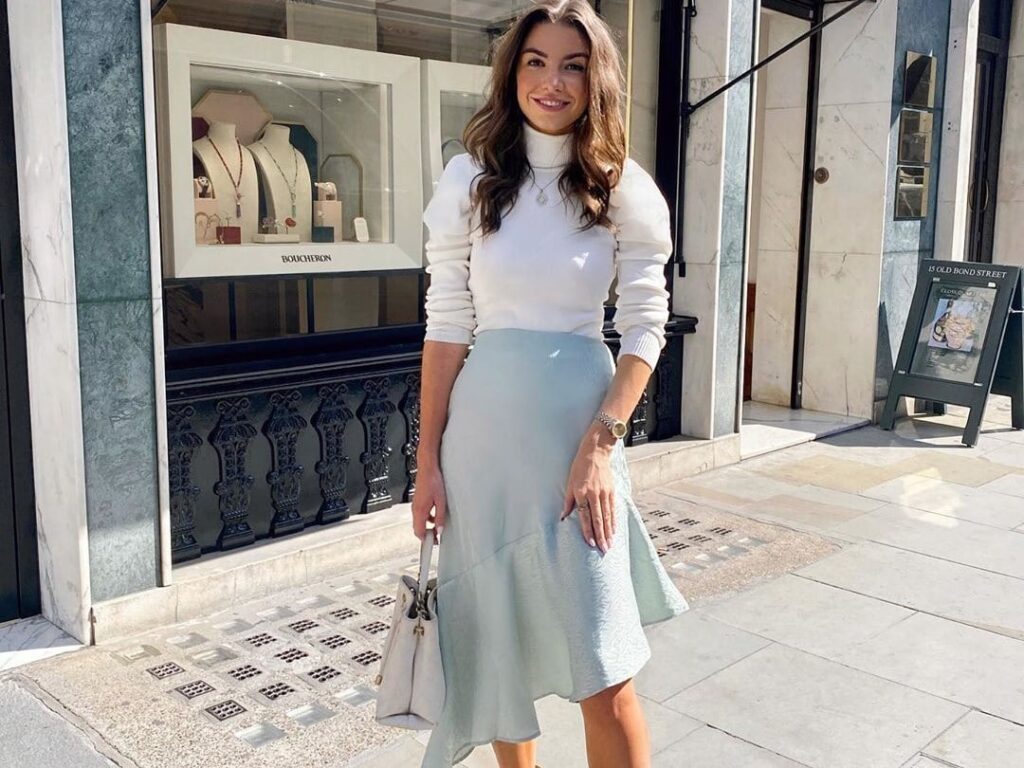
Slip dresses have made their name in fashion history for their unique ability to balance formal and casual without compromising on comfort and style.

If you are new to the world of stitching and sewing, you may be hesitant about sewing your first slip dress. But don’t worry, this article has got you covered! We’ll go through everything you need to know to make your very own slip pattern and then sew the dress!

Measurements and Pattern

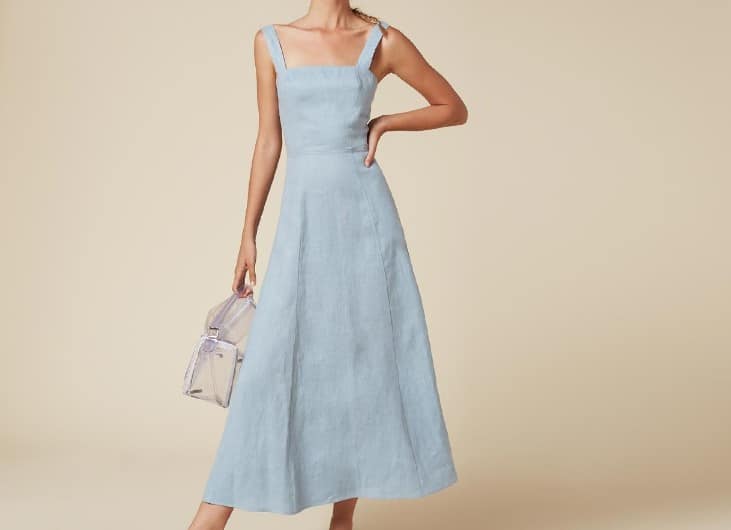
The best thing about slip dresses is that they can be made at any length, and they will still look great. However, you need to make sure you get the measurements and pattern right, so the dress looks flattering on your figure.

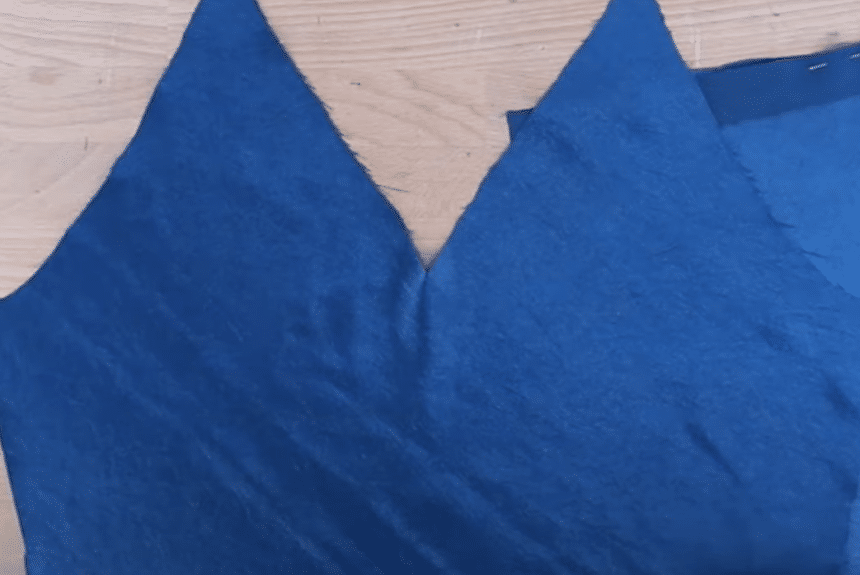
If you’re someone who’s been sewing for a while, you will surely have a bodice outline at hand. Take the basic bodice and trace it!

  • While tracing the bodice, keep the darts open and mark the length you want from the waist. The best thing about this slip pattern is that you can be as versatile as you want with the length.
  • Then square down from the waist and mark the hem flare according to the length you want.
  • Next, you need to connect the hem flare mark to the armhole corner.
  • Now move on to the neck.
  • Mark your desired neck depth.
  • You can be as creative as you want with the design! So go ahead and draw the neckline of your dreams.
  • The front has to be cut on the fold. For this, it is best to mark the front.
  • Now mark half of the shoulder and connect it to the tip of the neckline. This line will be the strap of your dress!
  • Go back to the waistline and extend it.
  • Then trace the back bodice and square it down from the CB waist and use that line to draw the complete hemline.
  • Also square down from the back side seam and mark the flare measurement. Connect this to the armhole corner.
  • Now mark the backline depth you want. You can be as creative as you want but make sure it goes with your front neckline and doesn’t look odd!
  • Mark the strap again like you did for the front, make sure it connects to the shoulder placement.
  • Your slip dress pattern should now be ready!

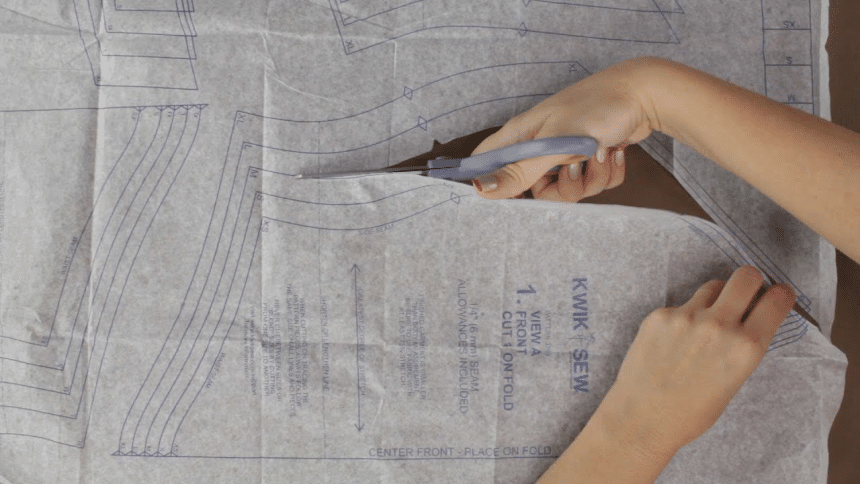
While you should ideally go with your own measurements, here are some ideal dimensions you can potentially use:

  • Mid-thigh: 16 inches
  • Top of Kneecap: 20 inches
  • Mid Knee: 22 inches
  • Bottom of Kneecap: 24 inches
  • Mid-calf: 28 inches
  • Lower Calf: 30 inches
  • Ankle: 37 inches
  • Tall Ankle Length: 40 inches

How to Sew a Slip Pattern Dress

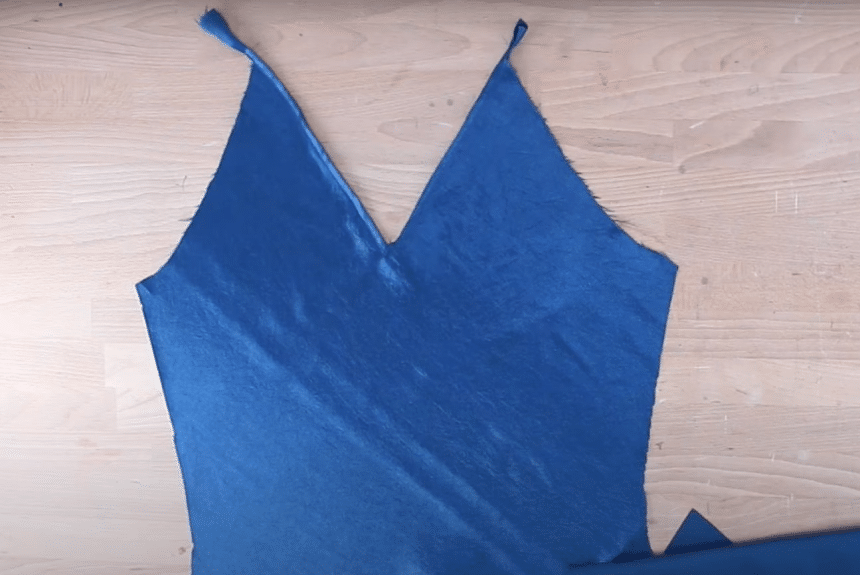
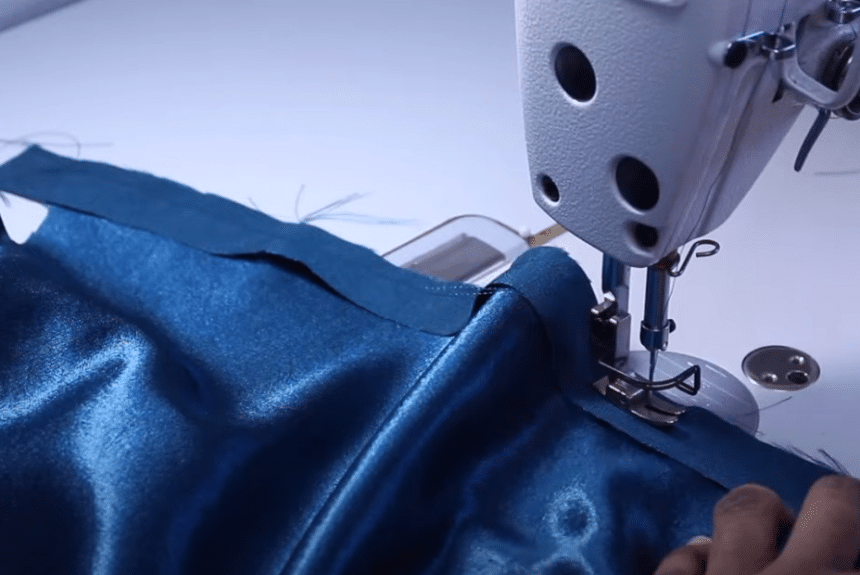
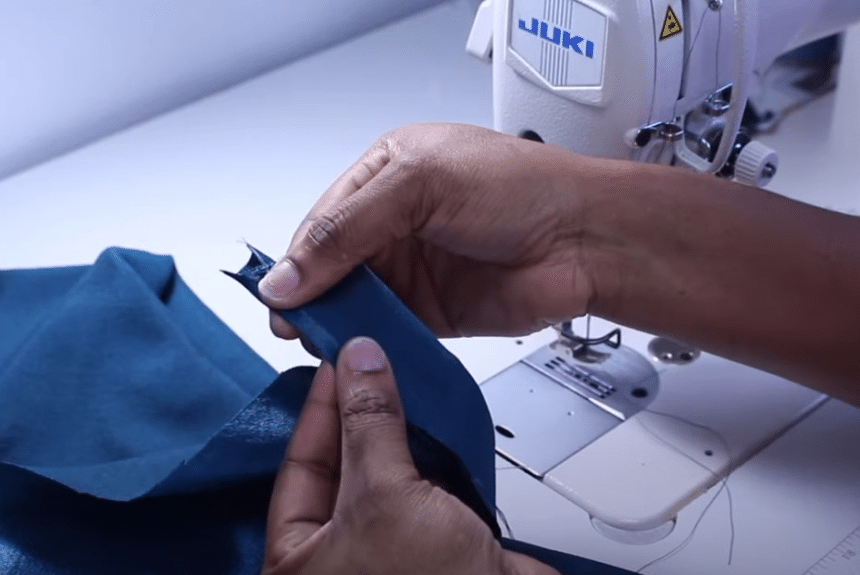
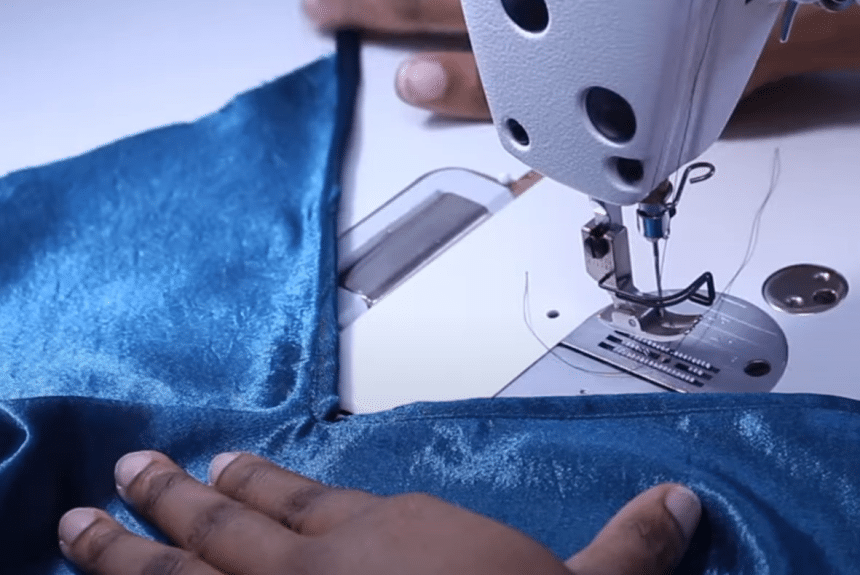
Once you have prepared the pattern, the sewing and stitching part is rather straightforward. But don’t worry, we’ll guide you every step of the way.

Tools and Materials

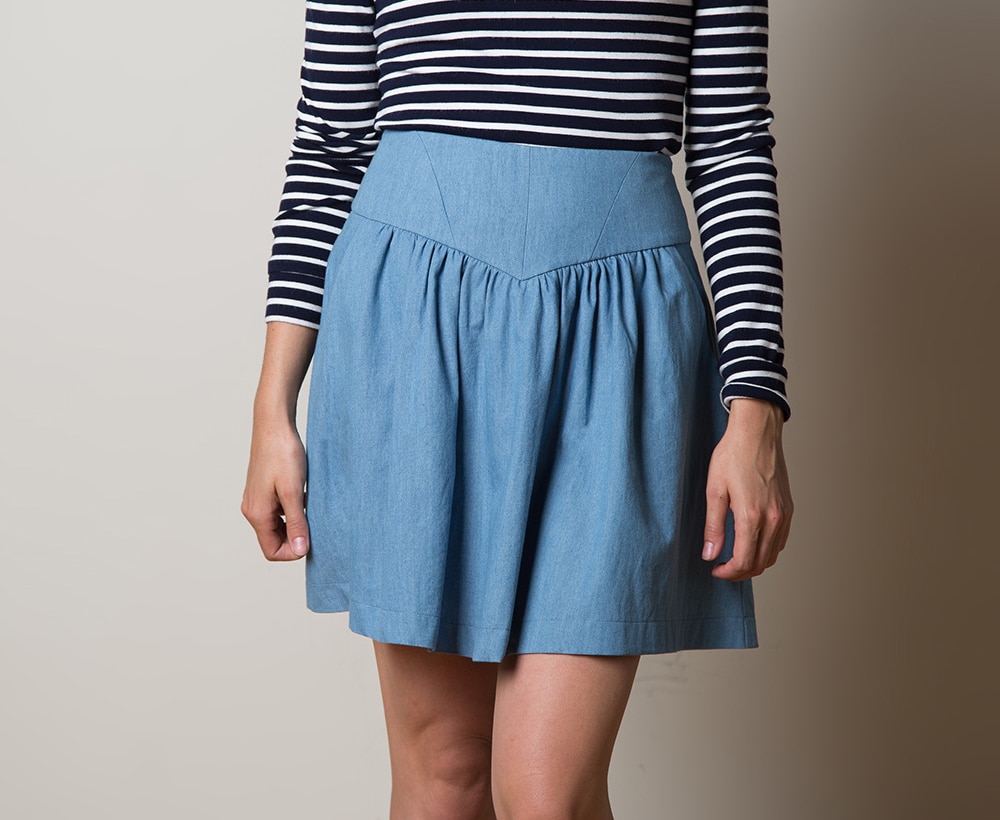
If you’re making a half-slip (which is the traditional size), you’ll be needing around 1 meter of cloth. However, feel free to get creative with the length. You can also stitch a full-length slip dress for which you should get around 3-4 yards of fabric. However, it is best to tailor the amount of fabric according to the type of dress as well as your body measurements.

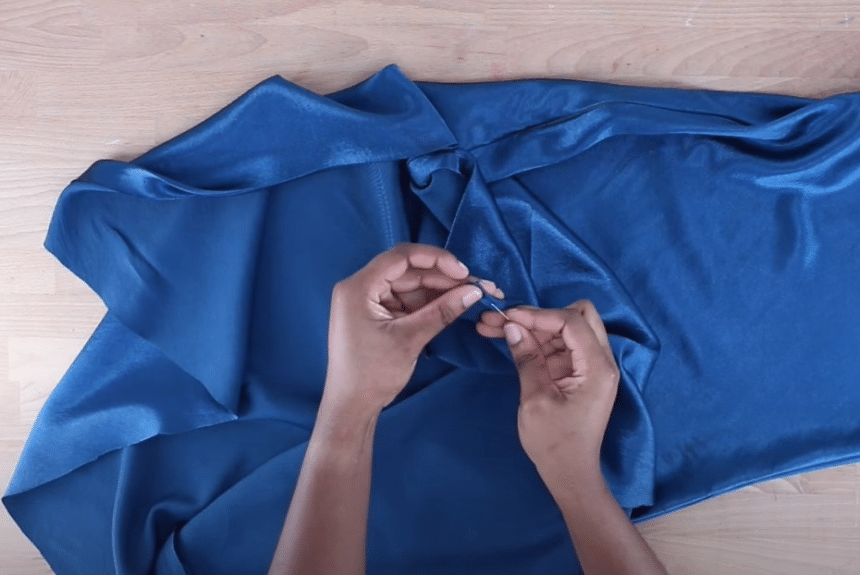
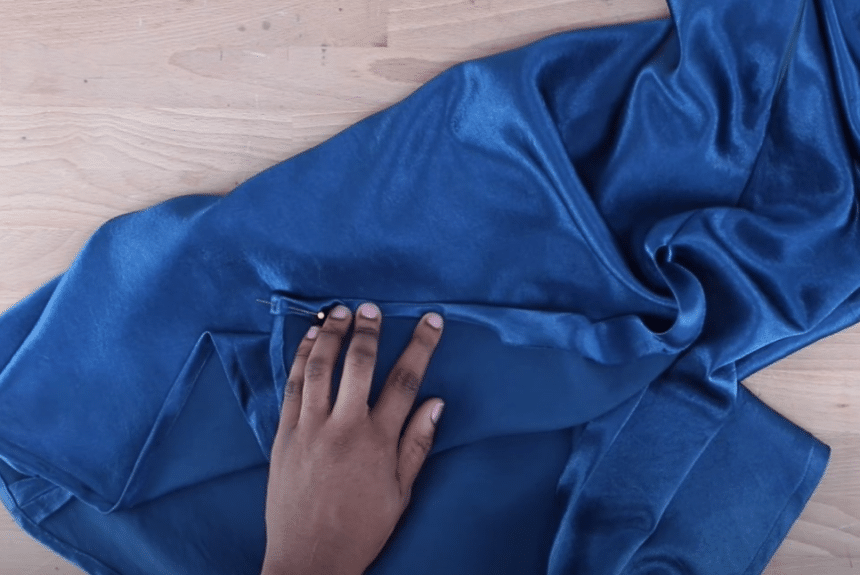
You also have room to be flexible with the type of cloth. Traditionally, silk charmeuse is the cloth of choice for slips. The best thing about silk charmeuse is that it is lightweight and also a great insulator that feels cool in the summers and warm in the winters. This means you will be able to wear your slip in every weather! Nylon and satin are also good options.

Some other basic tools you will require for the pattern-making and sewing process include:

  • A measuring tape
  • Ruler
  • Tracing paper
  • A pencil (for drawing patterns)
  • Paper scissors

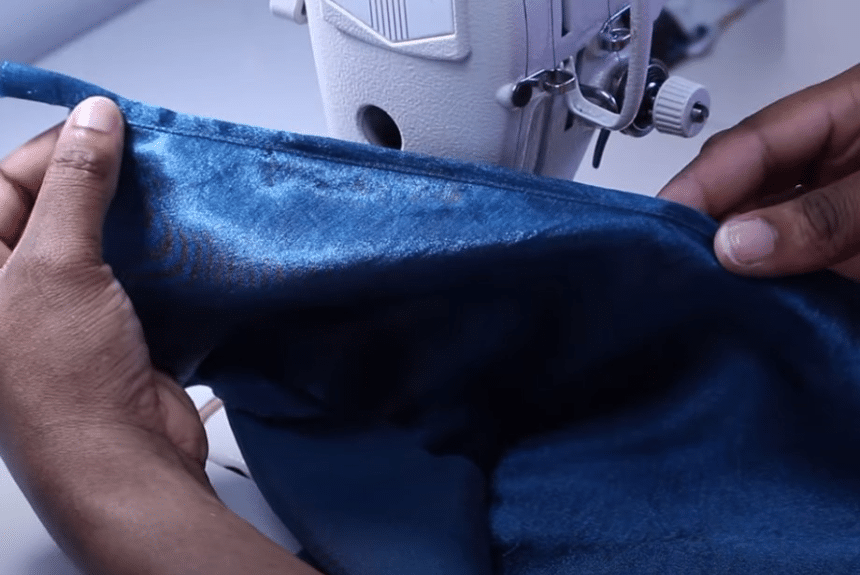
You should also try to purchase a thread that matches the color of your fabric. This will give your slip a seamless finish and make it look like you purchased it from a designer!

Step-by-Step Guide

Once you have gotten the pattern and other materials in order, you can get to the actual sewing part!

  1. Carefully place the front bodice right side up and then get hold of your strap pieces.
  2. Place the strapping piece on the top as well and pin it in place, you can now easily stitch it around the edge.
  3. Make sure you stitch it a couple of times, so it stays in the place where the strap is joining.
  4. Now turn the facing over. You are done with the front bodice!
  5. Moving on, you’ll need to attach the strap to the back of the bodice, do this when the pattern is still front-facing.
  6. Now things will get a little tricky- carefully place the strap on the top bodice and then the back bodice but make sure it is the wrong side up.
  7. Pin it into place and stitch it carefully so it stays in place.
  8. Turn the bodice inside out and stitch the side seams.
  9. When it comes to the side seams, leave space of around an inch.
  10. From the bottom edge, you can stitch to 2.5 inches from the bottom edge. This allowance basically lets you make a small side slit.
  11. Once you are done with the side seams, sew the slit openings as well.
  12. You can do this securely by turning the slit seam allowance twice and then stitching.
  13. Don’t forget to do this for the other side as well.
  14. Your slip is basically ready now! But you can make it look neat and sleek by hemming the bottom edge by turning it ¼ inch twice.
  15. Congratulations, your basic slip is now ready!

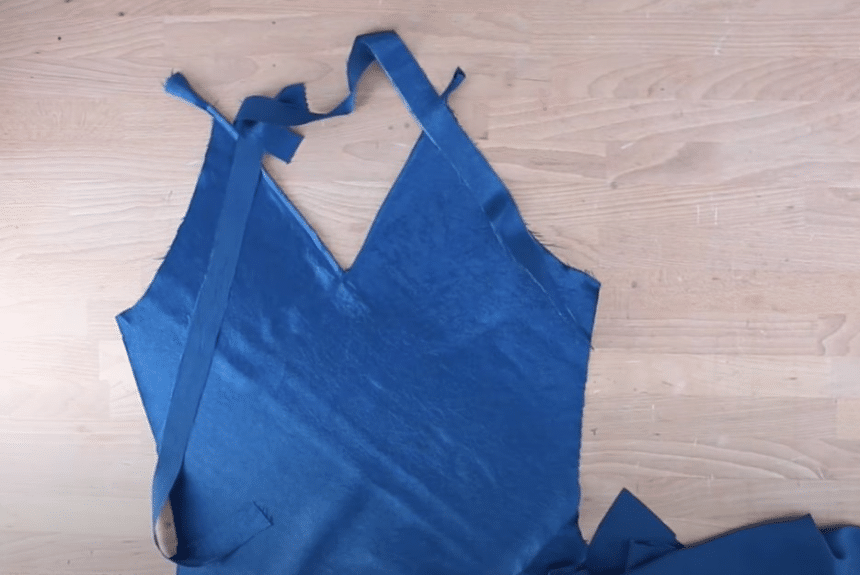
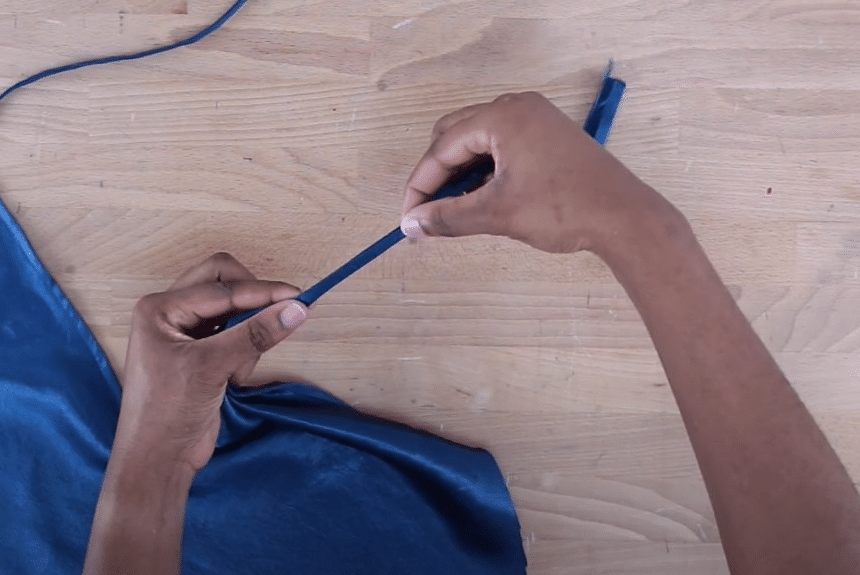
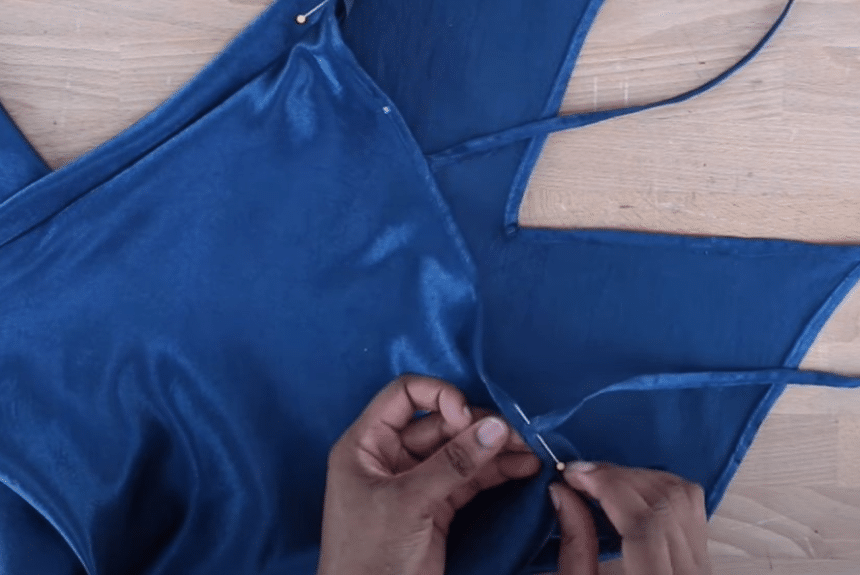
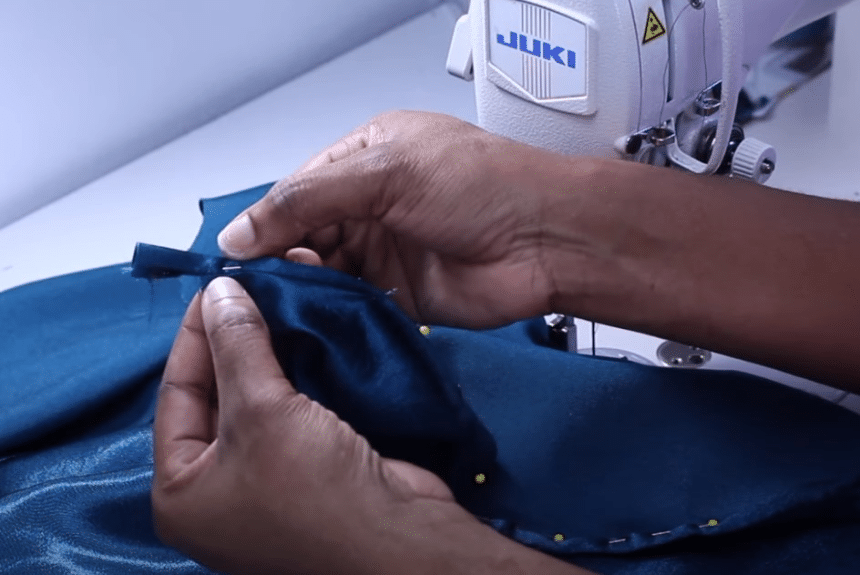
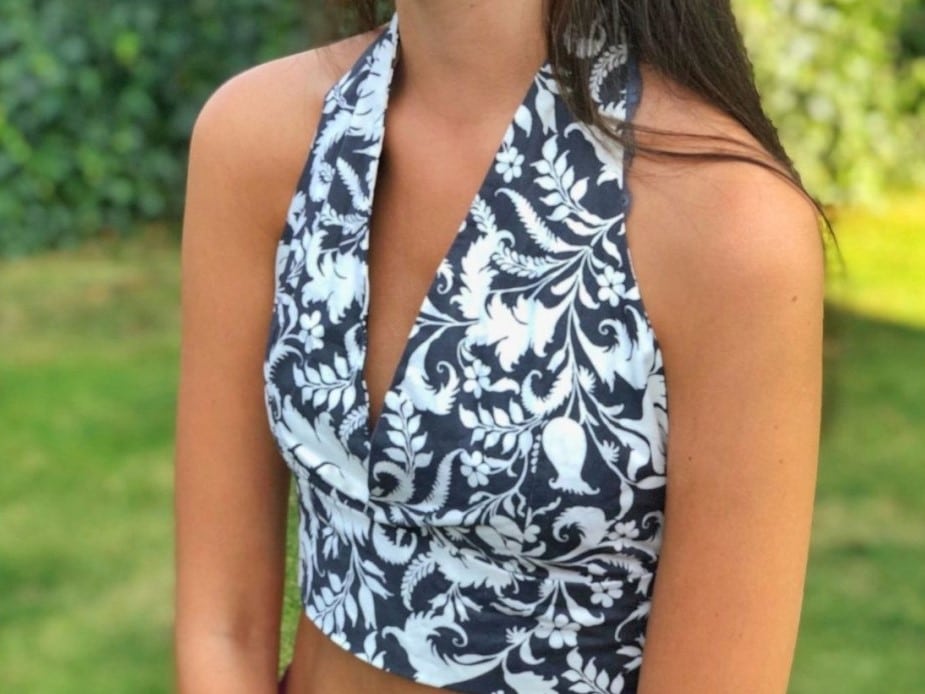
You can make it as elaborate and fancy as you want by playing around with the neckline and other aspects.

Final Thoughts

In case you’ve been dreaming about the perfect slip dress, this article can help you stitch it yourself!

Don’t be daunted by the pattern-making aspect. While it may sound complicated, you can easily get it done as long as you follow our method. And once you have made the pattern, the actual sewing part is fairly straightforward.

However, make sure you plan out each aspect of your slip pattern in advance. Think about the length and neckline depth you want. You should also carefully select the fabric and make sure it works for the type of dress you are trying to make. Whether you want a full slip dress or a half-slip, this tutorial will serve you well!


Leave a comment

Your email address will not be published. Required fields are marked *

X