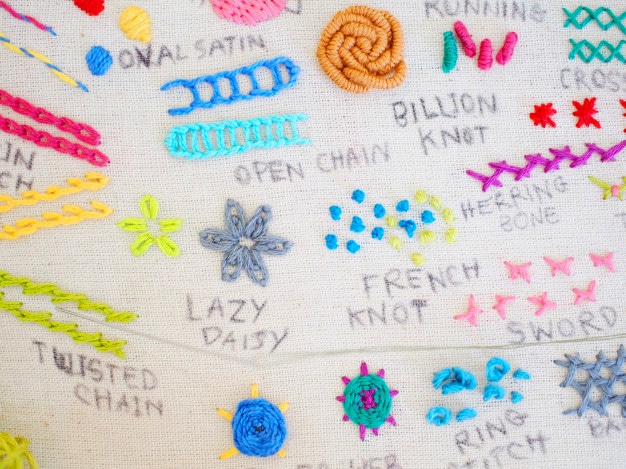
Satin Stitch is a common stitch used in embroidery that can help you fill in shapes. Some start in the middle, while others start from the outside. Either way, the satin stitch is a great stitch to know. Try to be patient when learning this stitch as it can be difficult.
Some embroiders express that it can be frustrating at the beginning. Keep practicing and you will be sure to get the hang of it. This article will help you show all the steps and tools you need to get started with the satin stitch. Keep in this mind this can be done with a needle or an embroidery machine.
Stitchers who use embroidery machines say it can be easier. However, if you are skilled with the needle, or just wanting to learn with a needle, we will go through all the steps.
 The
satin stitch
Trusted Source
Satin stitch - Wikipedia
In sewing and embroidery, a satin stitch or damask stitch is a series of flat stitches that are used to completely cover a section of the background fabric. Narrow rows of satin stitch can be executed on a standard sewing machine using a zigzag stitch or a special satin stitch foot.
en.wikipedia.org
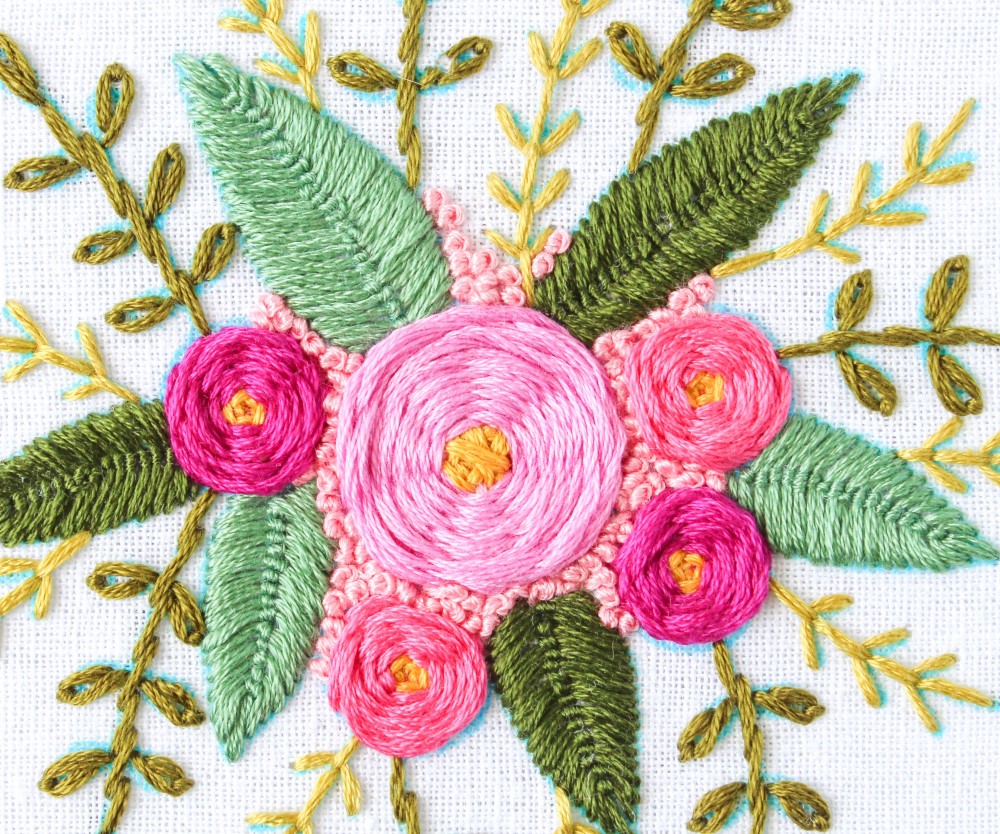
is usually used to form smooth lines and shapes. It is used to make a very smooth and uniform look. However, some still use the satin stitch as an embellishment or a way to add some extra color.
The
satin stitch
Trusted Source
Satin stitch - Wikipedia
In sewing and embroidery, a satin stitch or damask stitch is a series of flat stitches that are used to completely cover a section of the background fabric. Narrow rows of satin stitch can be executed on a standard sewing machine using a zigzag stitch or a special satin stitch foot.
en.wikipedia.org
is usually used to form smooth lines and shapes. It is used to make a very smooth and uniform look. However, some still use the satin stitch as an embellishment or a way to add some extra color.
Either way, it will give you a quality look with a satin-looking finish. With a needle, it is a series of flat stitches. Sewing machines are used to create narrow rows usually with the zigzag stitch or with a special satin stitch foot.
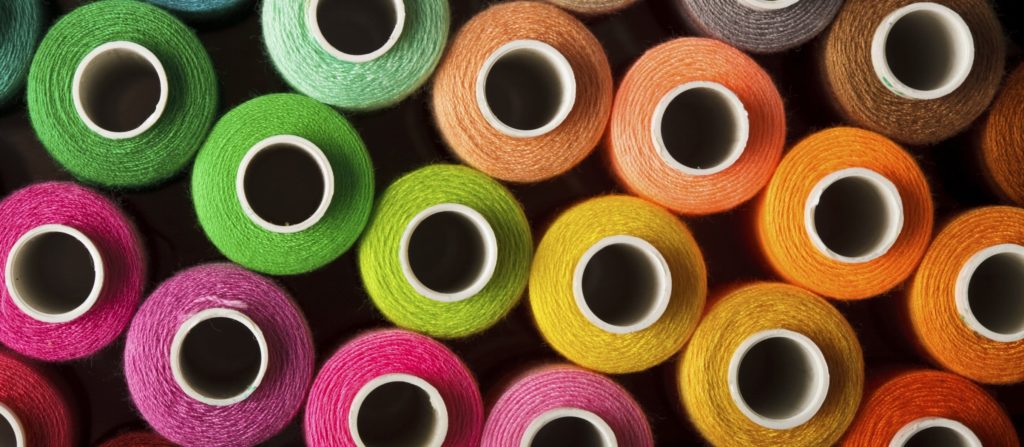
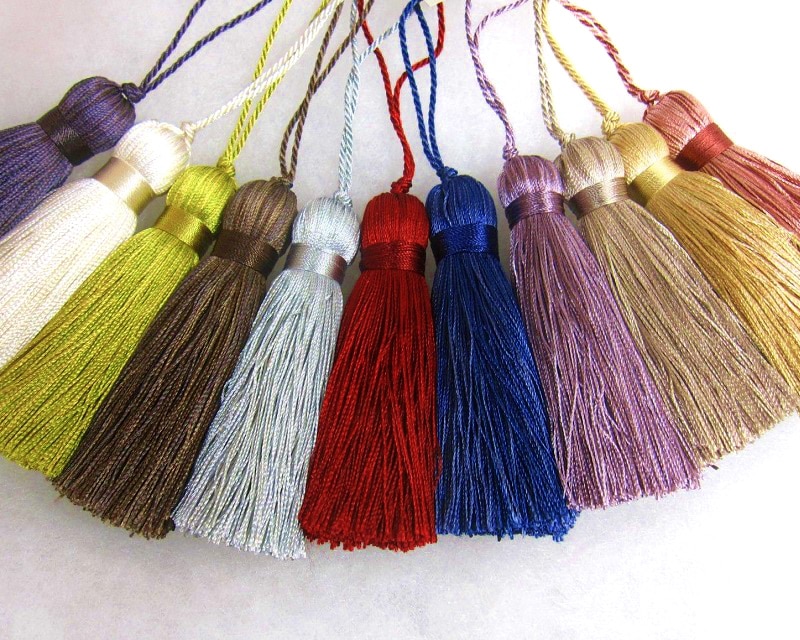
The thread you will use, whether by hand or in the embroidery machine is an important decision. According to reviews, one of the best choices for the thread are these variety of colors by ShinyStitch Store. They are high strength and break resistance.
For the satin stitch you will need:
 Step-by-step instructions
Below we will outline all the steps needed to use the satin stitch by hand.
Remember to always start across from your last exit point. Start a new stitch always across and not directly next to the last stitch.
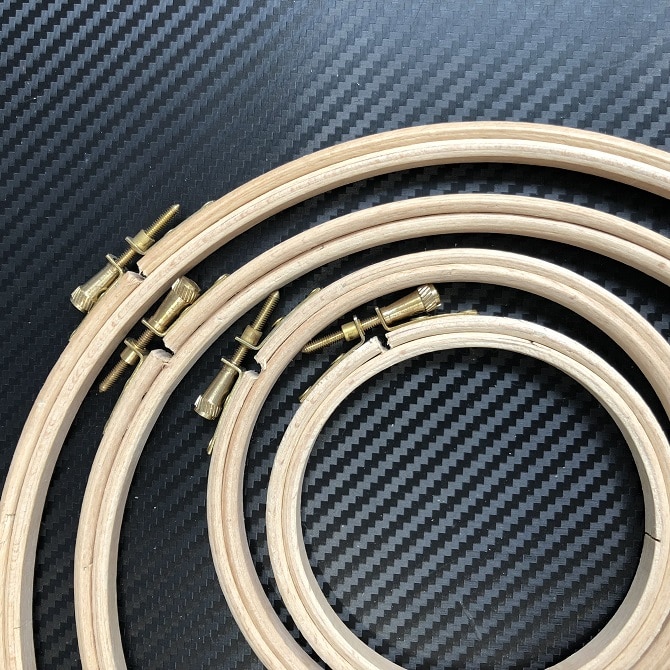
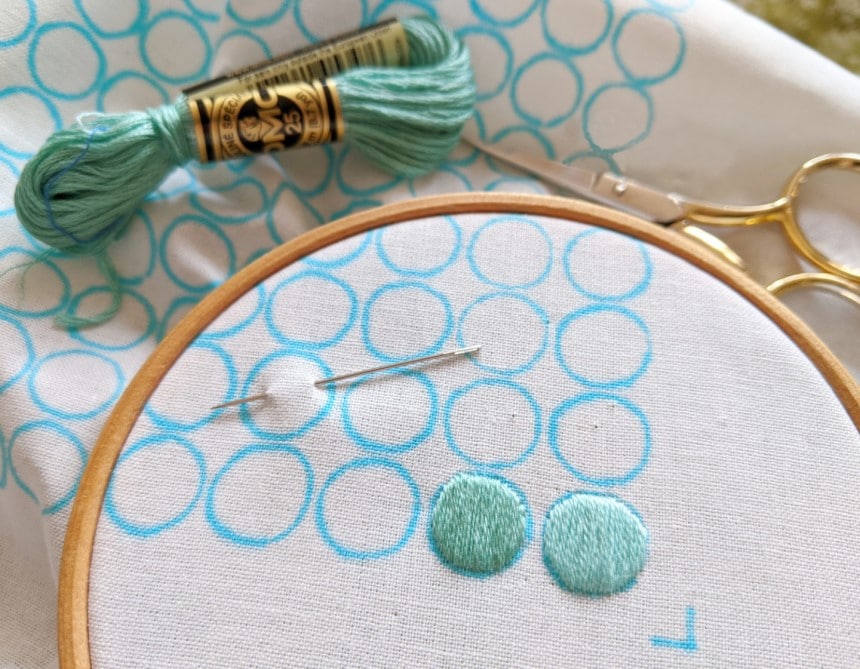
One of the first steps is picking your pattern, hoop, and fabric. These selections will help guide you in what you want to make and how you want the final product to look.
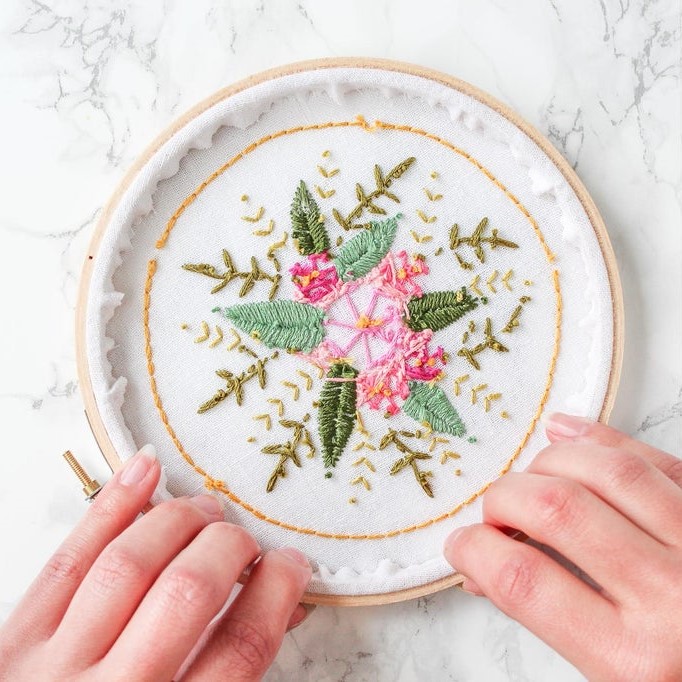
Start by making sure your fabric is securely on the hoop using the stabilizer. Then use the pattern to create an outline. Next, bring the needle from behind the hoop along the pattern line.
When working a stitch always start from the middle and work outward. Seasoned embroiders say this is by far the easiest way to create the pattern.
You will start by working the first half of the pattern and then switch to the second half. If you are using a machine, you will use it the same way as other stitches just with the special satin stitch foot.
When outlining, the best way is to start by outlining one end. Work from the middle to the edge, then back to the middle, then back to the edge. Once you have the hang of this pattern, is very easy to get into a routine and finish the outline quickly.
By starting across from the last stitch, the next stitch will come up right beside the last one. This will allow the pattern to come together with one side at a time.
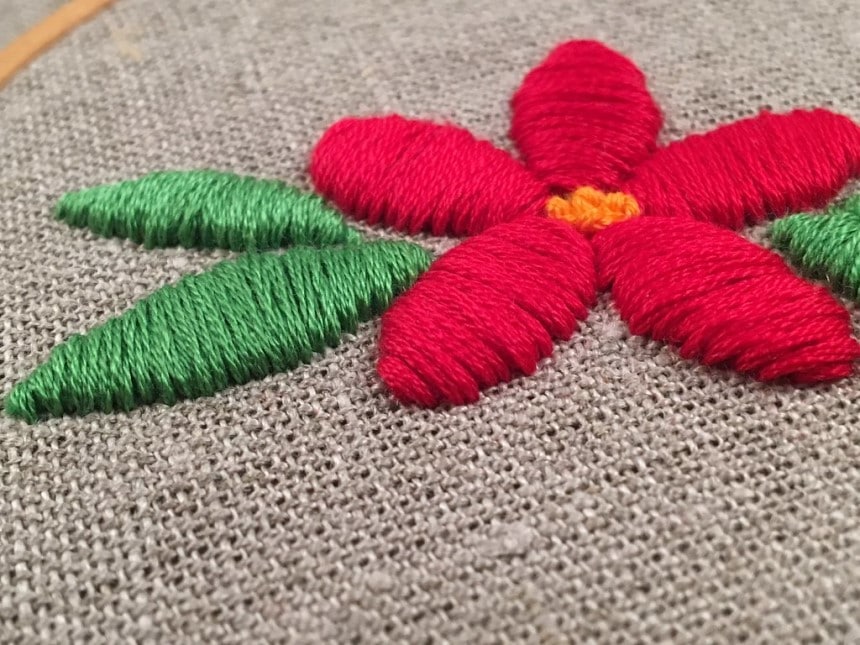
A padded satin stitch will make a more 3D-dimensional look. You can have a slight padding to large padding depending on the look you trying to achieve. Try using plumper or thicker threads to get a more padded look.
You will make the outline and then cover the pattern with the thick padded satin stitch.
The short stitch is usually used for the outline, while the long ones are for the middle layers and the filling in of the pattern. Not all stitches have to be the same length. Your pattern will often start big and then get smaller. The similarity in stitches will give it a more uniform look though.
All in all, the satin stitch is not too hard to learn, and it is a great embroidery technique. Once you have the hang of it, it will probably become your favorite style. Remember to be patient with yourself when learning it.
Getting an embroidery machine can be a great addition to make your satin stitching easier. Good supplies make a world of a difference. Make sure to use a stabilizer if you are new because the fabric moving can be frustrating and disheartening for beginners. Start with a simple pattern like a petal or a heart. This will ensure success.