Beanie hats are designed to keep you warm when the weather is cool. They usually come in either knit or fleece fabrics, which can be rather plain on their own. That’s why many people add their own embellishments to give their beanies a fresh, new look. Of course, learning how to embroider beanies is the first step to giving them some fun designs.
Of course, adding embroidery to beanies isn’t an easy task. You need the right tools for the job to get a design that looks professional. These hats are also quite stretchy, which makes them tricky to work with when adding your designs. For those who want to add embroidery on beanies but aren’t sure where to start, the following sections can help.
If you want a DIY embroidered beanie Trusted Source Global Embroidery Market by Type (Surface Embroidery, Counted Embroidery, Needlepoint), By Application (Caps, Coats, Blankets, Dress Shirts, Denim, Dresses, Others) And By Region (North America, Latin America, Europe, Asia Pacific and Middle East & Africa), Forecast From 2022 To 2030 The global embroidery market size is projected to grow from USD 1.6 billion in 2018 to USD 2.2 billion by 2030, at a CAGR of 3.3% during the forecast period (2018 – 2030). The key drivers for the growth of this market are an increase in demand for branded products and increasing export opportunities across the globe owing to the rising number of international trade agreements among countries. dataintelo.com , there are some tools that you’re going to need to get the job done. The first, and most important, is an embroidery machine. The best Brother embroidery machines are a good choice due to the high quality that these machines are known for. The Brother PE800 is a good option since it includes 138 built-in designs, 11 built-in fonts, a large touchscreen for previewing your designs, and a USB port for importing any design you like.
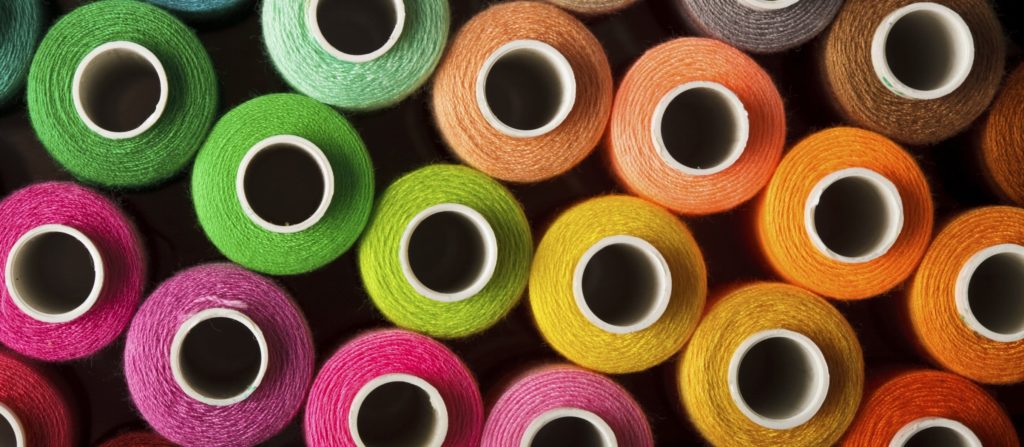
You also need some embroidery thread, an embroidery needle, a stabilizer, a water-soluble stabilizer topping, some embroidery scissors, a few pins and clips, fabric marking tools, and a ruler.
A stabilizer is used to hold the fabric of the hat in place when you’re doing the embroidery. This prevents it from distorting while you’re stitching to ensure quality results when you’re finished. When it comes to beanies, the best options are cut-away or no-show mesh stabilizers.
The cut-away stabilizers are the most stable option and can have the excess cut off when the embroidery design is in place. This prevents the stitching in the design from coming loose. The no-show mesh or polymesh stabilizers have an adhesive side that sticks to the inside of the hat during embroidery and can then be removed by cutting away any excess when you’re finished. You can choose either of these options for your embroidery work.
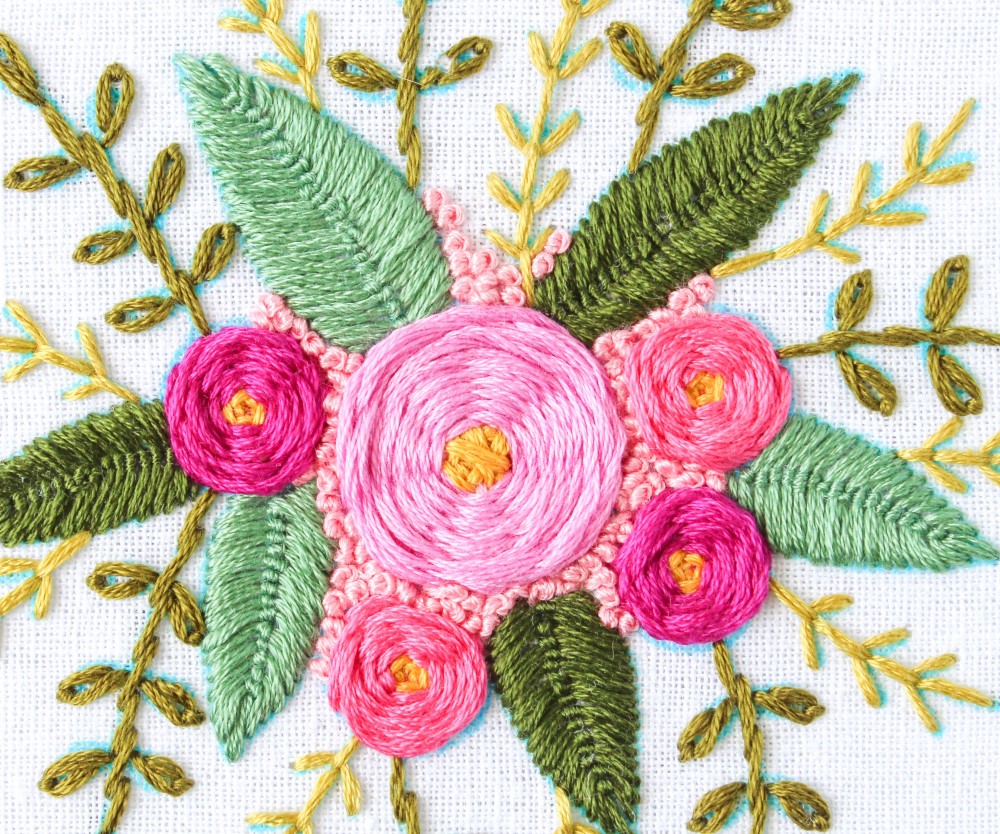
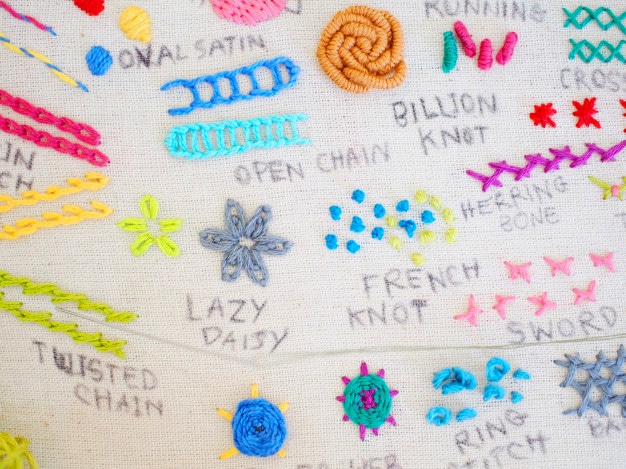
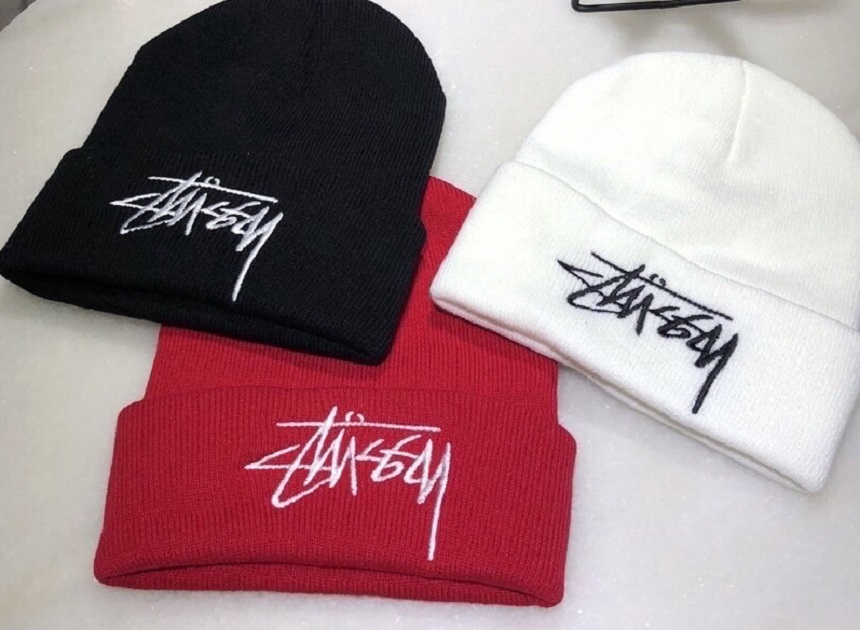
There are almost countless designs that you could choose for embroidering a beanie. Of course, you likely want to consider the beanie you’ve purchased when choosing your design. This will help you match the colors of the design to the color of your beanie to accentuate it. You can also pick the design based on the style of the beanie, including whether it folds up at the bottom or not. Some beanies can feature larger designs than others, so pick the size as carefully as you choose the color and look.
Corner designs, meaning those with more of a square shape, can look good, though they can be tricky to accomplish. This is because you need the placement to be perfect in order for the lines and corners to line up with the natural ribbing of the hat. If they are off by even a small amount, it will be quite noticeable. Of course, if you can pull this off, you can add some fantastic logos, flags, or other great designs to your beanies.
Letters give you a wide variety of options to choose from. You can add a person’s name or initials to their hat, which ensures they’re always wearing the right one. You can also add favorite phrases, holiday messages, or anything else that comes to mind when choosing a fun new design. Letters are also easy to do since most of the best embroidery machines for hats include at least a few fonts to pick from for your lettering. The Janome Memory Craft 9850 is a good option for this, thanks to the 2 fonts and 2- and 3-letter monogramming function, as well as 175 built-in designs, to add everything you want to your beanies.
One of the easiest ways to embroider a beanie is with a machine designed to do most of the work for you. There are dedicated embroidery machines or you can try the best sewing and embroidery machines since these have several functions beyond embroidery, making them a much more versatile option. Let’s go over the procedure for how to embroider knit beanies with a machine.
The first thing to do is decide on the placement of your design on the beanie you’re embroidering. You can place the design off to one side or right in the center of the beanie, depending on the design you’re using and the style you’re going for. Mark the placement on the beanie using vertical and horizontal lines, with the point that they meet being the center of the design.
You’ll also need to float your beanie, which means securing it outside of the hoop. To do this, hoop the stabilizer first, then pin the beanie in place on the stabilizer.
It is a good idea to stretch the beanie a bit when attaching it since it will stretch when you’re wearing it.
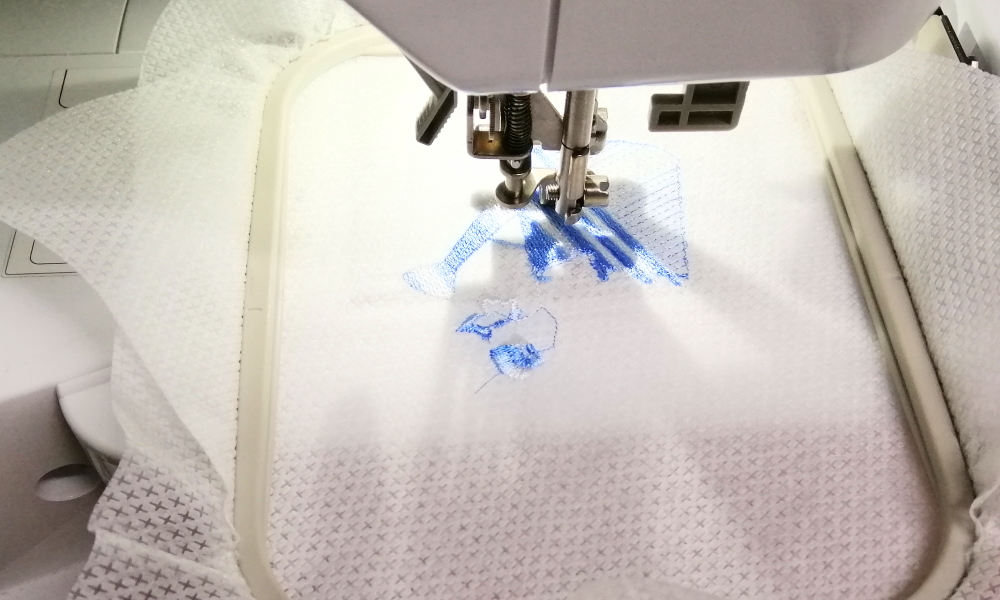
Place your hoop onto your machine’s embroidery arm, securing it in place. Then use the screen to load your chosen design. Using the onscreen design, center the embroidery foot on the beanie where you’ve marked the design placement.
Once you have it placed where you want it, double-check to make sure there is no overlapping of fabric that could accidentally get in the way while your machine does the embroidering. Clip any excess fabric out of the way. You may also want to make sure that the needle and thread colors are correct, as well as the positioning of the beanie to ensure a right-side-up pattern. If everything looks good, start the machine and watch it do its work.
When the machine is finished and the design is in place on the beanie, it’s time to remove the hat from the hoop. Once it is loose, use a pair of scissors to trim away the excess fabric of the stabilizer, being careful not to cut the fabric of the hat or the embroidered stitches. You can also dip the beanie in water to remove the water-soluble stabilizer and any marks that you made before adding the design. Once the beanie is dry, it’s ready to wear or give away as you see fit.
If you don’t have a dedicated embroidery machine, you can still embroider your beanie using your sewing machine or stitch it by hand. The following sections can help you with this task.
Not every beanie has a cuff that folds up from the bottom. If you’re embroidering one of these, the following steps can help you add your designs properly. First, take a piece of tear-away stabilizer with an adhesive backing and place it in a hoop, pulling it quite taut. Make sure the shiny side of the stabilizer is facing up.
Next, use a pin to tear the paper layer of the stabilizer, then peel the paper off to expose the sticky surface. When the paper is gone, use a disappearing ink pen to draw a horizontal and vertical line that connect in the middle of the stabilizer.
Take your beanie and use a pin to mark the spot where the center of the design will be. Then secure the beanie to the sticky stabilizer, ensuring that the pin lines up with the vertical line and the bottom edge of the hat is even with the horizontal line.
Stitch your design where the pin is located on the hat, removing the pin before you begin. When the design is fully added, tear off the excess stabilizer material and trim any threads. Now your beanie is ready to wear.
For a beanie with a cuff, you start the same way using the stabilizer and hoop, peeling off the paper and marking the horizontal and vertical lines on the sticky surface. Then mark the center of the design on the cuff of the beanie using a pin.
Take some fusible polymesh stabilizer and cut a piece slightly larger than your design and iron it on the back of the cuff, behind where the design would be. When this is in place, unfold the cuff and secure the beanie to the hooped stabilizer so that the pin is in line with the vertical line and the bottom edge of the beanie is aligned with the horizontal line.
Rotate the design 180 degrees, so that the design prints upside down. This will ensure that it is right-side-up when you flip the cuff back up after the embroidery is done. Cover the design area on the beanie with a water-soluble stabilizer, remove the pin, and stitch the design.
When the design is finished, tear away the excess stabilizer material, flip up the cuff, and the beanie is ready to wear.
Embroidery Trusted Source World Mental Health Day In a society where technology is king, with everything from the weekly shop to reading the latest thriller possible to achieve on a machine, it’s hardly surprising that mindfulness is having a bit of a moment. www.crewelwork.com can add a wide variety of designs and embellishments to your clothing, including the pieces you wear on your head. You can add a company logo, a favorite phrase, some holiday designs, or even a fun picture to your headwear. Of course, in order to do this properly, you first need to learn how to embroider beanies for a professional look that you’ll want to show off.
Luckily, this is easier than you may think, thanks to the many different embroidery machines and tools available for this process and the methods we’ve described. Beanies are also quite cheap, so you can add your favorite designs to as many as you like for gifts or to sell for some extra money.