The first thing most of us think of to showcase our embroidery skills is to put it in a frame and hang it on the wall. While this is the easiest route, the artistry of embroidery can be displayed in other means that give the final piece a professional look.
We are going to explore the different ways of how to display embroidery. Some methods may require prior planning so you can factor in extra fabric or other tools needed before you begin your embroidery project. We have discussed this in detail in the embroidery preparation section below. Consider our article as a guide of ideas you could adopt while experimenting with more options of how to display embroidery in creative ways.
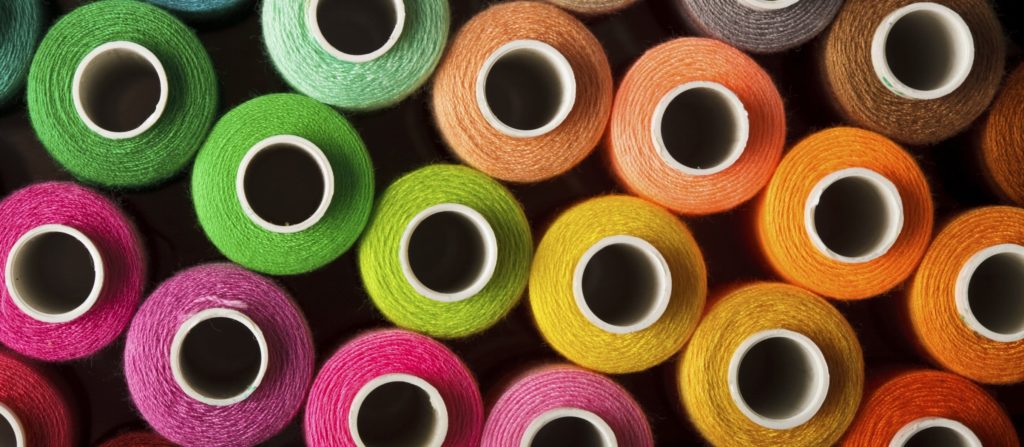
 Keep in mind that the fabric quality, type of thread, needle and stitching, a suitable design, and the combination of colors will all play a role in creating an embroidery masterpiece. Materials that are flexible enough to stretch out or fit in the frame without losing color include linen, silk, cotton, satin, polyester and velvet. We recommend this computerized sewing machine with 197 stitches for convenient DIY embroidery.
The count, which refers to the number of threads per inch, determines the final size of the embroidery.
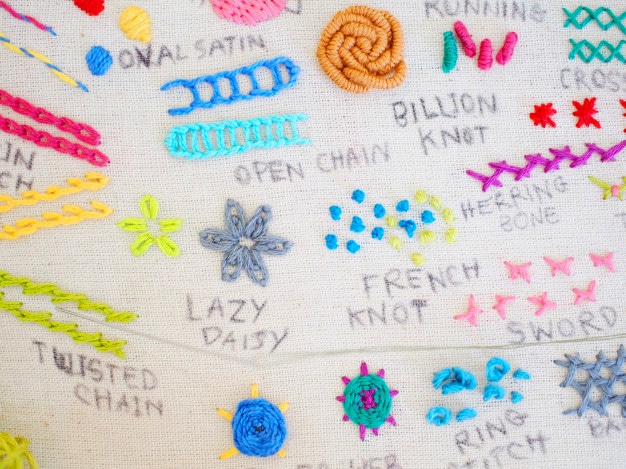
The embroidery stitches will vary according to the fabric weight and thickness; herringbone and chain stich favor thin fabrics; satin, stem and running stitches are ideal for medium weight; and the best stitches for heavy fabric are cross, blanket, button-hole and long running stitches.
Silk, satin, cotton and chiffon are considered fabrics of light or medium weight while velvet and glazed cotton are heavier.
When selecting the best fabric for embroidery, consider its weight, thickness, softness, the stitches and design you will employ, and how you intend to use the final piece. Some embroidery sewing machine like Brother SE1900 can make this task much easier.
Needles come in assortment packs that vary in length, sharpness, thickness, point shape, and eye size. They are indicated by numbers, with a higher number indicating a finer needle.
The material needs to be ironed on the lowest setting with fabric wrong side up to remove wrinkles.
Below we will detail how to display embroidery in simple ways.
After ironing the embroidery, we will outline simple steps of how to display embroidery in a frame. You will need scissors, a sewing needle, cotton thread, a frame with backing board, and your embroidery, of course.
Remove the back of the wooden or metal picture frame. The frame should be big enough to fit the embroidery. You can choose to take the glass out if you will be placing the design underneath it.
Thread the needle with a 12-inch thread and tie a knot at the end. Place your embroidery at the center of the backing board. Hold the board’s sides and flip the board with the embroidery over.
Sew a zigzag stich back and forth between the long edges to stretch out the fabric. Sew the short edges of the embroidery, tuck them towards the board’s center and stich between the edges, then tie off and cut the thread.
Put the backing board back into the frame and slide the clasps to secure it.
Display your embroidery on a table or hang it on the wall. You can place the embroidery on its own to make it stand out, or group it with other designs for an artistic pattern.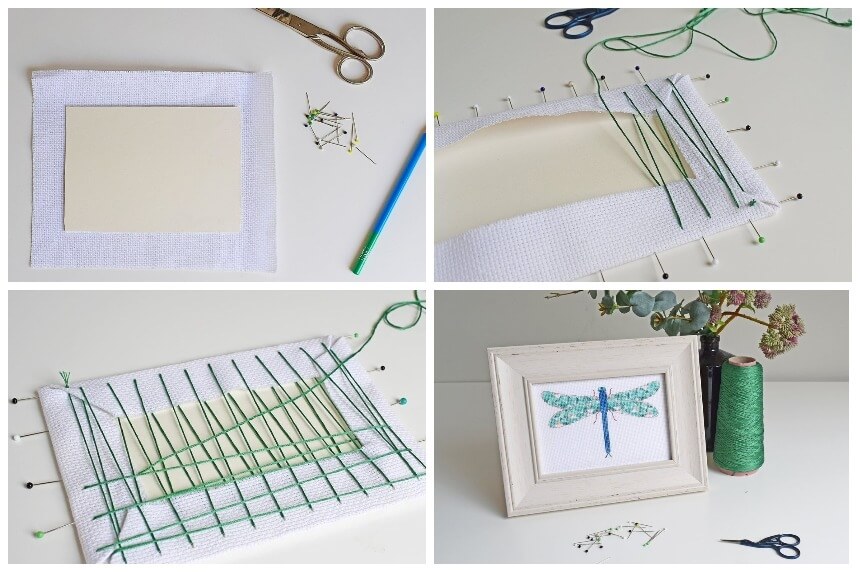
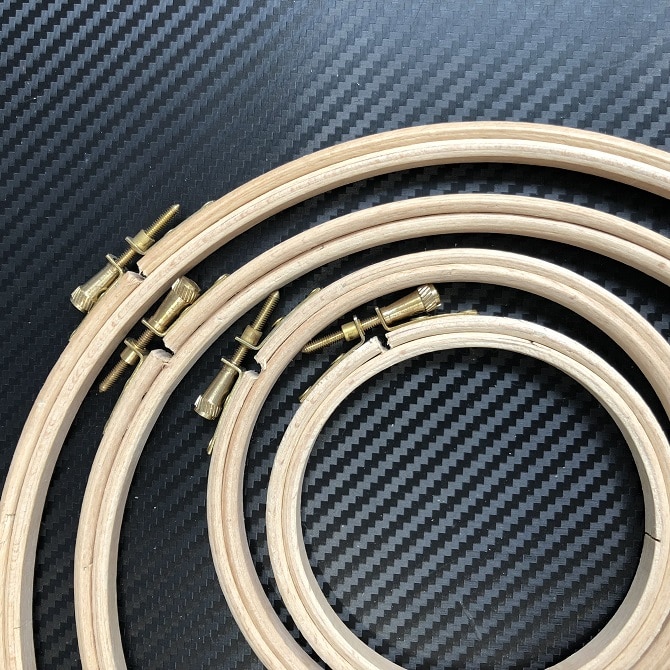
Place your embroidery face-down with the hoop’s back face-up.
Thread the needle with a 1-ft long and sew a simple stitch such as running stitch loosely around the outside of the hoop, paying attention to the excess fabric. The stitches should look like a large circle with 2 threads hanging from your embroidery project.
Trim the excess fabric from the embroidery hoop and leave approximately ½-inch margin between the fabric and the stitches.
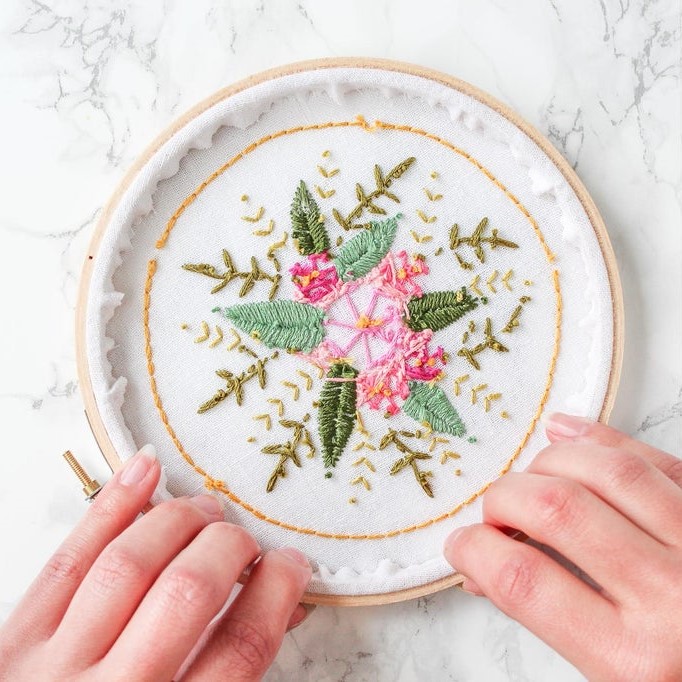
Stretch the embroidery into the hoop and tighten it by tugging the two threads at the start and end of the stitches. Next, tie the loose threads together into a knot to secure the embroidery.
Cut out a circular fabric for the back cover, and put felt or wool on the hoop’s top. Apply hot glue on the fabric and under its ruffles to secure it behind the embroidery hoop. Put glue on the felt and press it gently to the hoop’s back to cover the circular fabric. Alternatively, you can stitch the fabric to the back instead of using glue and then knot the ends. Remember to wait for the glue to dry. This is how you display embroidery in a hoop.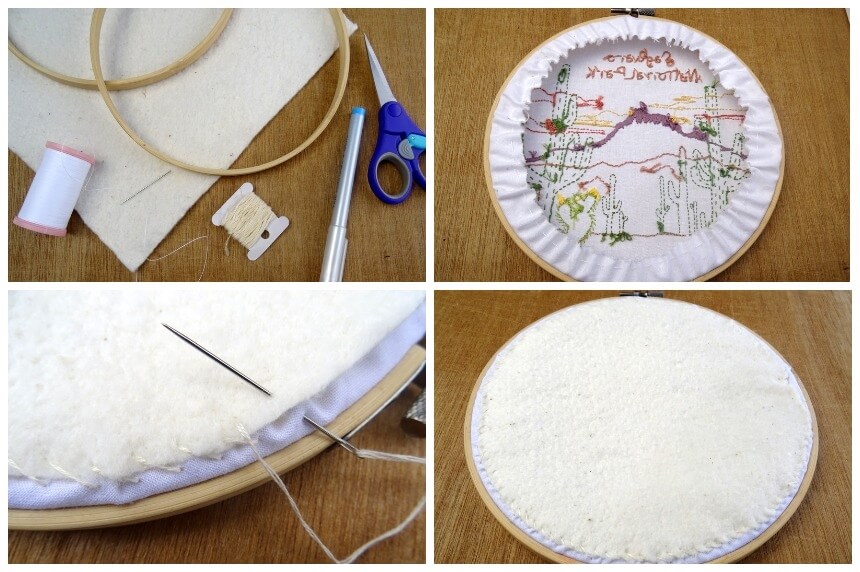
Here are some options that make creative ways to display embroidery.
You will need your embroidery, 4 binder or bulldog clips, a pencil, a ruler, stretched ¾-inch thick canvas, sawtooth hanger, felt, craft glue, and hot glue gun.
Place the embroidery face down and add the canvas face up on top. Wrap and then clip one edge of the fabric around the frame. Do this for the four sides.
Pull one corner of the fabric and pinch it against the back of the respective corner. Fold it down tightly to stretch it and staple the corner. Do the same with the other corners, and then remove the binder clips.
With the fabric pulled taut along the frame’s back, staple the middle of each of the four sides.
Cut out felt that is smaller than the canvas, add glue around it and attach it to the back of the canvas frame. Let the glue dry, and then hammer a sawtooth hanger through the embroidery project and into the back edge of the frame’s top.
Did you know that you can embroider banknotes, bathtubs and beddings like pillowcases?
To display embroidery on your pillow case, you will need your embroidery project, bonding tape, poly-fil fiberfill, embroidery needle, scissors, linen fabric for the pillow’s back, 6-strand embroidery floss color, and straight pins.
Cut the linen the same size as the embroidery. If the linen needs ironing, do that on the reverse side of stitches at medium heat setting.
Place the embroidery face up.
Cut three strips of bonding tape and attach them to three edges of the embroidery by ironing them. Wait for them to set, and then peel them.
Next, place the linen fabric on top of the embroidery’s front, ensuring that the sides are aligned. Iron the tape again to bond the linen fabric to the embroidery.
Adjust the pillowcase after the tape cools down and sets.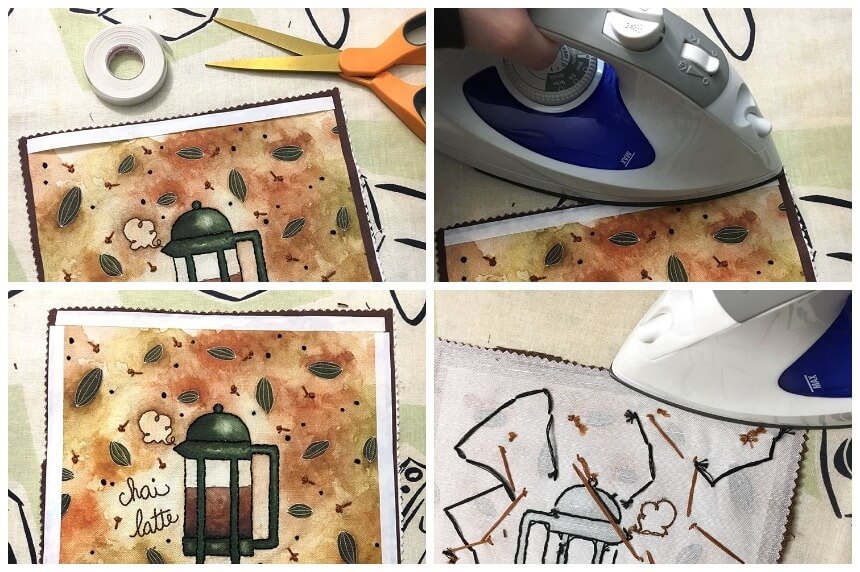
There are embroidery books that detail several ways to display embroidery. For towel racks, some machine-embroidered things you will find are monograms, flowers and patterns with a calming effect.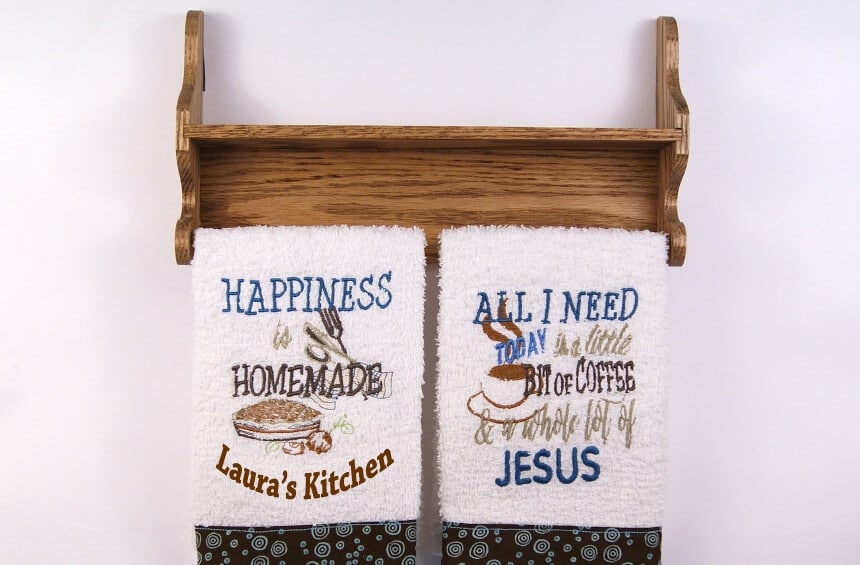
A creative way to display embroidery is on a large-sized Enamel Pin Wall Display Banner that can accommodate your masterpiece. It provides plenty of space with neat margins around the sides that highlight your embroidery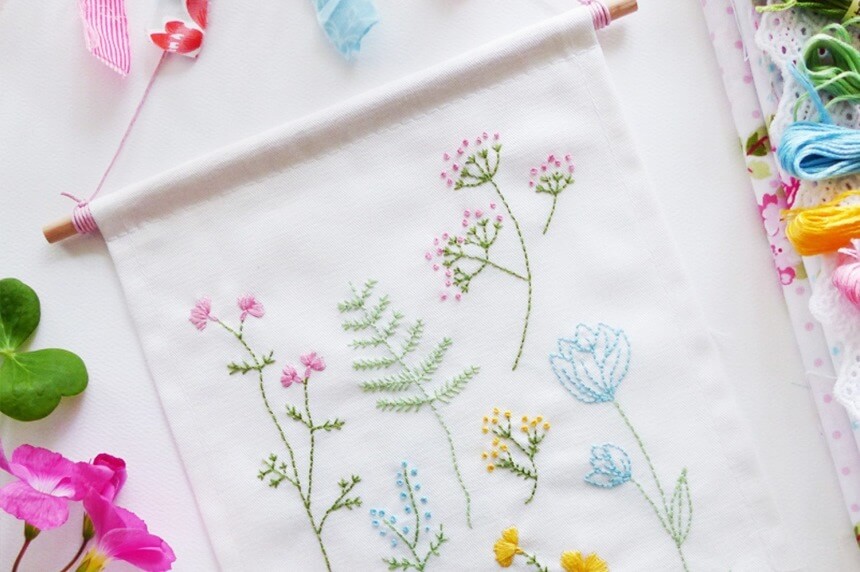
Another creative way to display embroidery is by quilting several embroidery pieces together to create an intricate pattern, or by using an embroidery piece and part of a larger quilt to frame.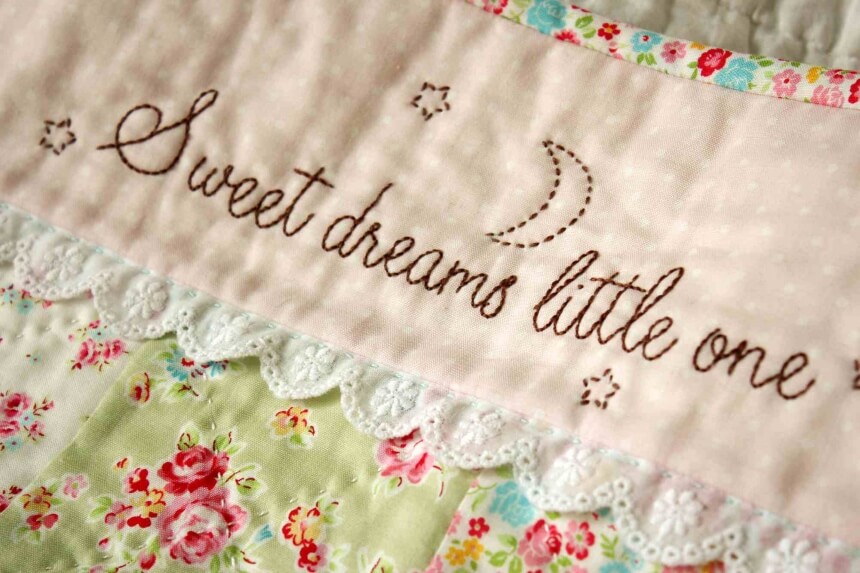
Making decorative items is much easier with an embroidery stabilizer which keeps the stiches in place to prevent the fabric from creasing, moving or stretching. You can display embroidery as solo work of art on a banner to let it take center stage or set it on a table or frame next to similar or complementary designs. You could also have the designs on bath racks or suspended on hooks. Our guide on how to display embroidery also emphasizes on the importance of choosing the right materials for your intended design for best results. These include using the proper fabric, thread, needle and stitches, keeping in mind the creative places you will be displaying the finished embroidery project.