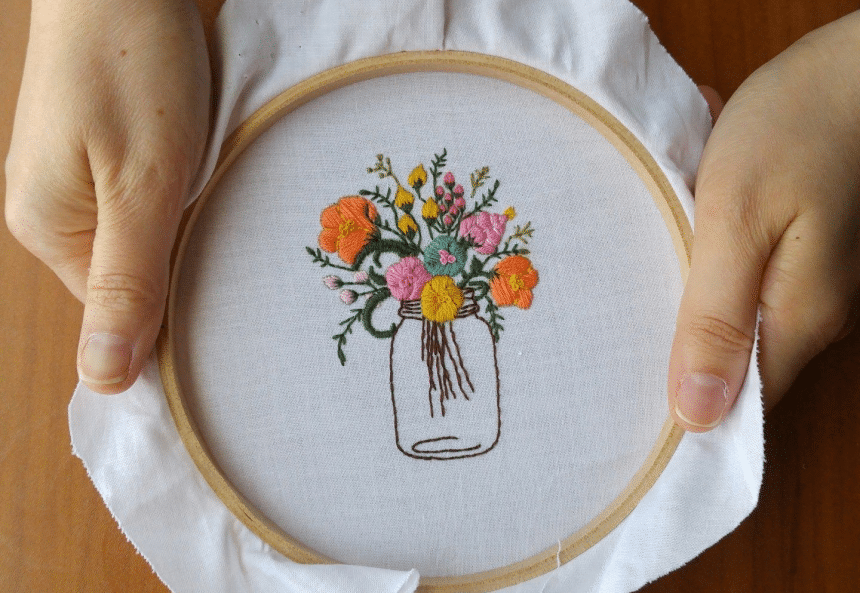
Embroidery has been around for thousands of years and is essentially the art of adding decorative stitching to fabric. There are different types of embroidery, including needlepoint, cross-stitching, crewel work, and quilting, all of which take some practice to get the hang of. You also need to right materials and tools for the job. Once you have it all together, a bit of time and skill can eventually create a fantastic finished piece you’ll be proud to show off.
Of course, you can’t complete your pieces without learning how to finish an embroidery hoop. This is the act of trimming the ends and sewing it up for a neat, tidy piece that you can hang on a wall or gift to a friend. It’s a simple process that even beginners can get the hang of in no time.
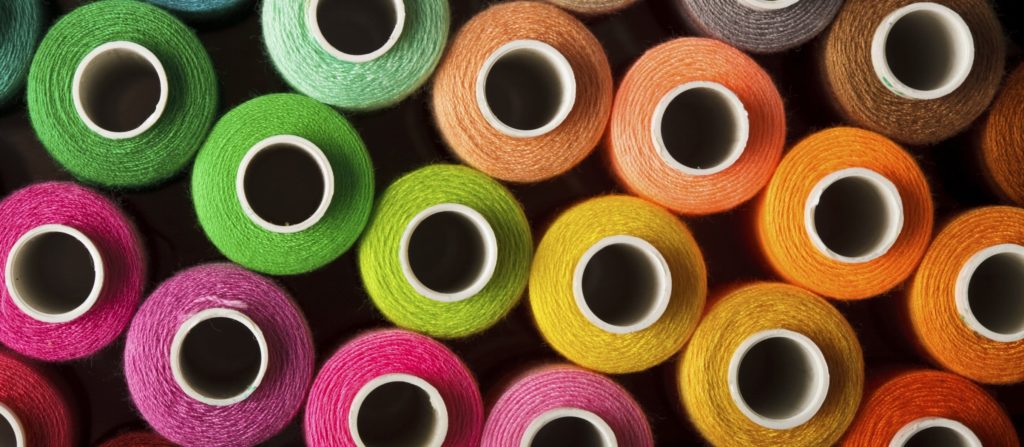
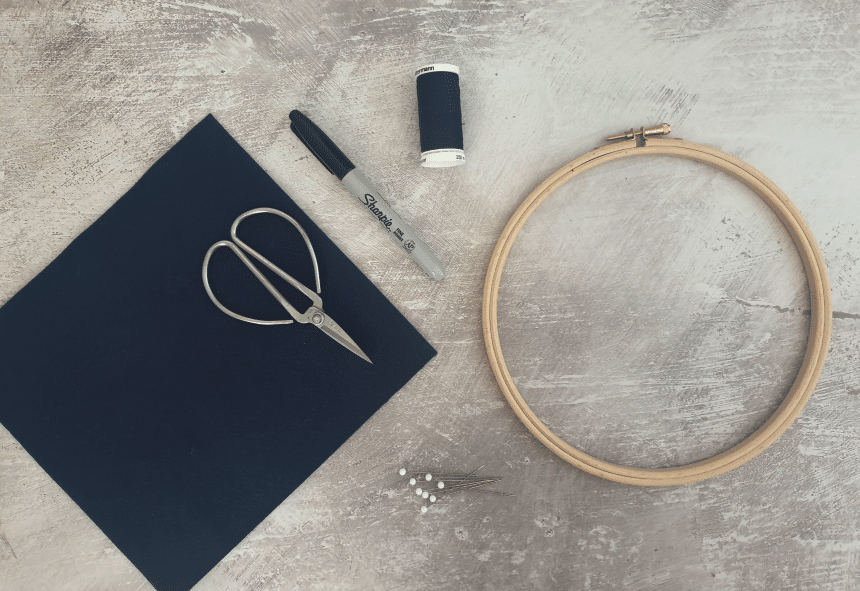 You only need to gather a few items for finishing an embroidery hoop, including:
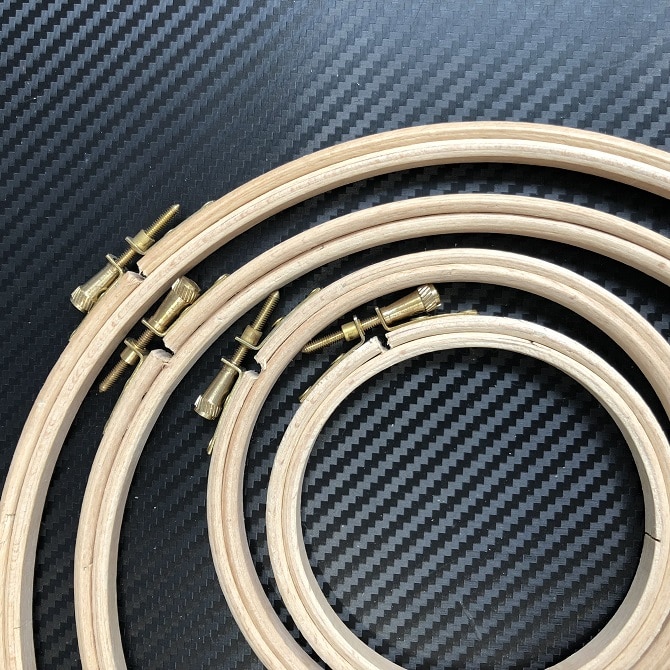
Once you’ve gathered your materials, it’s time to finish your embroidery hoop. There are several hoop options available, like the Semetall Embroidery Hoops, which are made of rubber, with a wood look and a few sizes to choose from. The Embroidery Hoop Frames by Celley are also good options, with sizes ranging from 5.5 to 10.2 inches available.
 Place the hoop over the felt and trace a circle using the inner hoop ring. Take your scissors and cut the circle. Then set your felt circle aside.
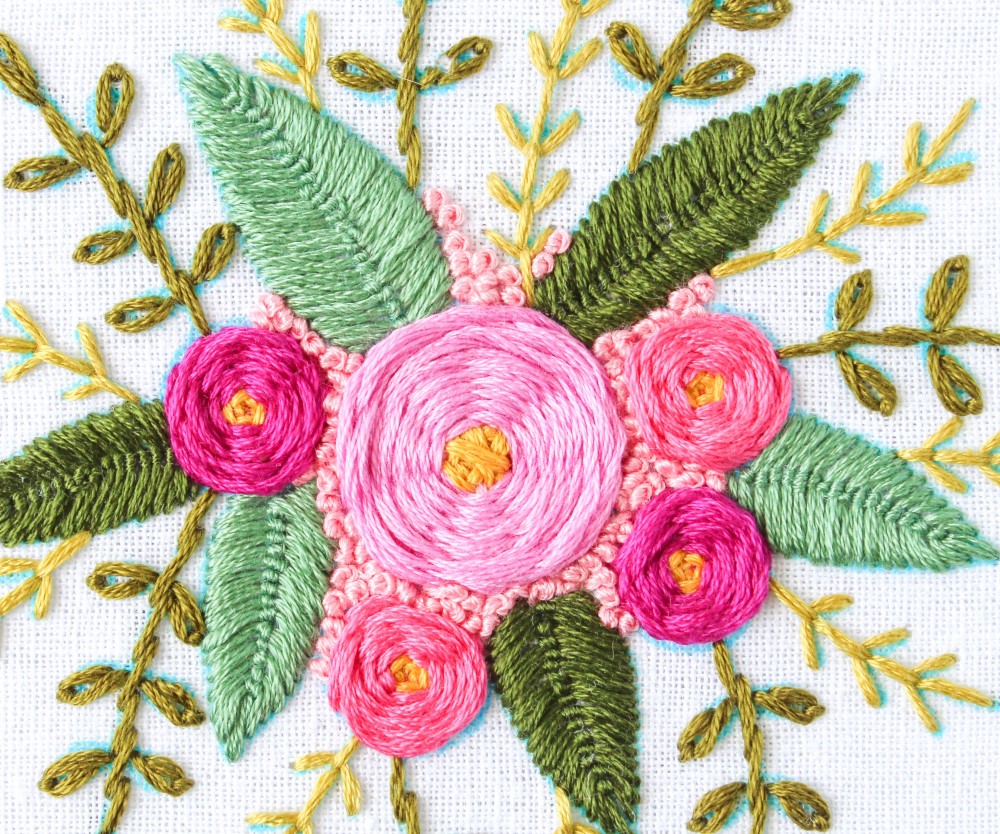
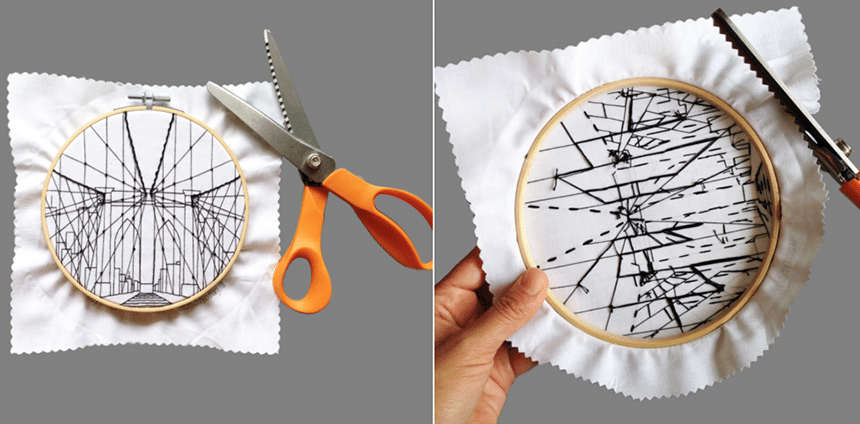
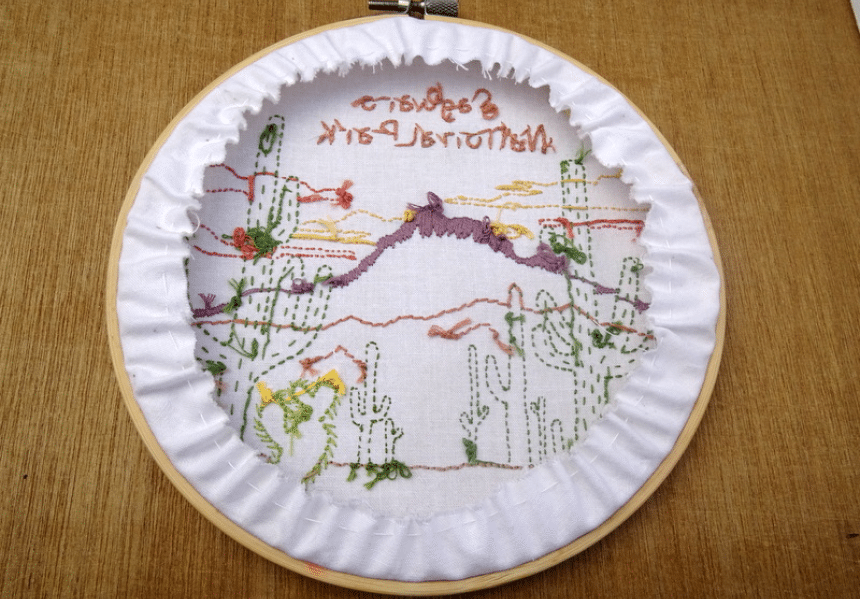
 Take your finished embroidery and place it in the hoop. Stretch it until it is smooth, then tighten the screw to hold it in place. Trim the extra fabric about an inch from the hoop. It doesn’t need to be perfect since this area later be hidden.
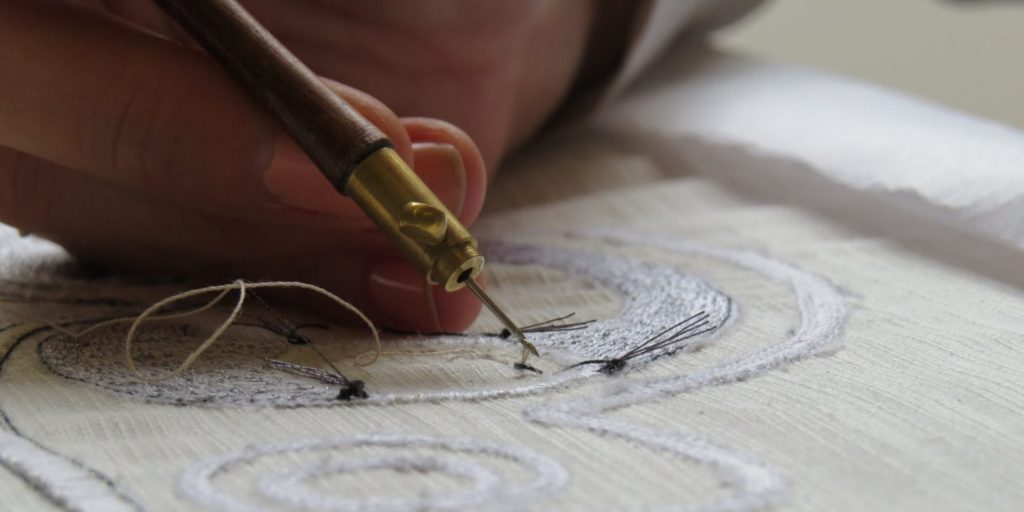
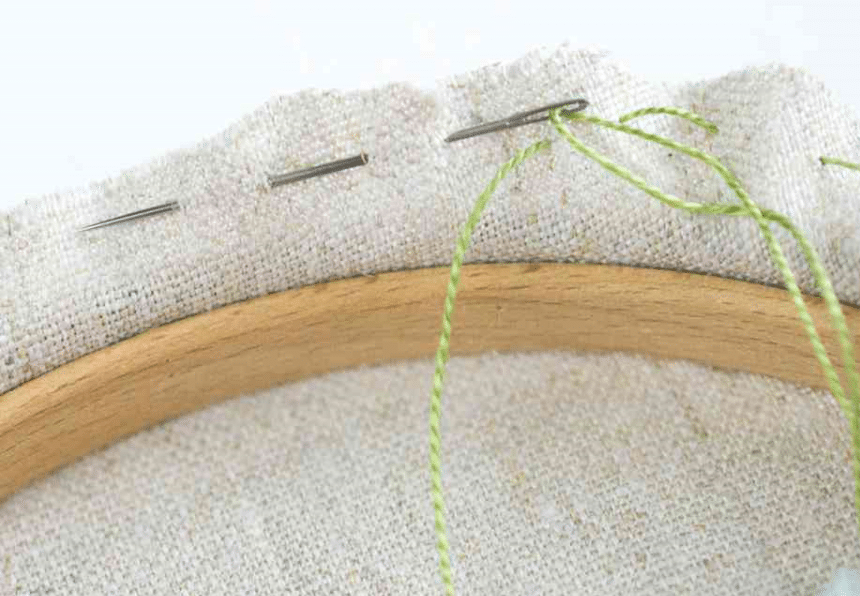 Cut your sewing thread, ensuring that it’s long enough to stitch completely around the circle of fabric. Using a Running Stitch, stitch around the circle, leaving a 4–5-inch tail at the start.
 When you’re finished stitching the circle, pull the threads to gather the fabric. Knot the threads, cutting off the excess. Then place the felt circle over the back of the gathered fabric. Sew it on using a Whip Stitch, then knot the ends, trimming the excess.
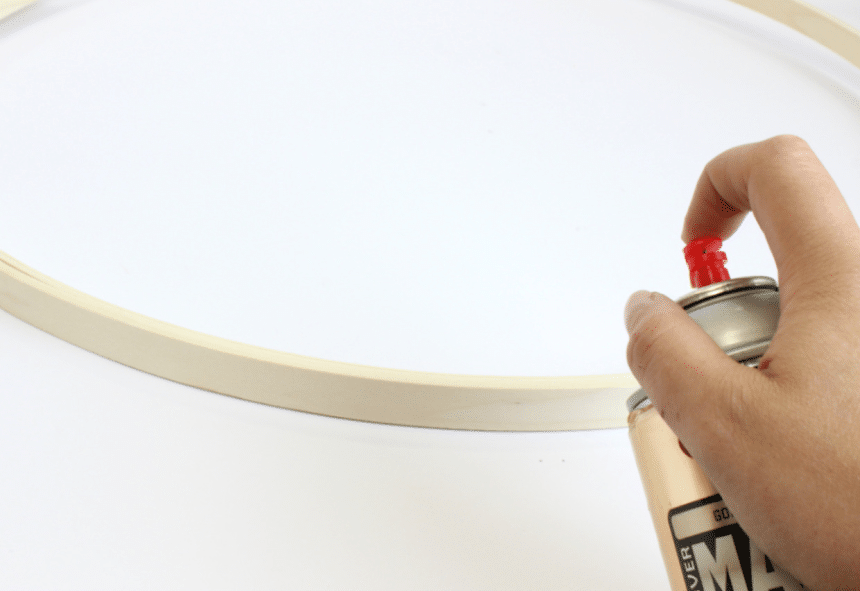
There are a few things you can try to personalize your finished embroidery hoops for a more unique look.
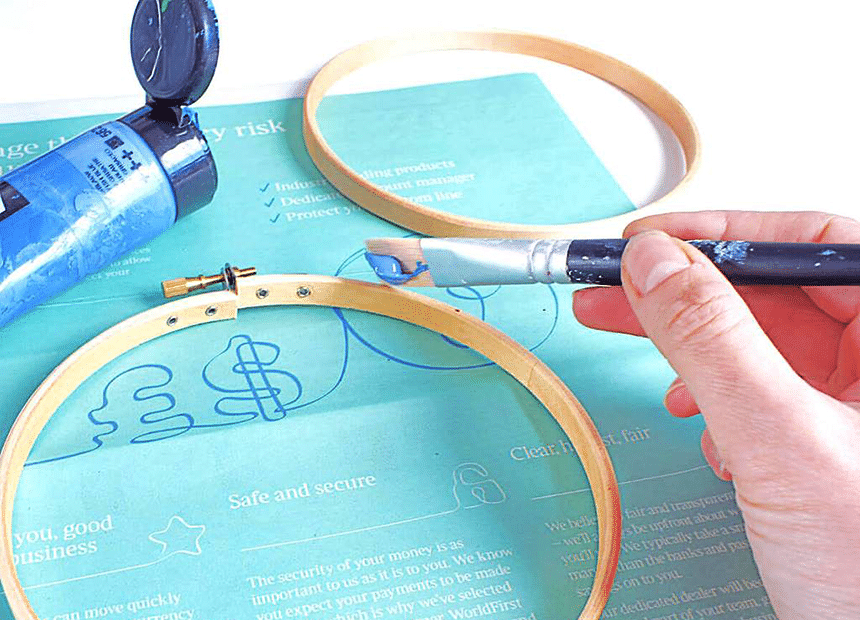 Painting your hoop with acrylic paint before adding your finished embroidered pieces adds a touch of color that matches the thread or design you’ve chosen perfectly.
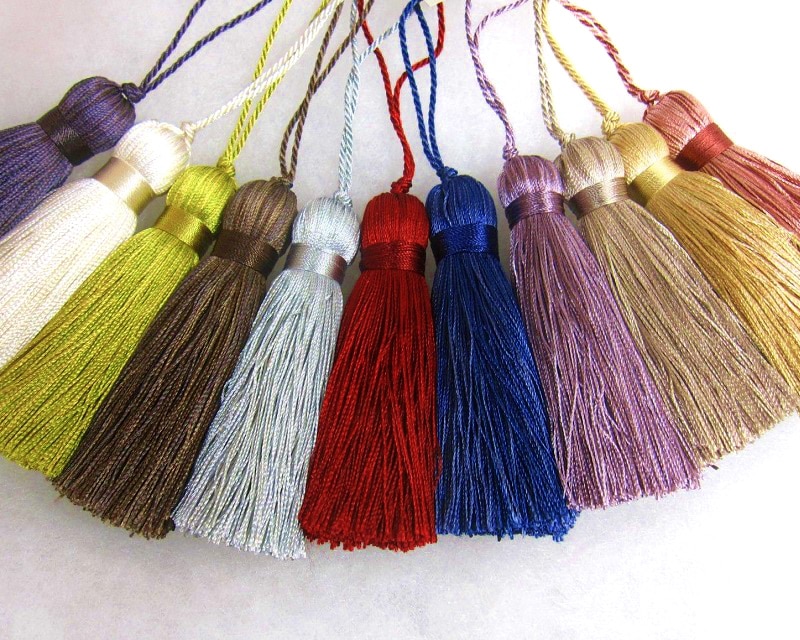
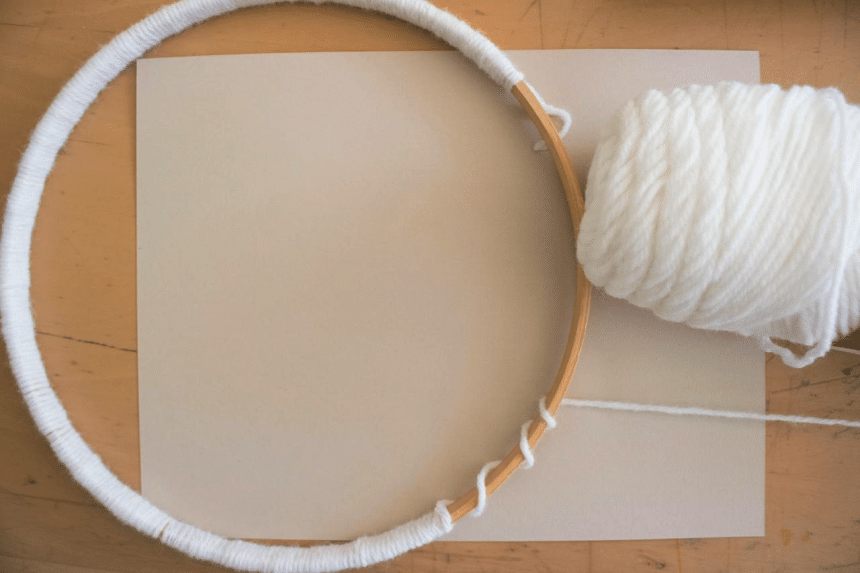 Starting at the hoop’s hardware, wrap your favorite yarn snugly around the hoop until you’ve covered it completely. Use a few stitches at the end to secure it in place.
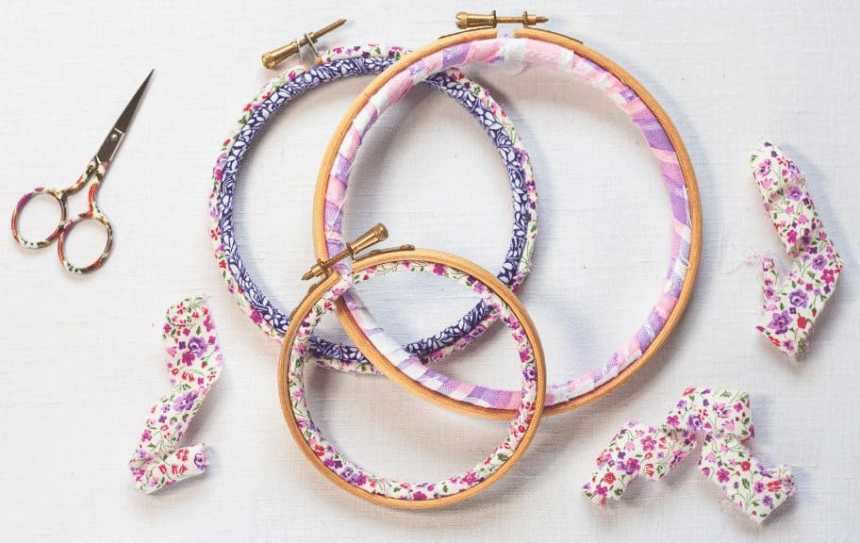 You can also wrap strips of fabric the same way you would with the yarn, though you need to overlap the fabric for complete coverage.
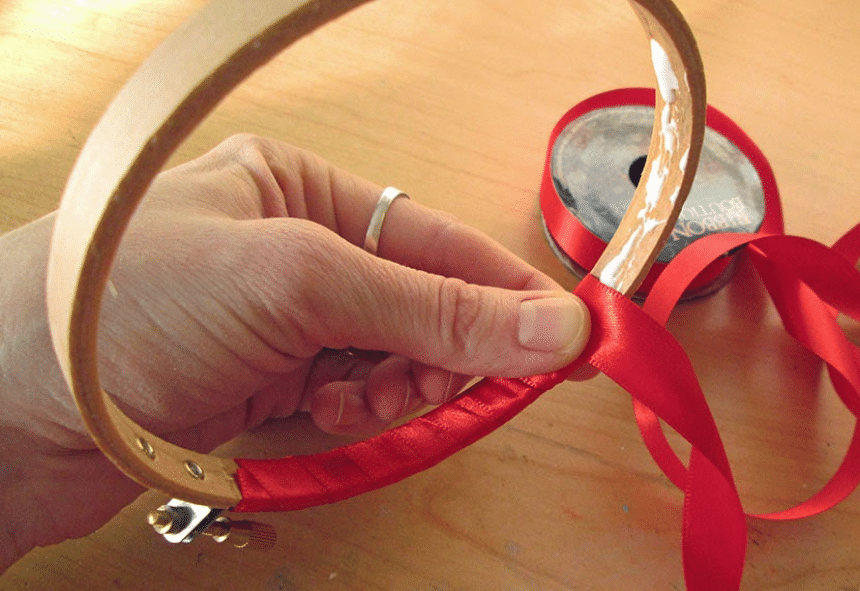 Wrapping with ribbon is another option, using the same technique as the yarn or fabric. You can also use some craft glue to hold the ribbon in place. A lovely bow where the ends meet adds a decorative touch.
 Soak your embroidery hoop in a pretty dye for a new color or stain it to give it a woody look that accentuates your finished pieces.
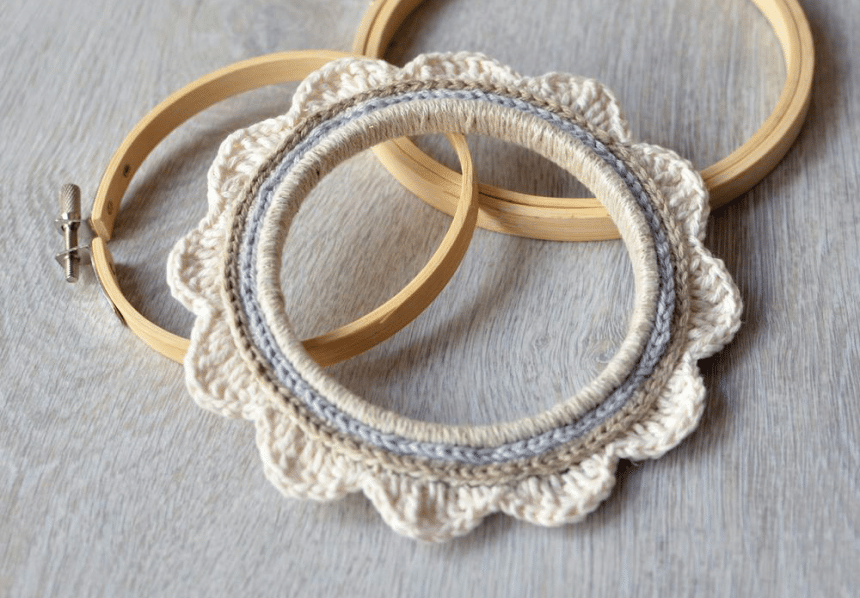 Crochet décor can be purchased in a variety of colors and styles, plus it is easy to attach to your hoop using craft glue.
 You can also use that craft glue to add some other décor, like pom poms, beads, sequins, gems, or even glitter. This allows you to personalize your hoop as you see fit.
You can also try to use two hoops of different sizes and create an intricate embroidery design, like the one in this video:
Though embroidery is a skill that takes time to master, it is also a fun one that allows you to create some beautiful pieces of art. Of course, once the embroidery is completed, you still need to learn how to finish an embroidery hoop to get it ready to hang on your wall or gift to a loved one.
As you can see from our steps above, this process is quite easy, with only a few items and a bit of your time needed. There are also ways to alter your hoop for a personal touch that your guests will appreciate.