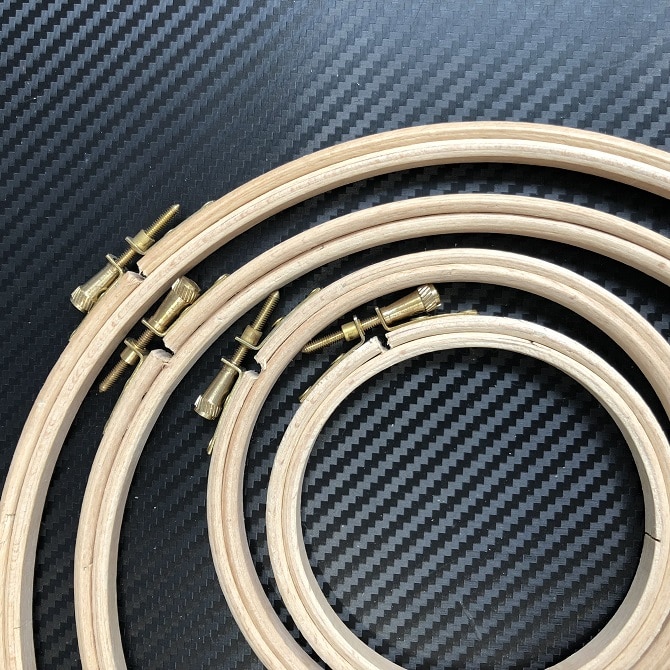
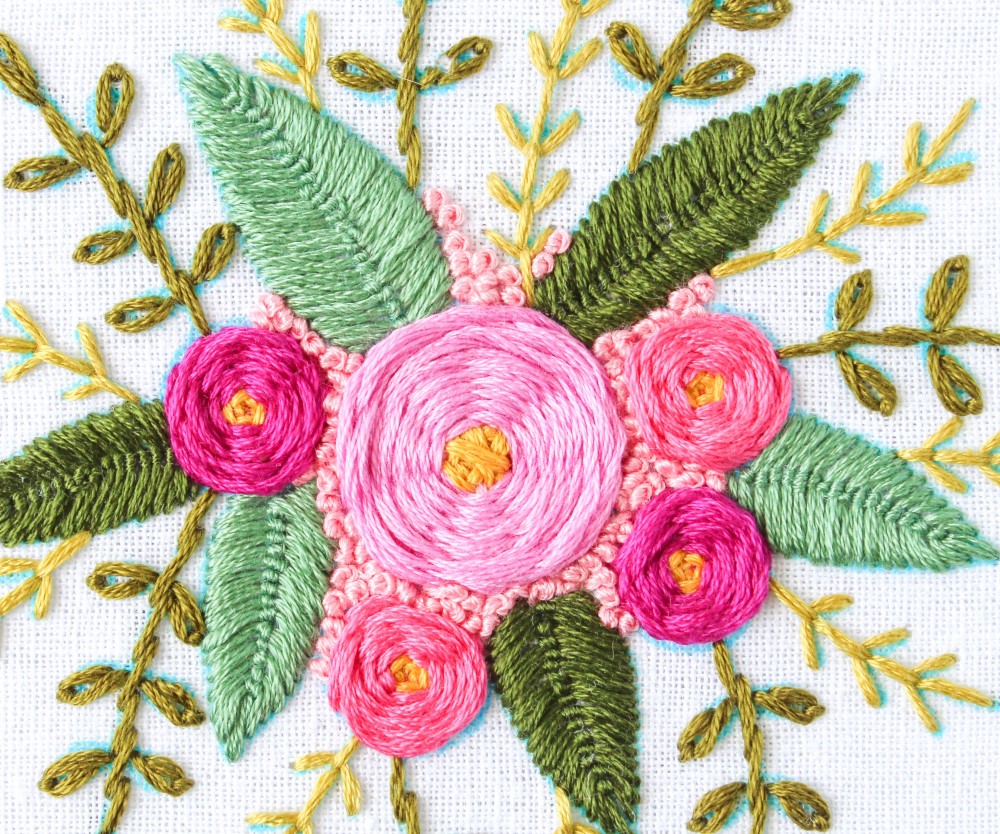
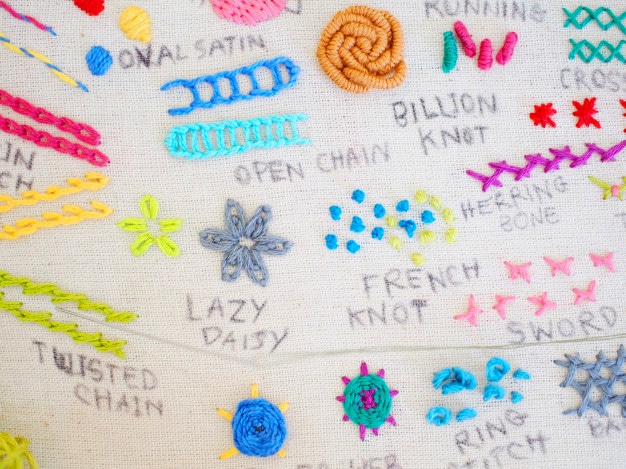
Embroidery is one of the many sewing techniques that you can learn, and have fun while doing it! It allows you to create intricate designs and patterns on fabric, though you do need the proper tools for the job. Embroidery hoops hold the fabric stiff and straight for even stitches, while thimbles protect your fingers from the pointy needle you’re using to get the embroidery threads through the fabric.
Of course, before you even begin your projects, you need to learn how to thread an embroidery needle, which can be a rather tricky task, especially for beginners. Luckily, there are a few different methods that you can try out to get that thread where it belongs. It may take a bit of practice to get the hang of it but before long, you’ll be threading your embroidery needles on the first try.
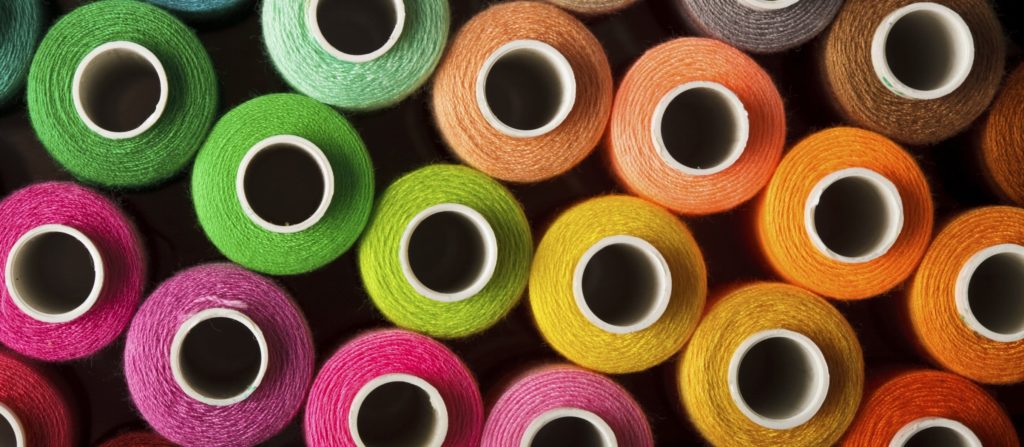
And if you’re looking to top up your practice thread, take a look here for 9 of the best machine & hand embroidery threads we’ve found!
Though you may think that you can grab any sewing needle for the projects you have in mind, there are specific needles for certain projects. Embroidery needles are long, with larger eyes to accommodate thick embroidery thread and sharp tips to penetrate the tight weave on embroidery fabrics.
They come in varying lengths and thicknesses, so you can buy a set to get a few options to work with. The 25 Large-Eye Stitching Needles Set is a good option since it includes 5 different needle sizes, all with large eyes for quick threading. To be sure you’re getting the right needles for the job, you may also want to consider the 47-Piece Cross Stitch Tool Embroidery Starter Kit, which comes with several needles, as well as hoops, thimbles, scissors, and much more.
Without experience in threading embroidery needles , you may not be sure how to do so properly. Luckily, there are a few methods that you can try out to see which one works best for you.
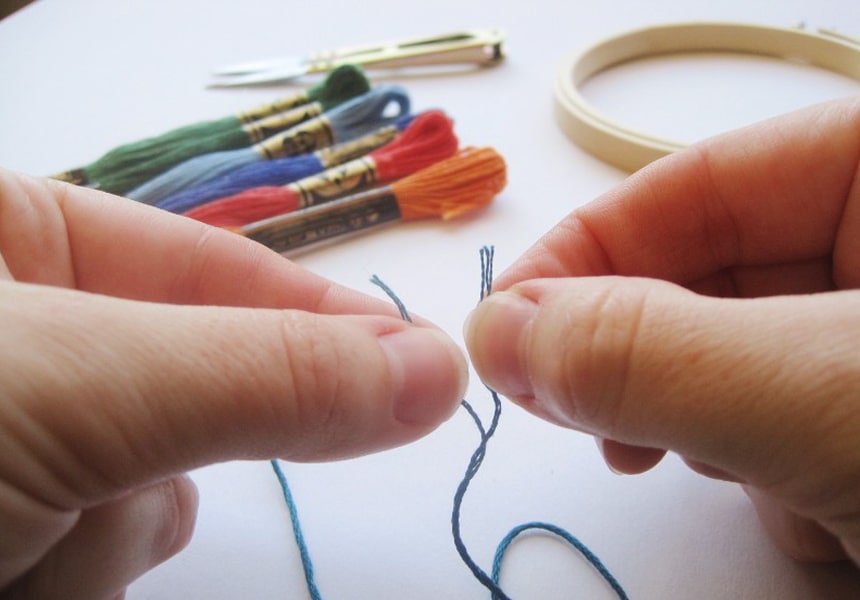
Embroidery thread is made of 6 smaller strands of thread woven together. This thick thread can be tricky to fit through even a large needle eye, so splitting the strands can help. You even end up with the right size of thread since they will be folded over after the threading is done, giving you your 6 strands back, with three on each side of the eye.
First, split your thread in half and take your 3 strands of thread in one hand. Twist the strands together on one end and feed them through the eye of your embroidery needle. Then pull the ends until they are even with the needle on the other end of the thread.
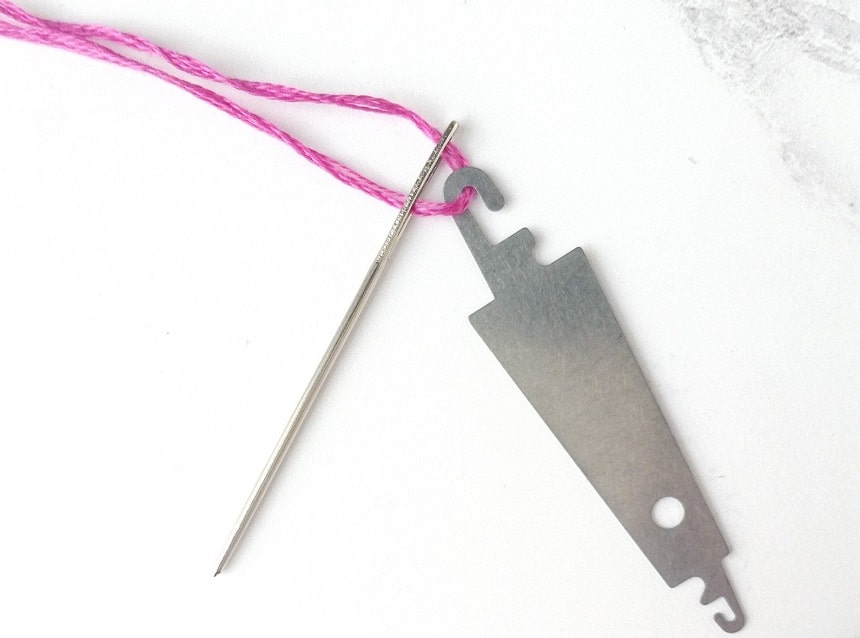
Threading embroidery floss using a needle threader is one of the easiest methods there is since the threader does most of the work. There are a few types available, all of which have the same main features, with a few differences, depending on the type you buy. A popular choice is the Dritz 202 LED Needle Threader, which includes a retractable wire threader, an automatic LED light, and a thread cutter for easy threading.
To use a needle threader, hold it with one hand and the needle in your other hand. Push the wire loop of the threader through the needle’s eye, then grip the needle and the threader in one hand to hold them in place. Insert the embroidery thread through the open end of the wire loop, pulling it through to create a tail of a few inches.
Hold the thread and tail together, then pull the wire loop out of the needle’s eye. Once it’s clear of the eye, release the thread’s tail and pull it through the threader to bring it through the eye. When the tail is completely through the threader, pull both ends together until they are even, trapping the needle at the folded end of the thread.
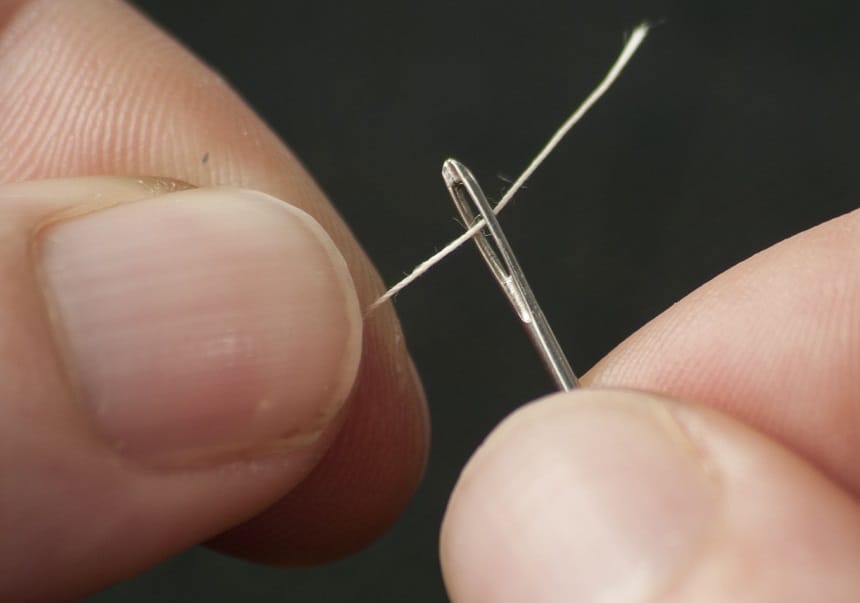
Though it is the trickiest of all the thread methods, the regular way is a tried-and-true method to get that thread secured and ready to embroider with. To start, moisten the end of the thread and trim it to remove any straggly bits. Pinch the end between your thumb and finger so that there is only a short bit of thread peeking through. This adds support and keeps it as straight as possible.
Place the eye of the needle over the little end of the thread and push the thread through. This may take a few tries but go slow to avoid bending the thread. When it goes through the eye, pull the thread through.
This method uses the full thread, so you don’t need to double it up like you would with the split method. Instead, leave a tail of a few inches on one side of the eye that you can pull through the fabric as you sew.
Once you know the right way to thread an embroidery needle for hand embroidery, it’s time to secure that thread in place and get your fabric ready to start embroidering.
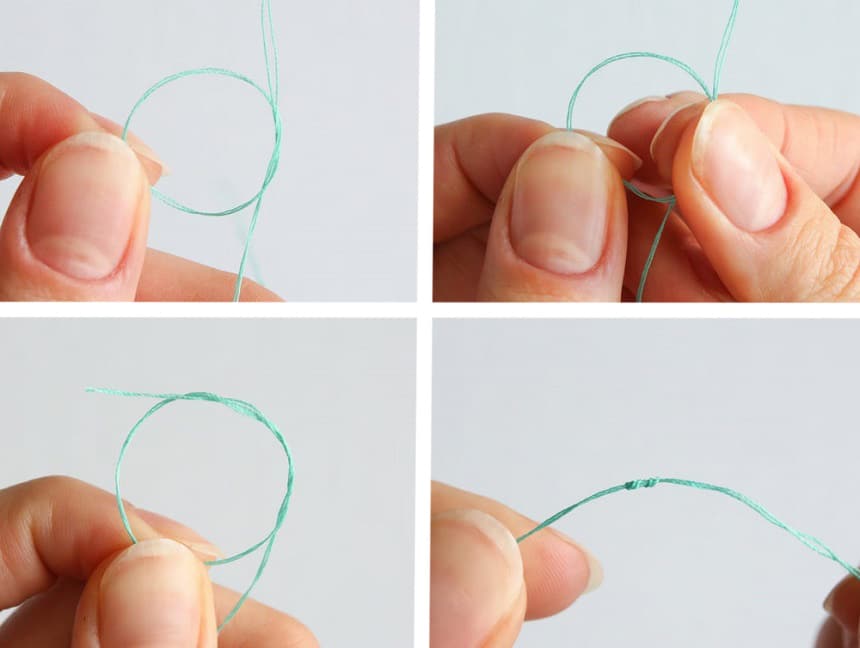
With the needle threader and regular methods, you’ll be tying the knot on only the long end of the thread, while the split method will require you to pull both ends evenly and knot them together. Either way, the knot itself will be the same.
To create a basic sewer’s knot, all you need to do is make a loop at the end of the thread. Then tuck the loose end through the loop and pull it tight. Depending on the thickness of the fabric, you may need to repeat this process for a larger knot that won’t pull through the fabric. Then trim the ends.
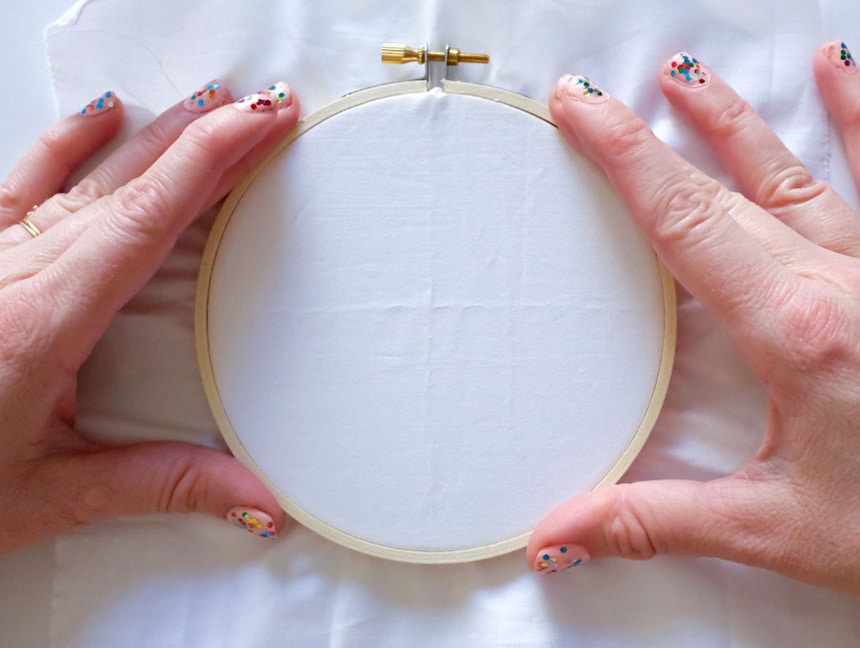
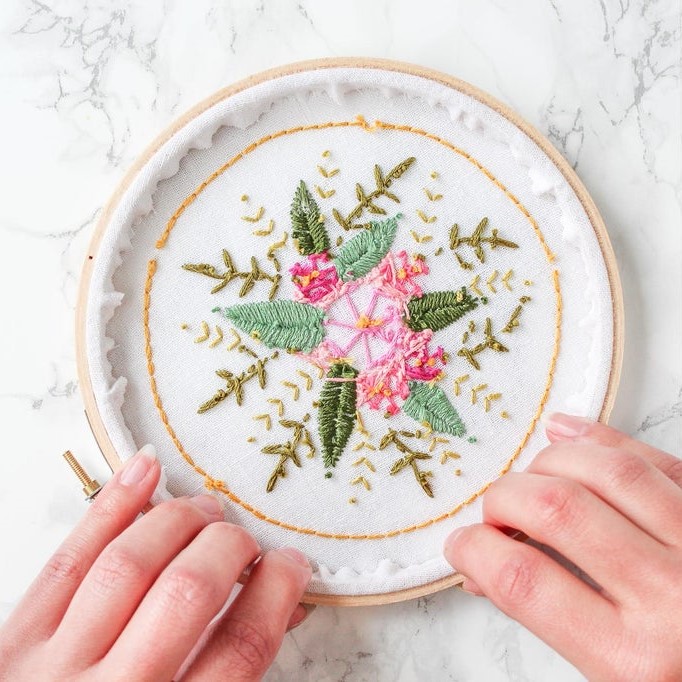
Once your needle is ready, you can prepare your fabric by stretching it into the hoop. First, separate the inner ring from the outer ring. Place the fabric over the inner ring, ensuring your pattern is centered in the middle. Then place the outer ring over the fabric until it is securely over the inner ring with the fabric trapped between them.
Gently pull on the fabric’s corners to tighten it. Be sure to pay attention to the pattern during this process to be sure stays even. The more stretched the fabric is in the hoop, the easier it will be to stitch.
Gathering all the items you need to embroider some amazing projects is the easiest part of learning this skill. There are also a few intricate details that you need to practice before you leave behind your beginner status.
One of the trickiest parts of this hobby to learn is how to thread an embroidery needle. It can be frustrating when it doesn’t work the first, second, or third time, but there are a few methods to try out. This allows you to test your skills with all of them and hopefully master one. Before long, you’ll be threading an embroidery needle the right way, with zero effort!