Squaring a quilt is a skill you need to master because it will come in handy when you want to join a minimum of three layers of fabric, either with the help of a sewing machine or with a needle and thread.
You may have a hard time squaring your quilt, especially if the quilting density is uneven. To get the job done faster and to make it neat, there are some steps to follow.
In this article, you will find out how to square a quilt from start to finish.
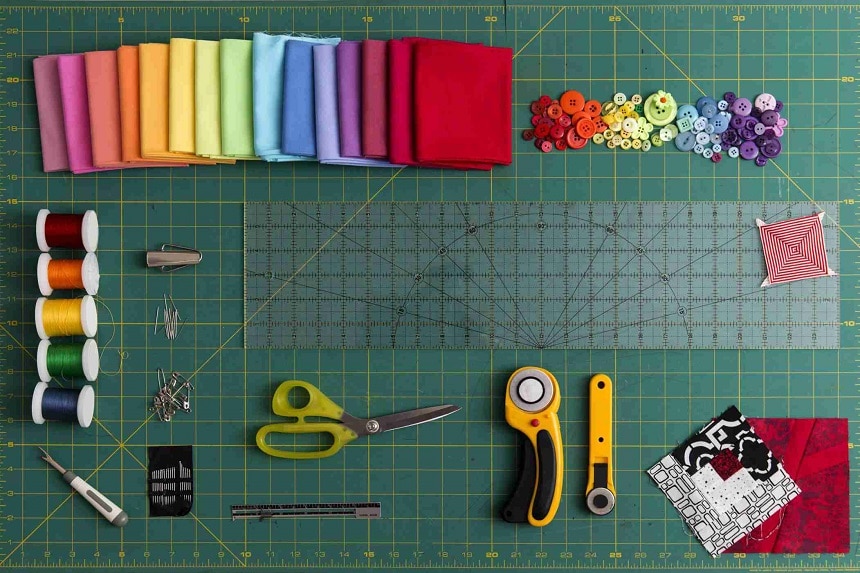
Before any other thing, have you got the required tools needed for hitch-free quilting?
If you haven’t, here are some of the materials you will need:
If you need a quilting ruler, consider the model from Creative Grids that will ensure the precision you are looking for.
Let us now get to work. For you to successfully square a quilt, several important steps must be followed.
Your eye for detail and ability to follow the steps to the latter will make it a lot easier to get over squaring up a quilt in the shortest time possible.
That said – below are the procedures to follow.
The first step when learning how to square a quilt is to mark the corner. Start by marking in the corner by aligning a large square ruler in a way that the edges are equidistant from the interior part of the quilt.
Check to be sure that the two edges of the quilt are under the ruler completely on both sides.
Once you’ve confirmed that, proceed to take the measurement you got and compare it with the other three corners of the quilt to be sure they are the same.
Proceed to mark the corners of the quilt using the earlier measurement you obtained. After that, you can then mark the border between each of the corners.
Also, use the obtained measurement along the interior seam of the border so you can mark the outer edge of the quilt. Align the new marked line around the perimeter of the quilt, as well as the raw edges.
Sew the binding raw edges to the quilt while working with the idea that the marked line is the edge of the quilt.
Now, you have to join the ends of the binding before trimming the batting and backing of the quilt.
Ensure that you do the trimming in a way that there will be sufficient batting to be used when filling the binding after it is wrapped to the back of the quilt.
Note that the outer edges or the quilt may come off, especially if you didn’t successfully make the quilting come out of the quilt.
If that is the case, you will have to walk on the quilt so that the quilt layers under the binding can be eased when you hand-sew on them.
You can also do that by hand basting along the raw edge of the quilt. This is preferable if it can be done inside the ¼ inch seam, which is an excellent way of preventing the layers of the quilt from shifting.
In some cases, the piecing on the quilt will extend to the edge, and the top will not have a border.
You can resolve that by using the hand basting procedure (as earlier described) to gather and adjust the edges of the quilt.
Doing this will go a long way to make the edges of the quilt have the same measurement.
The other steps, which are also the final steps, are to stitch the quilt Trusted Source How to make a patchwork quilt | Craft | The Guardian Follow our step-by-step instructions for beginners to make a beautiful quilt www.theguardian.com . Things can get a bit tricky here. So, be sure you follow the steps we will show you how to square up a quilt before binding.
The first step is to start stitching around the quilt. You are doing this to be sure that all the edges are adjusted.
When stitching, start from the top of the marked line on the quilt so you can have a clear overview of what you are doing.
With the edges already stitched, you can now flip the quilt. You are flipping it over to add the binding on the back.
An important step you must take here is to align the binding raw edge with a stitched reference line.
Once that is done, you can then trim the quilt as it should be.
Wrapping the binding on the quilt Trusted Source Unfinished quilt: A woman found a 20-year-old quilt project and complete strangers are helping piece it together - CNN (CNN) – Most people go to estate sales in hopes of finding a hidden gem of antique furniture or jewelry — for a bargain price. edition.cnn.com can be one of the easiest parts of the entire squaring up process.
All you need to do now is to wrap the binding to the front before using your sewing machine to stitch it in place.
You now know how to square up a quilt block without wasting more time. While it can be one of the easiest things to do, you just have to follow all the steps we discussed so you can do it rightly.
Besides, precision and consistency are some of the major things you should have in mind because they can make it easier for you to measure the quilt before adding borders to the uniform.
Above all, your eye for detail and sewing your binding before trimming will bring out the perfect quilt that you will use to cover your doors and windows to reduce cold, as well as provide warmth to your body on cold nights.
You may have some ideas to share on how to square a quilt. Please, let us know how you do yours via the comments section.
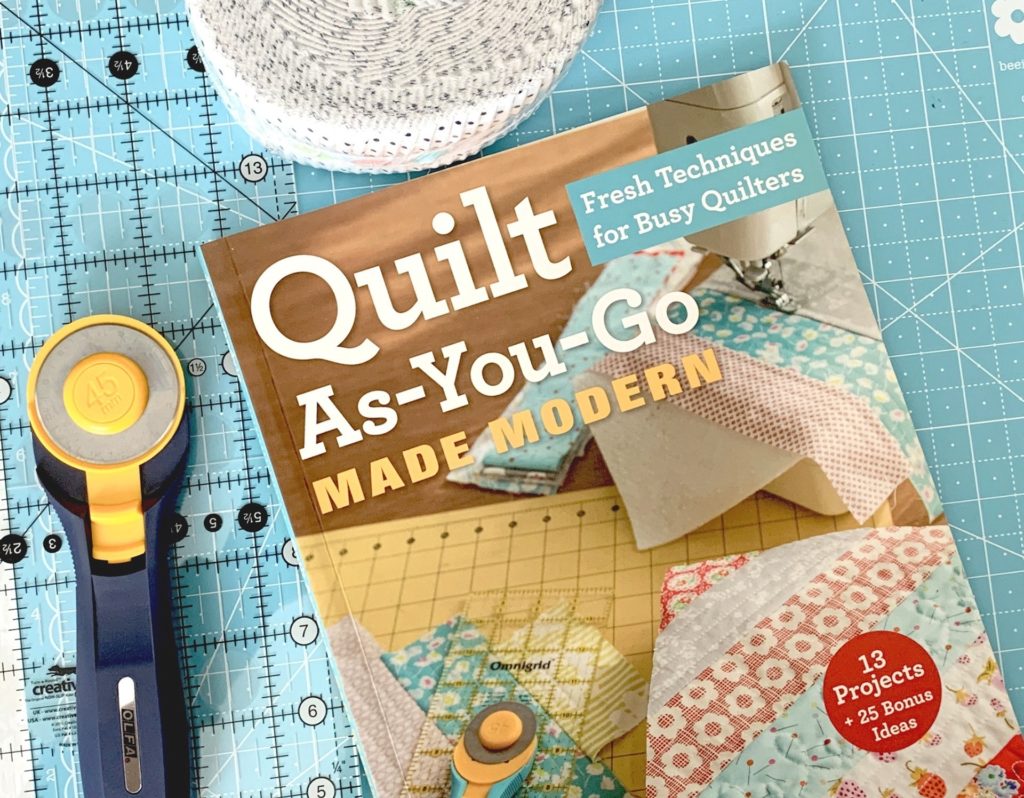
For more info for your future project, you might want to consult Better Homes and Gardens: Complete Guide to Quilting, which is our experts’ recommended pick.