Whether you’re interested in crafting or making your own clothes, learning how to sew by hand is a great skill to have. While you may have mastered a basic stitch or two, it is crucial that you know how to edge stitch by hand or with a machine.
In this article, we’ll explore edge stitching and how it can be used on various types of projects. This should help you to have the confidence to tackle edge stitching by hand, knitting or with your sewing machine.
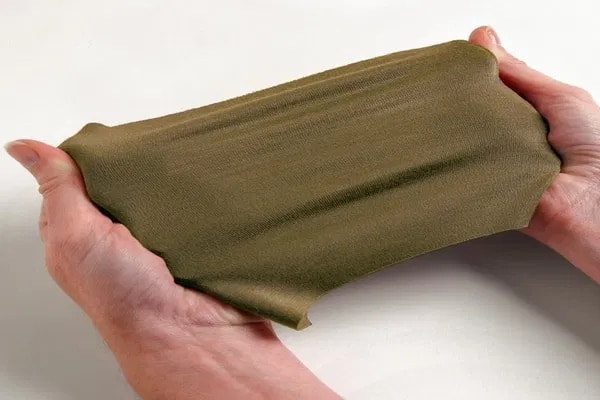
 Edge stitching is a straight line of stitches along the edge or seam. It is usually ⅛ of an inch away from the edge or seamline. Essentially, it is a type of top stitching that is done as a decorative stitch or reinforcing stitch.
This is usually used for facing an edge after understitching, when you turn the facing to the back and need to reinforce the edge. The primary difference between edge stitching and top stitching is that while edge stitching is usually about ⅛ of an inch from the edge, top stitching has a little more distance.
Additionally, edge stitching is less noticeable, compared to a top stitch. You can use the same color thread as your fabric to blend in or use contrasting thread to create a decorative finish.
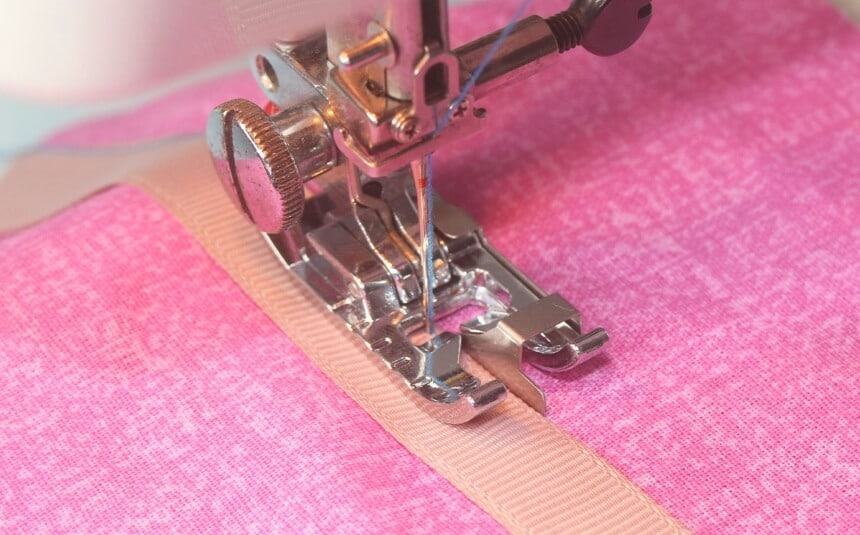
You can also use an edge stitch to attach ribbon or other trims to your fabric.
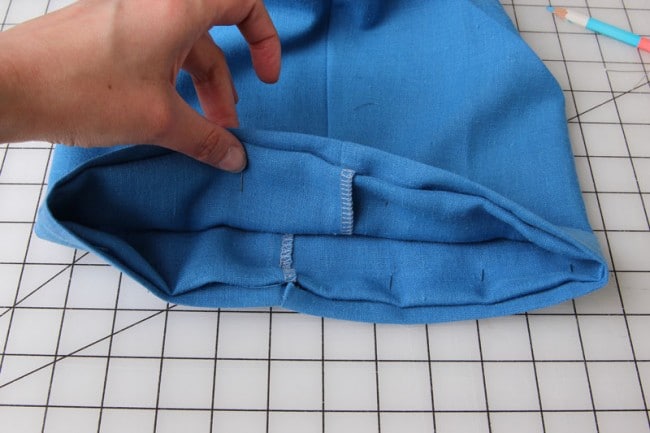
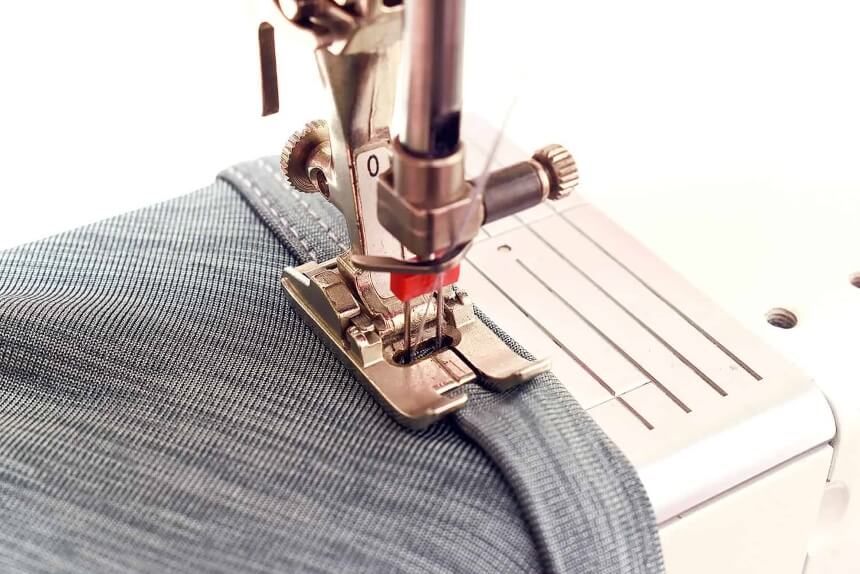 To create a perfect edge stitch along a seam, you will need a clean seam. It is a good idea to press your seam allowance open and then to one side, where you will be stitching the edge.
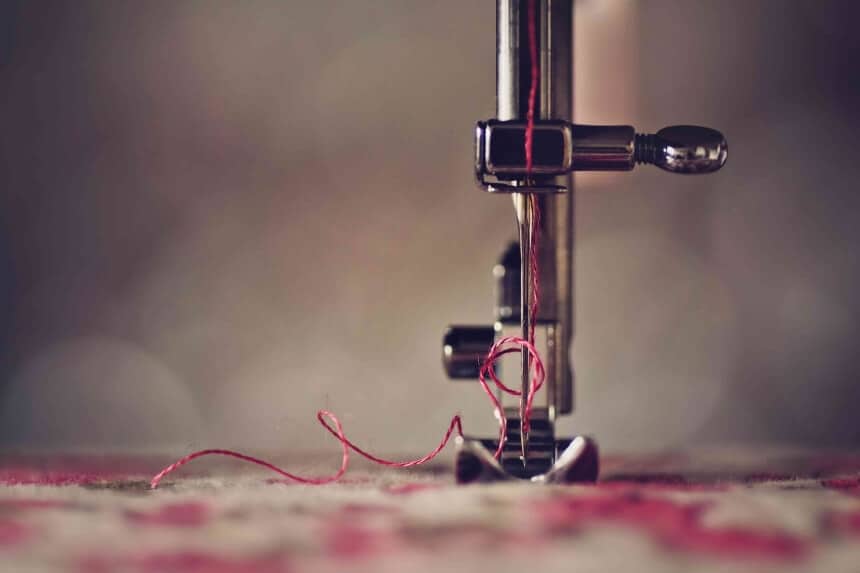
You will then need to attach your edge joining foot or ditch foot on to your machine. This type of foot has a little projection in the middle to act as a guide when you’re sewing the edge stitch on your seam line.
Keep your guide over the seam line and move your needle less than ⅛ inch to the side where you pressed your seam allowance. You can then start stitching. When you use this foot, you will achieve stitching a uniform distance on the seam line.
It is a good idea to take it slowly and watch the guide on the edge stitch foot to ensure a perfect line of stitches. Take care as the guide can bend if you get it caught in the fabric.
If you have one of the best sewing machines, but don’t have a Janome edge stitch foot, it is still possible to edge stitch with a regular or all purpose foot. Just align the needle ⅛ of an inch from the seam ditch. This can be a little more tricky as you will need to watch your stitching to keep an even distance at all times. You will also need a good quality sewing needle, like the Schmetz Universal needles, as you don’t want the needle bending and causing your stitching to move away from the ⅛ inch line.
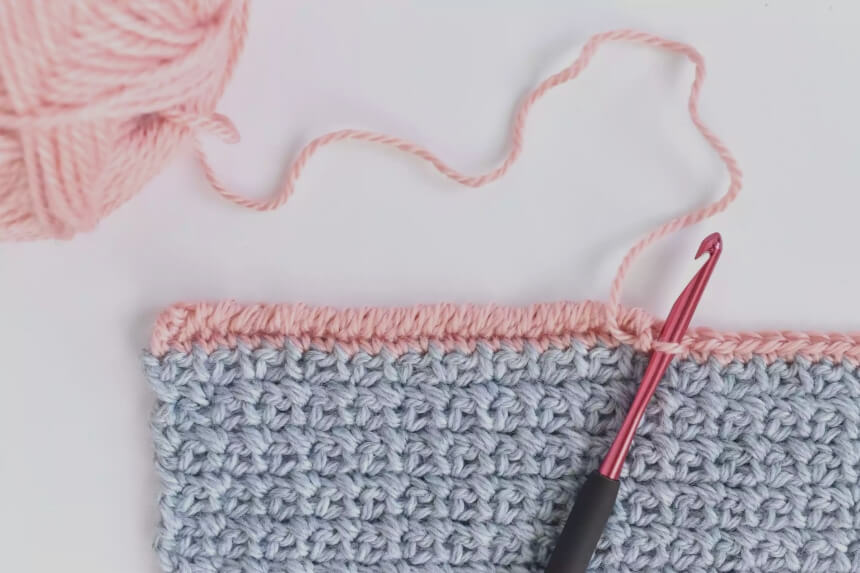 If you prefer knitting or crocheting, you will also need to know how to create a knitting edge stitch. There are a few ways to create an edge stitch for these types of projects.
The first is a knotted edge, which is knitted in a garter stitch, back and forth. You can also achieve a smooth edge with a chain edge stitch, You’ll need to knit the first and last stitches on the right and slip your stitch on the wrong side. Slip it as if you might purl rather than need so the loop won’t twist.
One way you can get a smooth edge along your piece is to only knit the first and last stitches on the right side, and slip the stitch on the wrong side. Be sure to slip it as if you were going to purl, not knit that stitch so the loop doesn’t twist. This is almost like a crochet edge stitch that creates a smooth line on straps, belts or scarves.
Now you know the fundamentals of edge stitch and knitting edge, we have some sewing tips to further improve your projects.
 To get the best edge stitch results, ensure that you have a sharp embroidery or topstitch needle in your machine.
To create the appearance of a straighter line, try lengthening your stitches to 3.5 millimeters.
We mentioned above, but it is important to reiterate, you should press your garment or item before you start to flatten out the seams. This will help you to create a straight edge stitch. It is also a good idea to press the item again when you finish to ensure a professional finish.
If you have seams that will not be crossed, leave your tails of thread loose. You can then tug the bobbin thread to create a loop of topstitch thread on the wrong side. This will provide you with sufficient thread to tie a double knot by hand.
If something goes wrong and you need to unpick your stitches, think about it carefully. It is far better to rip out your bobbin thread on the garment wrong side. This will allow you to pull the topstitch thread, which is thicker as a single thread to minimize holes.
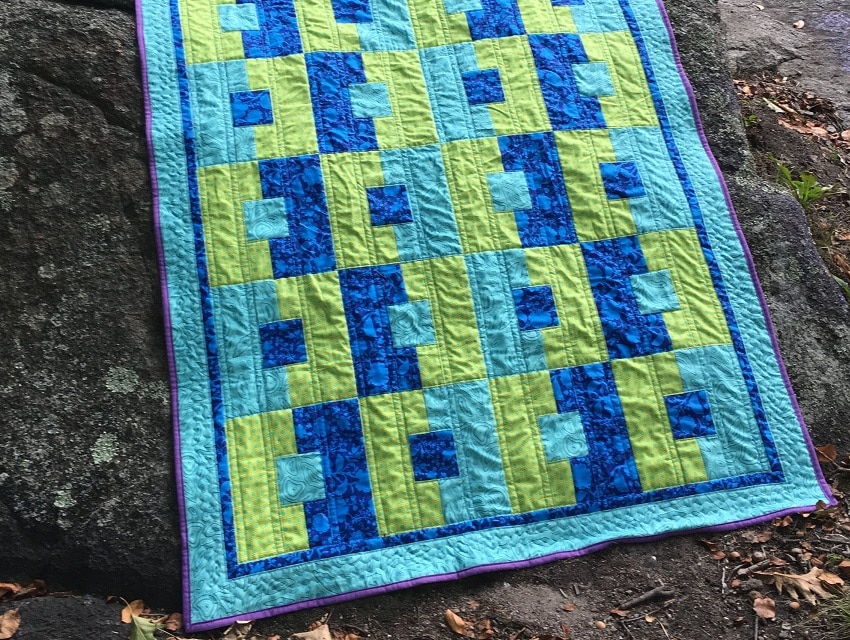
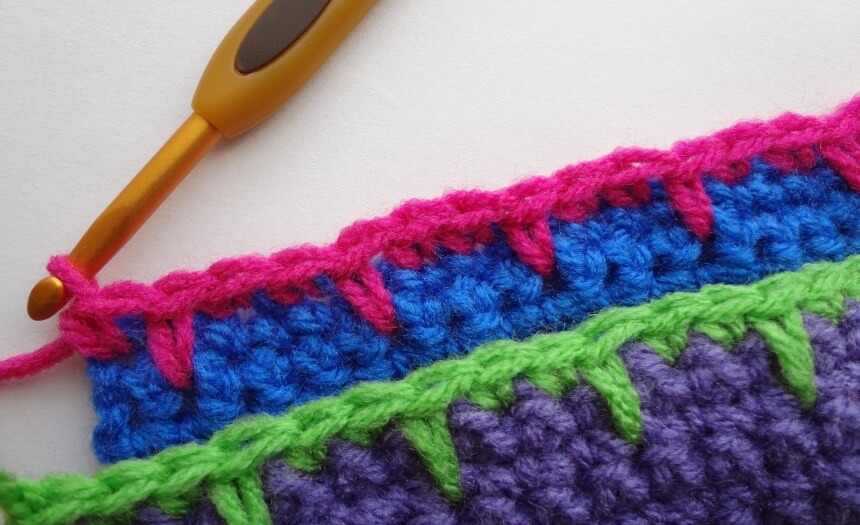 While the attraction of edge stitching is that you can create an unobtrusive reinforcing stitch, it can also be decorative. Consider using contrast stitching. A bright blanket edge stitch can be a great feature that takes garments to a new design level.
Mastering the edge stitch can be a fantastic way to finish garments, soft furnishings and decorative items. It can provide a secure reinforcing stitch or allow you to add decorative trim or ribbon to finish your item.
You can use this stitch when machine sewing, hand sewing or knitting, so it is well worth adding this stitch to your crafting knowledge base.