It may seem that the only way to get a garment with a hood you like is to spend the kind of money that brings tears to your eyes. However, this is simply not true. If you’re handy with sewing tools and are willing to learn, you can find out how to make your hood patterns and be making them at home in no time at all. Once you see how simple it is to make a hood and join it to your clothes, you’ll be kicking yourself for all those times you spent exorbitant amounts of money on buying one. However, let’s not dwell on the past and instead take a few pointers on making hoods and hood patterns in the sections below.
Of course, you can’t get started making a hoodie if you don’t have the right supplies. Here’s a summary of what you’ll need.
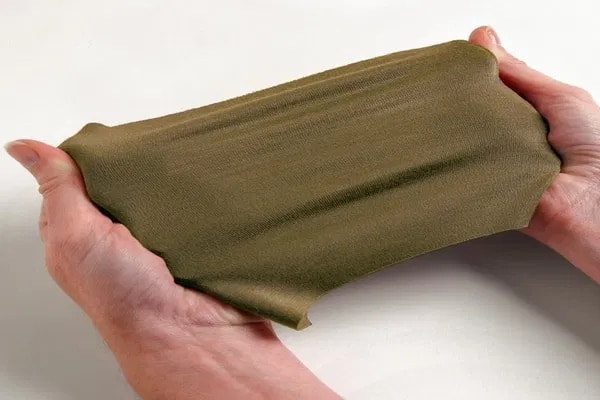
Notably, you should also be generous with the size of the fabric since you will need two sets, i.e., one for the outside of the hoodie and one for the lining. That said, there’s no rule against using different patterns of fabric for the inside and outside of the hoodie.
Additionally, while it’s generally recommended to match the color of the sweatshirt or shirt you’re working on, you can also choose a different direction and use another color. Just be sure these colors blend well together, so you don’t end up looking like a clown in your hoodie.
With your supplies ready, it’s time to get to work.
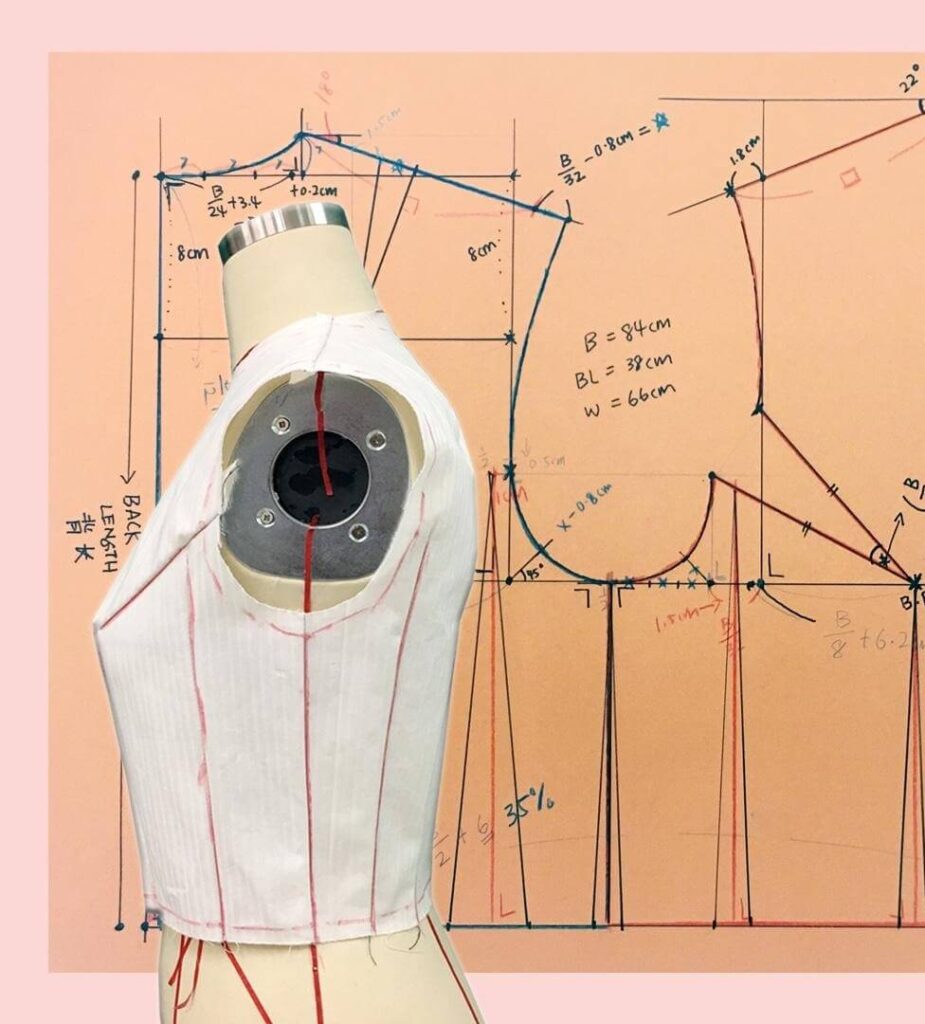
There are two ways to go about this. One is the simpler option: to pick a garment with a hood you already like and trace the outline. Ideally, this older hoodie will have a neckline similar to the garment intended to host your new hood, and it should also be a comfortable fit.
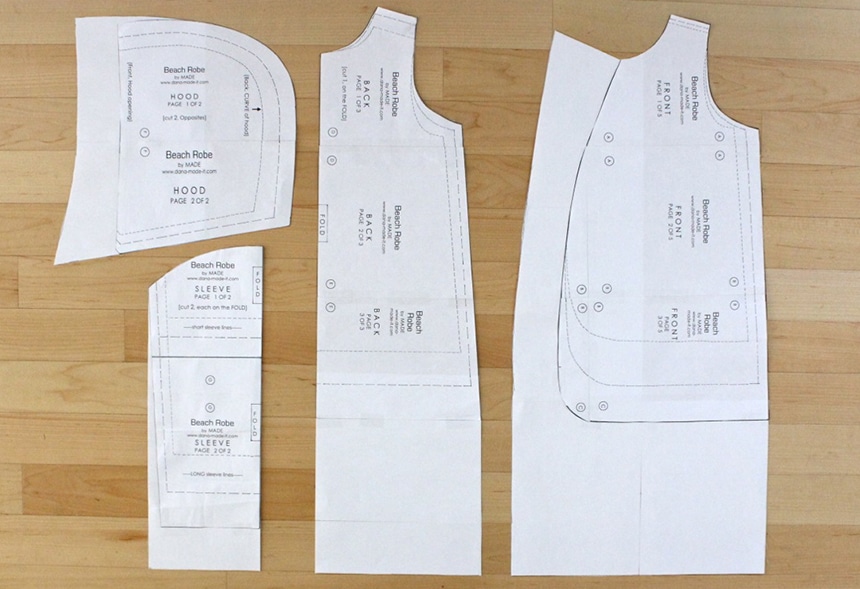
Lay the hoodie flat on a piece of paper. It could be a brown package paper or plain newsprint. Follow up by tracing around the shape of the hoodie. The resulting outline should have a back that’s slightly higher than the front. This is a similar design for all hoodies, where the back is typically somewhat higher than the front.
You can then draw a connecting line between the two ends with this information in mind. Consequently, the line at the bottom will have a slight curve. You can even reference your old hoodie for the shape of this line. Just lay the hoodie flat next to your outline and try to match the shape as much as possible.
Next, add about ½” to the first outline and draw another outline. This is basically the seam allowance for the hoodie.
If you don’t have a hoodie to use as a template, there is an alternative. This is where you draw an outline based on your measurements. For this option, you’ll need to add a tape measure to your list of equipment.
Start by measuring the neckline for that garment that you’re making the hood for. What you’re aiming for is that each half of your hoodie will be half the circumference of the garment’s neckline. As such, measuring this neckline and then dividing the circumference by two will give you the results you need.
You can even start drawing the outline at this point. This is where you draw a curved line that’s half the circumference of your garment’s neckline. Remember to account for the difference in size between the front end of the hood and the back end. As such, the back end should be about one inch higher than the front.
After that, measure the distance between the top of your forehead and your collarbone Trusted Source clavicle | Definition, Anatomy, & Function | Britannica Clavicle, curved anterior bone of the shoulder (pectoral) girdle in vertebrates; it functions as a strut to support the shoulder. The clavicle is present in mammals with prehensile forelimbs and in bats and is absent in sea mammals and those adapted for running. www.britannica.com . This distance will make the front opening of your hoodie, and you can add it to your outline as well. Ensure you don’t confuse the front and the back ends while drawing the outline, as that can mess up your whole project.
Follow up by estimating the size of the back of your hood according to the shape of your head. It will need a flat top, a flat back, and a curve to attach the two. Try to mimic the arc of other hoods you’ve seen as much as possible while still accounting for the size of your head.
Finally, add a seam allowance of about ½” all around the outline.
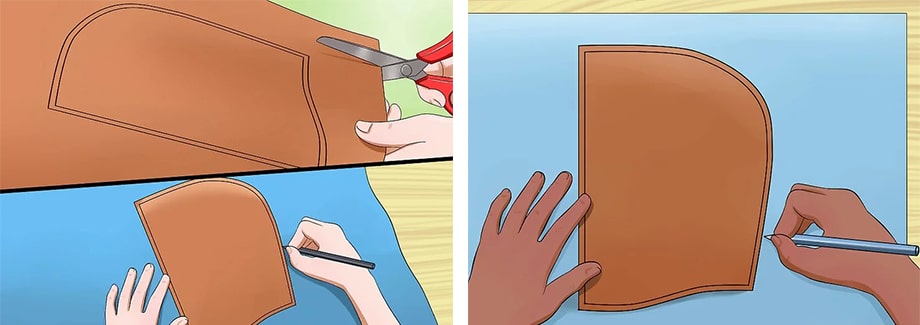
This will be one of the easiest steps. You cut the outline from the paper, and then you trace around it on the fabric intended for the hood. Make two sets of outlines on the fabric intended for the exterior and two sets on the fabric intended as the hoodie lining. This is where fabric markers like chalk come in.
According to most reviewers, the Dritz Chalk Cartridge Set is reliable when it comes to marking fabrics. The assorted chalk colors make working with different colored fabrics easier, with an additional chalk pen and chalk sharpener included to ensure your outlines are sharp and clear.
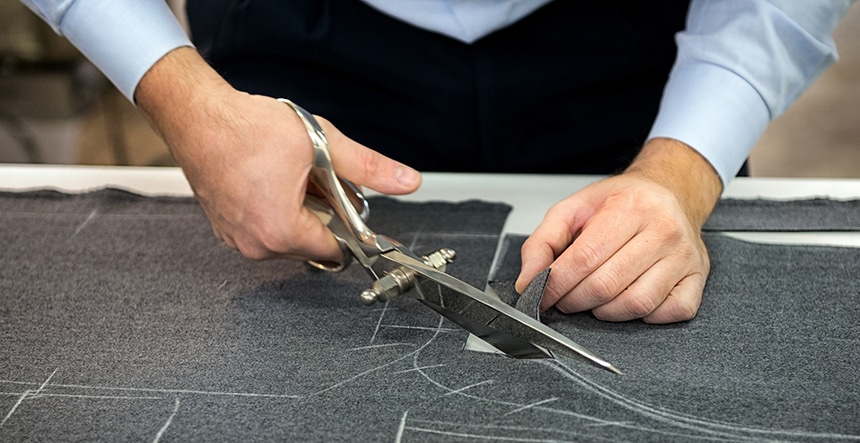
At this point, you only need to cut out the outlines from the fabric. Users and experts recommend the Fiskars Crafts Rotary Sewing Cutting Set since rotary cutters are more in tune with accurately cutting through fabric outlines. Furthermore, both a cutting mat and an acrylic ruler are included in the set.
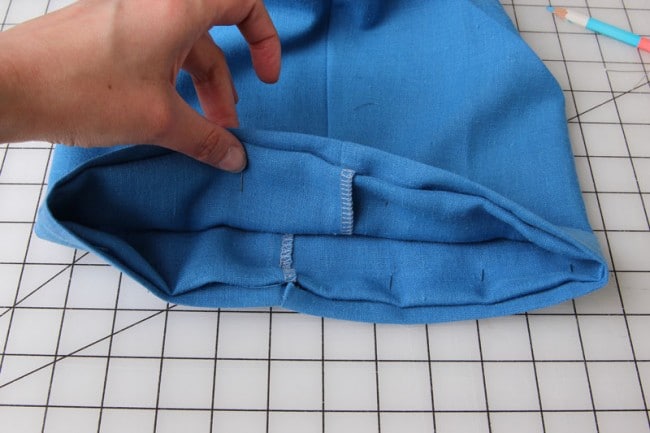
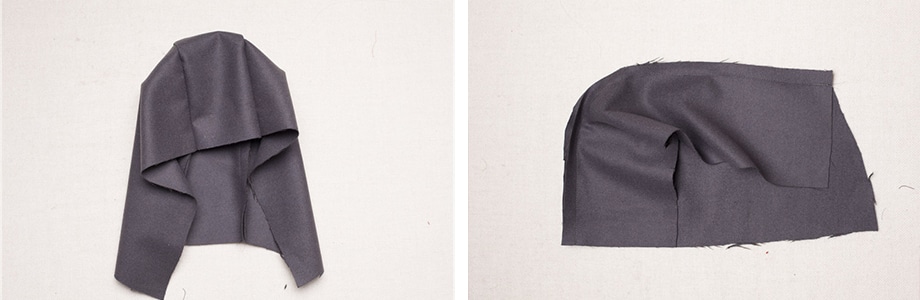
Here you’ll take the two pieces of fabric you choose for the lining and sew them together. To do this, first, use your sewing pins to attach the fabric pieces. The edges should match. At the same time, the wrong side of the fabrics should face out while the right side faces in. After that, sew along the curved edge from the top end to the bottom end. This will leave the entire length of the bottom edge and front edge open.
Also, ensure you make full use of the seam allowance you included in your preparation stages.
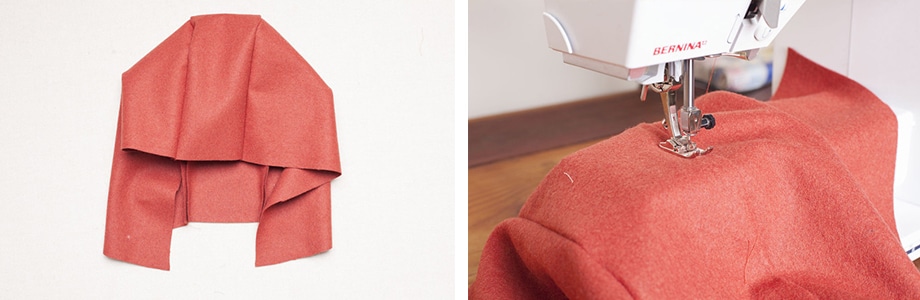
Repeat the same sewing process you followed while sewing the lining. Even here, the wrong sides should be facing out while the right sides are facing in. After that, the exterior pieces and the lining pieces should be identical in shape and size.
Use your sewing machine to stitch together the hood and the lining. For this, you’ll have to lay the pieces of fabric, so the right sides are facing in while the wrong sides are facing out. Then you follow up by laying one on top of the other and use pins to hold them together.
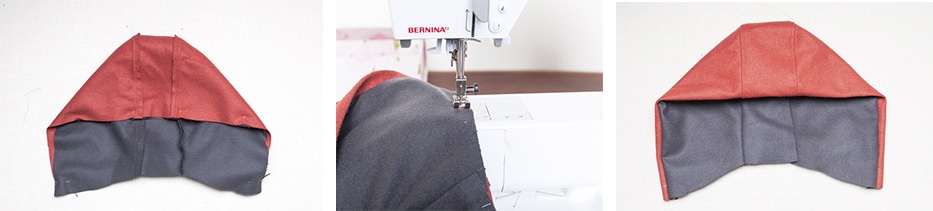
After that, you sew the front ends of the hood. The only remaining unstitched components after you’re done will be the bottom edges. Consequently, your hood should now be near completion. At this point, all that’s left is to attach it to your sweatshirt, jacket, or other garment.
You can even turn it to the right sides facing out and put it on your head to see how well it fits.
Line up the hoodie on the neckline of your garment and use pins to hold it in place. While doing so, ensure the center point of the hood is matched up to the center of the garment. Furthermore, the hood should be evenly spread out around the neckline.
Also, the right side of the hood should be facing out. That said, ensure you turn in the raw edge of the hood, so it’s covered before you start sewing. You can even sew the bottom edge to finish the raw ends before putting it on the garments neckline.
Sew through all the fabrics, including the outer part of the hoodie, inner lining and the garments neckline. Additionally, you can reinforce this seam due to the wear and tear expected in this neck region.
All that’s left is to rock your new hoodie. Also, look at yourself in the mirror before stepping out of the house to show off your handy work.
This is a project that should take less than an hour. After that, you can attempt to create as many hoods and hood patterns as you want because you now know how. Of course, the more you do it, the more complexity you can add to your projects. However, if it’s your first time, keep things simple.