Whether you want to adjust a hem on your clothing, sew a hole in pants, or have aspirations of tackling a DIY project, knowing some basic sewing skills is essential. Fortunately, you don’t need to run out and buy a sewing machine. Learning how to sew by hand is a great skill to have in your arsenal, allowing you to create some amazing DIY projects that will wow your family and friends. Here we’ll explore basic hand sewing techniques and how to sew by hand for beginners.
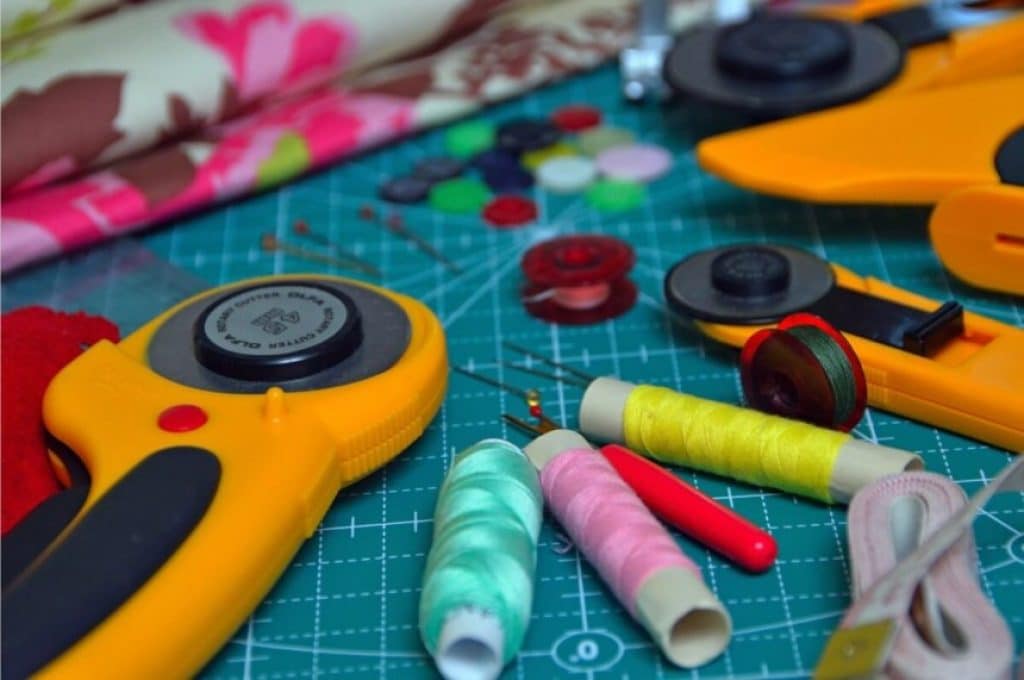
While it is possible to do a quick hand sewing repair with just a needle and thread, if you want to get the best results, there are some basic tools you will need. A selection of needles is a good idea as you will need different needles for different fabrics, so is you want to learn how to sew leather by hand, you will need a thicker needle compared to sewing a delicate fabric. If you struggle to thread a needle, you could also add a needle threader to your kit.
You will also need a pair of sharp scissors, a fabric measuring tape, a thimble, and a water-soluble marking pen. It is also a good idea to have some sewing pins and access to a steam iron and ironing board. These tools are a great starting set for your hand sewing projects. You’ll be able to measure, mark, cut, sew, and press your projects for the best results.
So, now you’ve assembled your sewing kit, you’re ready to get started. It is a good idea to practice the basic sewing technique on a scrap of fabric, so you can get the hang of it before you start to hand sew a tear or create your project. Take your time with each step; there is no rush, and this will help you to feel more comfortable with the skill. Once you gain your confidence, you will find that your sewing speed picks up, and you will be creating great DIY projects in no time.
The first step is to pull some thread off the spool and cut it. Since you don’t want the thread to get tangled, don’t pull off a massive amount, you’ll just need a decent length. Make the cut using your sharp sewing scissors and cut at an angle to create a smaller tip and reduce the risk of fraying.

The next step is to thread your needle. This is often the most challenging part of learning how to sew by hand, particularly if you have poor eyesight. Fortunately, there are easy ways to thread a needle.
Firstly, roll the end of the thread between your index finger and thumb to smooth any frays and keep them aligned with the tip. You may find that licking your thumb can help with this as it adds a touch of saliva to the thread.
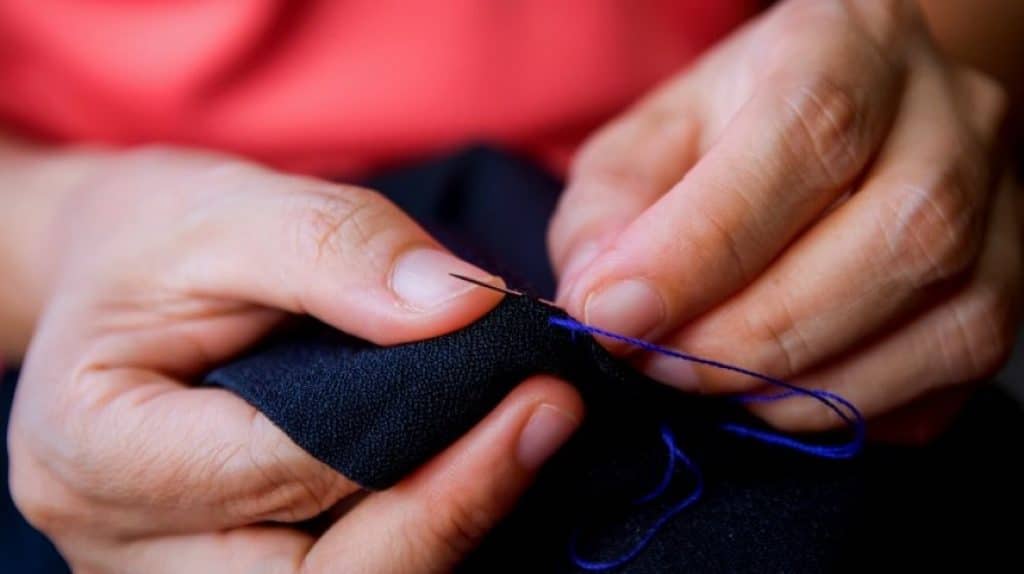
Line up the tip of the thread with the eye of the needle and gently push it through. This may take several attempts, but once the tip of the thread is through the eye, you can pull it through completely.
If you’re still having difficulty threading your needle, you could use a needle threader. These little devices are often included with packs of needles and can make this process easier. Just place the wire loop of the threader through the eye of the needle then pass the thread through the larger hole in the threader. Double the thread over and then slide the needle off the loop. This will then catch the thread, so you won’t need to keep squinting and poking at the needle.
Hand sewing is impossible if you cannot tie a knot. The knot in the thread will act as an anchor for your stitches, so it needs to be secure. Once you have threaded your needle, pull it through until both sides of the thread are equal. Place the needle between your thumb and index finger and wrap both strands of thread around the needle three times before pulling the thread through. This will create a knot, and you’re ready for the next step.
Line up two pieces of fabric and insert the needle where you would like your first stitch. Avoid starting at the very edge, as it will likely mess up the pattern of the over and under movement. You will not be able to stretch the fabric fully if this happens. For practice, aim for half an inch away, and you can always adjust this as you develop your sewing confidence. Pull the thread all the way through the fabric until the knot hits the fabric. Just take this slowly, as if you are too forceful, you may pull the knot through the fabric.
Continue the pattern of moving the needle over and under, keeping it as straight as possible. Aim to keep this at least half an inch apart to improve the precision.
When you reach the end of the thread on your needle, tie another knot in the thread and then cut it. Ensure that you’ve left enough thread to wrap it around the needle as we did in step three. Once you’ve done this, repeat the first three steps.
Once you’ve got the hang of the needle movement, you can tie your final knot. You don’t need to worry about messing up your perfectly even pattern. Providing that you keep it the same length, your final knot will not affect the pattern. Once you’ve made your final needle movement, tie a secure not a couple of times. This will secure the line of stitches, and you’re ready to start a DIY sewing project.
Now you’ve grasped the basics of how to sew a straight line by hand; you can start to explore the different stitching styles that you can use.
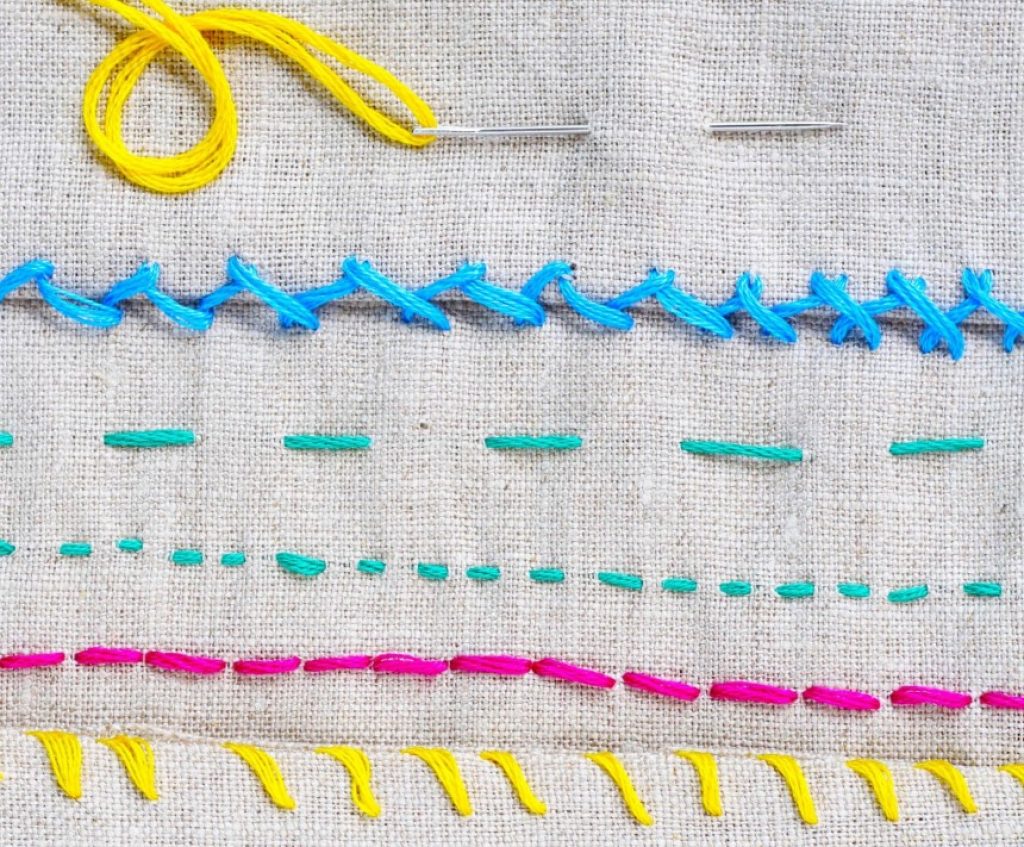
Back stitching can provide a stronger stitch that is useful for many projects, particularly if you’re looking to learn how to sew canvas by hand. First, you’ll do a normal stitch and then put the needle back to the top to start a second stitch from the point the first one ended, then pull the thread through. Continue this pattern until you reach the end of your run.
This is an elegant stitch, which is great to finish a hem, particularly if you use the same color thread to make the stitches invisible.
Once your needle is threaded, bring the needle out of the fabric from the inside hem fold to keep the knot hidden. Put the needle across from the first stitch exit point, so it does through the inside of the opposite fold. This will bring the two pieces of fabric together at the same point exactly to hide the stitch. Pull the thread through and move the needle forward, entering at the same point on the other side, repeat along the seam. Once the gap is closed, the thread will resemble the rungs of a ladder, but you’ll need to pull the thread tail taut and smooth out the seam to make the stitches invisible.
Running stitches are considered one of the most basic types of stitch, and it can be used in a straight or curved line. To work a running stitch, bring your needle through the backside of your fabric at your starting point. Go back down a little from the first point to create a stitch. Come up a little from this point and continue, repeating to the end of your stitching area, taking a stitch at a time to create evenly spaced stitches.
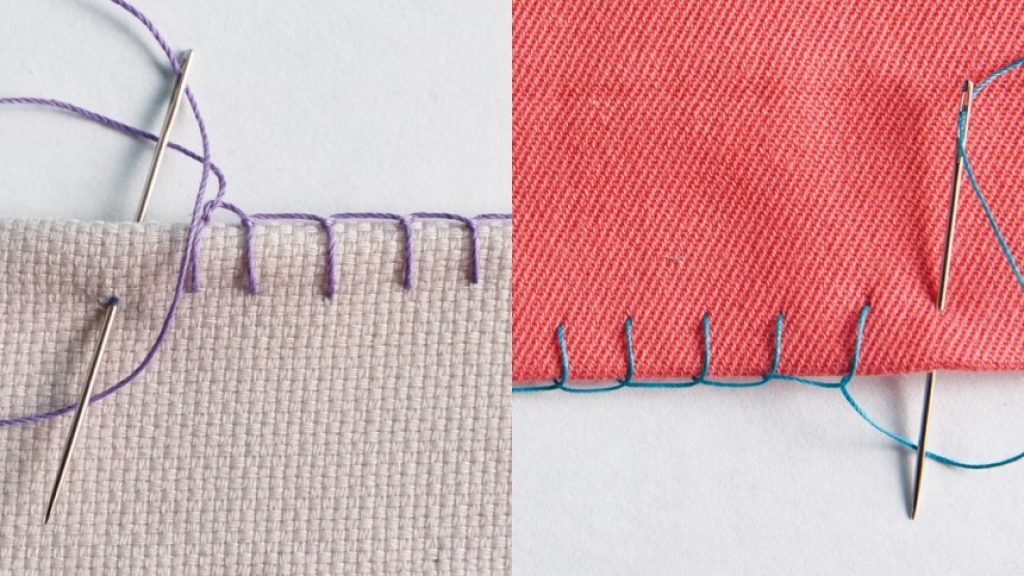
Blanket stitches can be a decorative way to join your fabrics together. This type of stitch is often used to finish the edges of blankets or to sew applique and felt toys. This makes it a great choice if you’re learning how to sew a blanket by hand. So, you’ll need to use a thread that will look great with your choice of fabric, as the stitches are meant to be seen.
Thread your needle as usual and start in the middle layer of your fabric to hide the end knot. Pull your thread taut and circle back to make a loop by sending the needle under the bottom layer, but do not pull the loop shut. Bring your needle through the loop and pull it taut. Move down the seam approximately a ¼ inch and put your needle through the bottom layer to the top, leaving a loop. Pull the needle through the loop again and repeat until you finish your stitching line.
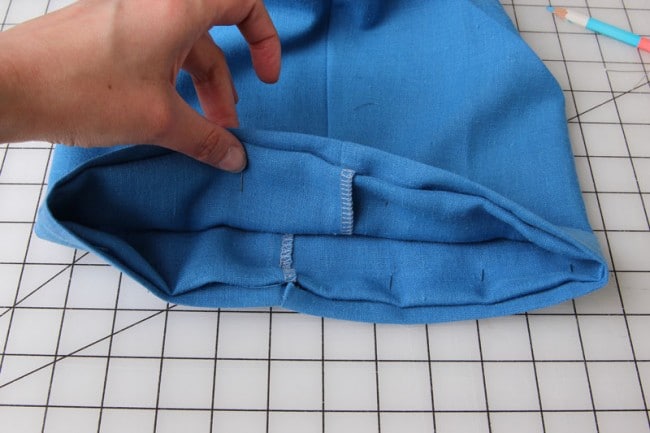
Whipstitches are made using a simple technique with short, diagonal stitches. This makes it a great stitch for hemming a window treatment. When used for hemming, whipstitches are fast and easy to use, creating an almost invisible seam.
Thread your needle and then start inside the hem to keep the end knot hidden. Bring your needle up to the top fabric layer and move the needle approximately a half inch. You can also produce longer or shorter stitches, depending on your specific project. Loop the thread around the edge and bring your needle up through the bottom of the fabric. Repeat until you finish the seam.
Catch stitches can be a great option when you’re learning how to sew clothes by hand as it can be used to tack or hem a lined garment. It is a type of zig zag stitch that reduces fabric fraying. It also allows stretch along the seams, so it is more versatile where the seam may be put under pressure.
Unlike many other stitches, catch stitches are worked left to right. Make a small stitch in the edge of the hem, then move it approximately a half inch to make another stitch. Move along the edge of the hem and continue the pattern left to right until you complete the seam.
For many people replacing a button is their first taste of sewing by hand. After all, a loose button can compromise the usability of an item of clothing, but it can be quickly remedied. Many items of clothing are even supplied with a spare button, so even if one is lost, you can still replace it and continue wearing your favorite blouse, shirt, skirt, or trousers.
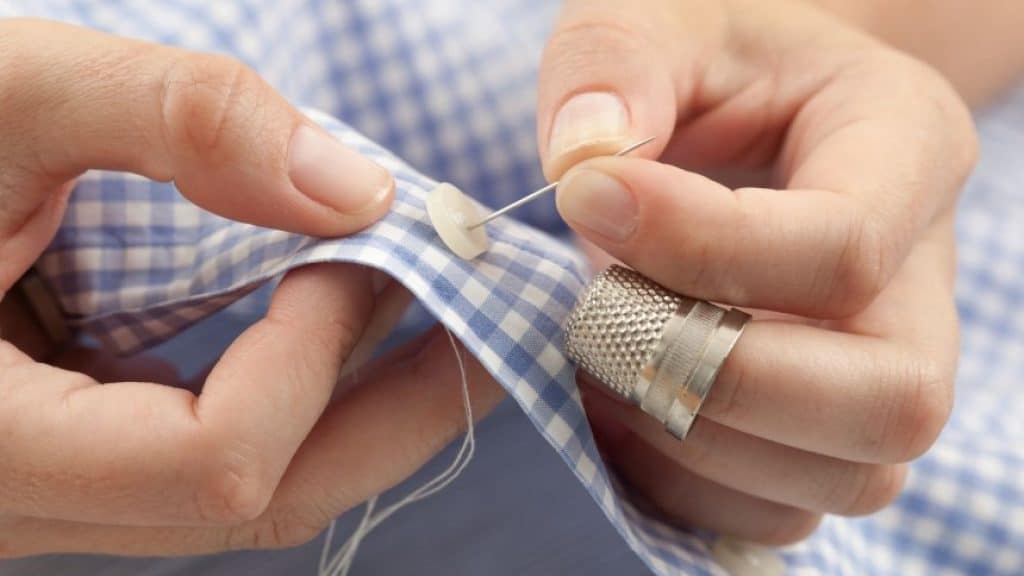
Thread your needle as usual and ensure you have at least 12 inches of thread to work with. If you’re working with an emergency sewing kit, you may have less than 24 inches of thread, so you’ll need to use a single thread rather than doubling it over as you would normally. Make sure to put a good knot in your thread, as this will be used to anchor the button.
You then need to create an “X” anchor point. Start at the back of the fabric, put the needle through to the front where the button will be. Create a small x shape where you will center your button. This creates a reinforced anchor to ensure the thread doesn’t loosen when put under stress.
Next, you need to position your button. Put the button on the X and sew from the back to front through one of the holes. If you lack confidence, you can add a spacer, such as a pin or second needle to keep the button from being too flush with the fabric. Pull the thread through until the knot is snug against the back of the fabric. You’ll need to use the tip of your finger to keep your button in place as you turn the needle round and put it back through the opposite hole. This will create a small line across the button, connecting the two holes with thread. Repeat this with three passes for each set of holes on your button.
On your last pass, come up through the fabric, but not the buttonhole. Turn the needle aside and bring it out under the button. Wrap the thread around beneath the button, making several loops to connect the button to the fabric before you tie it off.
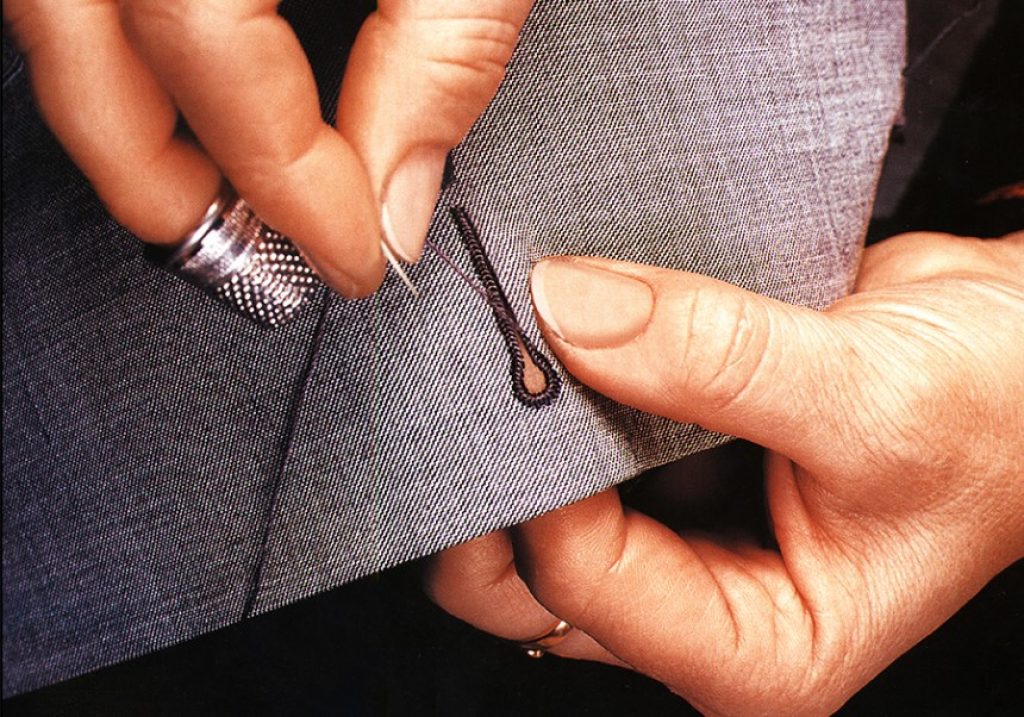
Once you’ve mastered sewing on a button, you may wonder how to sew buttonholes by hand. This will allow you to finish your garment and ensure that it is wearable. Fortunately, you don’t need a fancy sewing machine to create a buttonhole, and there are some simple steps to make one by hand.
The first step is to mark and cut out your buttonhole. Use a pattern or guide to work out where your buttonhole should go. You will need to mark the center, long sides, and short ends to allow consistent stitching of the buttonhole depth, which needs to be up to one eighth inch.
Create sharp, clean lines that will be easy to see using a marking tool in a contrasting color. When you’ve determined the final placement, cut along the center of your buttonhole.
The next step is to sew the first side, starting at the right side. Thread your needle as usual and put the needle through the top corner to secure your thread. Move the needle from the top corner at the right to the underside, ensure that the needle pokes through at the top edge of your mark. Your next stitch will require that you pass the needle into the hole and loop the thread under your needle point, pulling through to create a stitch similar to a blanket stitch. Repeat along all the sides of your buttonhole.
When you finish the first side, sew a number of long stitches to create a bar tack. Continue the stitches until you reach the other side and form another bar tack on the opposite end.
When you’ve finished all the way around your buttonhole, tuck the needle and thread tightly under the stitching to secure it.
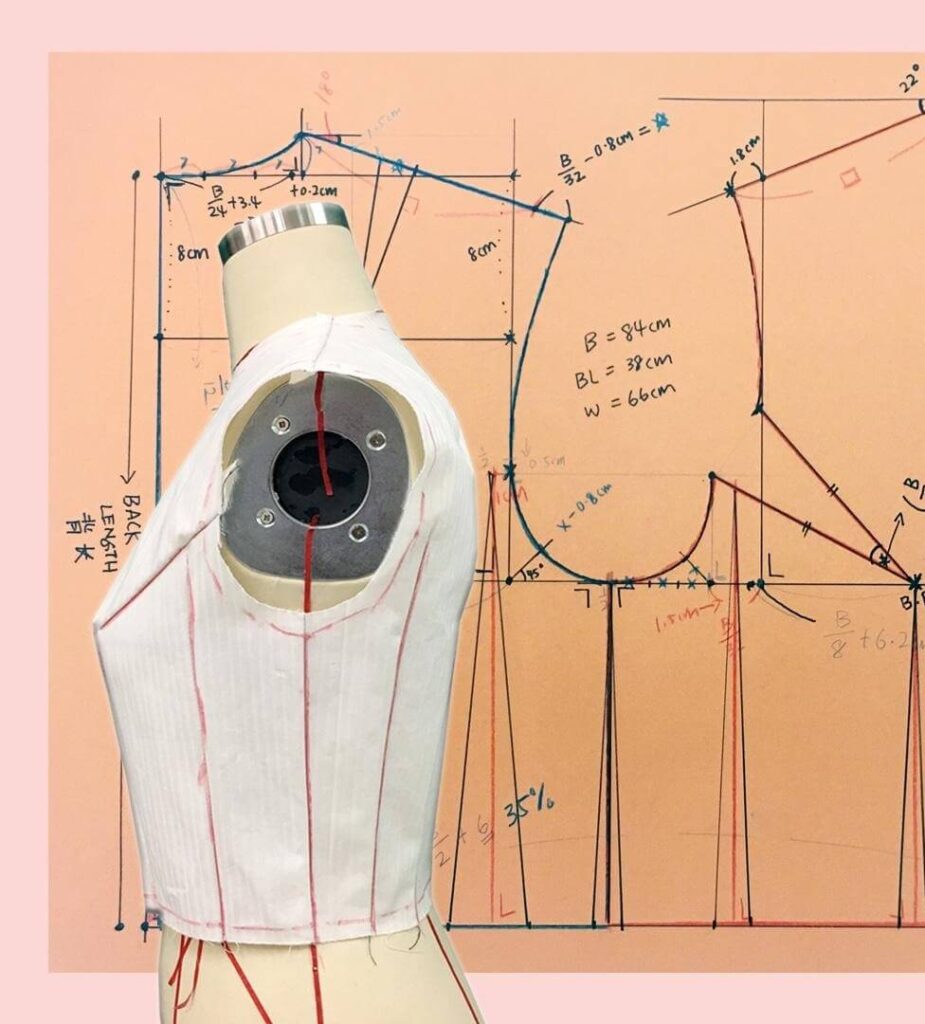
Learning how to sew by hand is a fantastic skill that can be used in many areas of your everyday life. Once you develop your sewing skills, you can not only learn how to sew a zipper by hand or replace a button, but you may even start to make your own soft furnishings or clothing. This will allow you to enjoy one of a kind items that will wow your family and friends, particularly when they learn that you’ve made it all yourself by hand.