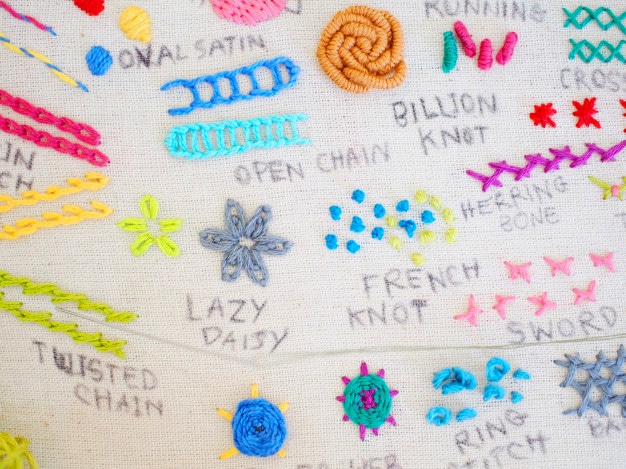

Embroidery DST files are one of the most popular file formats embroidery designs are stored in before getting fed into the CNC machine. It serves as an instructional guide that controls the movement of needles on fabric until they replicate the exact design shown on the machine window.
Unlike other file formats, embroidery designs can’t be viewed by universal file viewers. They require their specific software and go through a lot of processes. Whether you’re an embroidery design expert or getting started in the craft, this guide offers you every piece of information you need to know about the DST file format.
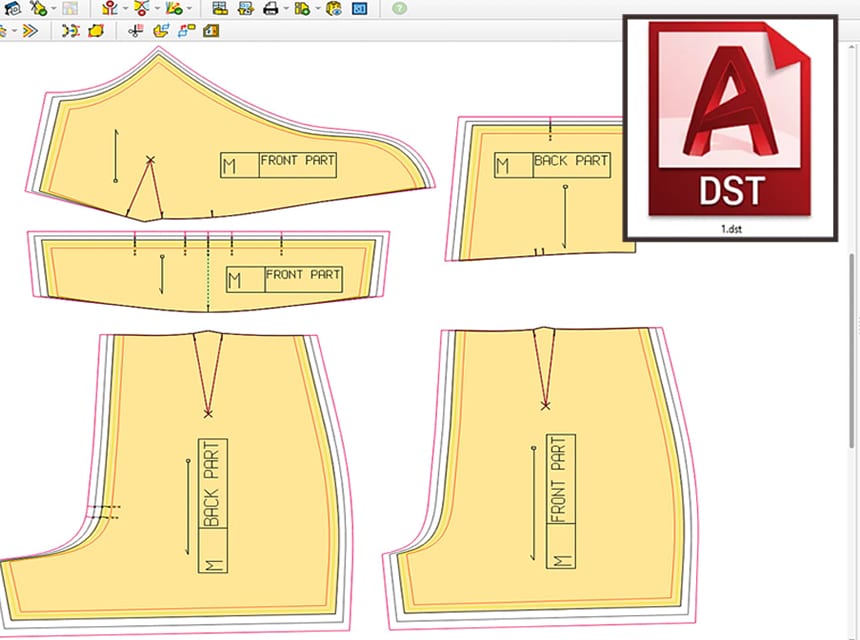
There are several formats for embroidery files, and the DST format is one of them. It’s also the most popular and easiest for newbie designers who create their designs with embroidery programs. For embroidery enthusiasts who have been asking, “what is a DST file?” you will get your answer shortly.
The DST file format is a type of file that serves as an instructional manual that guides the movement of the needle of an embroidery machine. When a DST file is presented to the machine, it reads the file to determine the movement of its needle, the results expected, and how to arrive at the right stitch.
The DST file format contains the .dst file extension, is created by digitizing software such as AutoCAD, and usually comes in either a 2D or 3D format. DST files typically contain a sheet with series of drawing layouts extracted from several files and given to the end-user in one bit.
In summary, the DST file serves as the eyes and ears of the embroidery machine. However, for the computer to present the right information to the machine, the file has to digitalize JPG and GIF files into images the embroidery machine will interpret.
A DST file is easier to use compared to other embroidery design formats because the machine can directly hack into the instructions provided without converting the file to other forms. This is not so with other embroidery files, especially in the case of .pxt and .emb file formats.
Creating a DST file requires some technical details. This is why many people prefer to outsource the task to professionals who have experience with using embroidery software. Getting a finished ready-to-use file isn’t as simple as creating a Ms-word document. The most popular software used in creating a DST file is AutoCAD. The software arranged the designs in an XML format placed in a sheet set file that points to the drawing layouts’ location.
The sheet set file contains information about where the drawing layout is housed. The drawing layouts are often stored in a separate file called the “DWG file.” Hence, when you open a DST file on AutoCAD, a sheet list is displayed with each sheet containing short instructions, which, when clicked, reveals the drawing layout in the DWG file.
Just like word documents, DST files can also be modified by the end-user. This is possible if the design submitted by a professional embroidery designer isn’t what you’re hoping for. Inputting the wrong design will alter your result. You should know that most machines use the garbage in, garbage out approach.
There are a number of software that allow you to create your embroidery design and convert it into a DST file. This software should provide several viewing angles and tools like zoom, measure, rotate, and artistic view.
This software will also allow you to edit your embroidery design using options like show grid, show rulers, edit thread colors, and change design sequence. It’s also possible to change thread color and stitch pattern with compatible software. The best software should also allow you to convert your DST file to other file formats supported by embroidery machines.
After doing our research, here are some of the best DST file viewers and converters
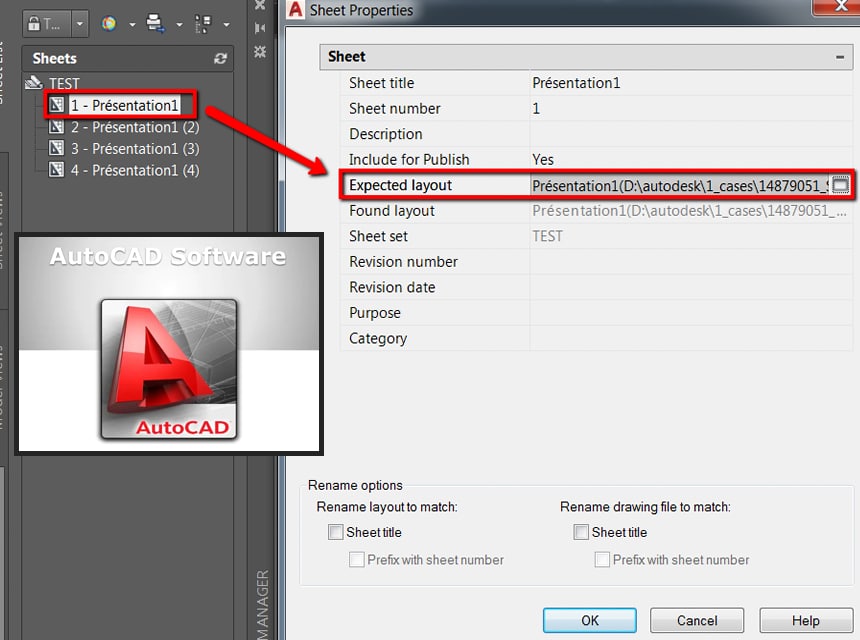
It isn’t easy finding a better tool that can do the job than Autodesk software, AutoCAD. It has a built-in sheet set file management system that allows you to view the design layout for your embroidery machine. The sheet set file can later be converted into a DST file or other embroidery file formats.
It’s unlikely that you will find another software that will allow you to customize the look and feel of your design as much as AutoCAD does.
Desmume is well known for creating simulations for different Nintendo games. However, its safe state allows you to view DST files. The program comes with filters that allow you to edit the quality of the image produced.
There are several software proposed for DST files, but these are the two that can help you with the quality of the design.
Other software such as Embed, Illustrator extreme and Convert it have limited edit options but allow you to open and view the file with ease. These are usually the best tools for beginners to learn how to open a DST file.
The DST embroidery file format last stop isn’t your computer. The endpoint of the file is the embroidery machine, and we will tell you how to make the transfer shortly. But before then, you should know the function the file serves in the machine.
Usually, a DST file is made up of two parts: a header, where all the physical properties like labels, stitches, and color cords are stored. At the same time, the body part holds codes and commands. All two components work together to predict the movement of the machine needle. It dictates when it loops, stops, or jumps.
Unless you specialize in the design, chances are that your embroidery design will be done by a professional and sent to you in a DST file format. Well, you will need to access the file with a DST file viewer to see what the professional has created for you.
Unfortunately, you can’t access a DST file in one click unless you have the right software installed on your computer. Most original designs are made with Autodesk AutoCAD. Still, if you do not have it, you can use alternative software like Embird or Illustrator extreme if you’re a Windows user and Convert it for Mac users.
However, the DST file isn’t the only document you will receive from the designer who made the design. You will also need a source file that comes in jpg format to cross-check the design made.
To save you the stress of going to a professional company to ask them to help you open the file, here, you will learn how to do so with ease. Knowing these steps will save you tons of money as most professional services don’t come cheap, even though it will take them a few minutes. Let’s get the ball rolling.
You can follow the same steps outlined above when opening your DST file with AutoCAD as well. The problem is, when you double-click the file, it opens the sheet management option on AutoCAD and not a single design file. Most sheet set management likely holds multiple design layouts. Hence, you need to specify the exact layout you want to open in the sheet set menu.
Several users have had a few issues with opening the DST file sent to them by their designer from their end. This is possible if the designer saved it with the wrong extension. You can double-check this by using the “properties” menu on windows or “more info” if you’re using Mac. Then click the option that says “type of file” or “kind” if you’re on Mac.
If you’re sure that the file is saved with the right extension, then cross-check to ensure you’re not facing any of these problems:
If your system is having any of these issues, chances are that the file will not open up. The right way to go about this is to contact your designer or any embroidery company close by. They will have the right software that will help you open the design even though they will charge you for it.
After accessing the file, ask the company to convert the file to a JPG format and send it to you. You will be able to view the design in picture format.
You have to establish a connection between your embroidery machine and your computer to facilitate transferring files between them. To this, you can transfer the DST file into a USB storage disk since most beginner machines support it. Let’s walk you through the steps.
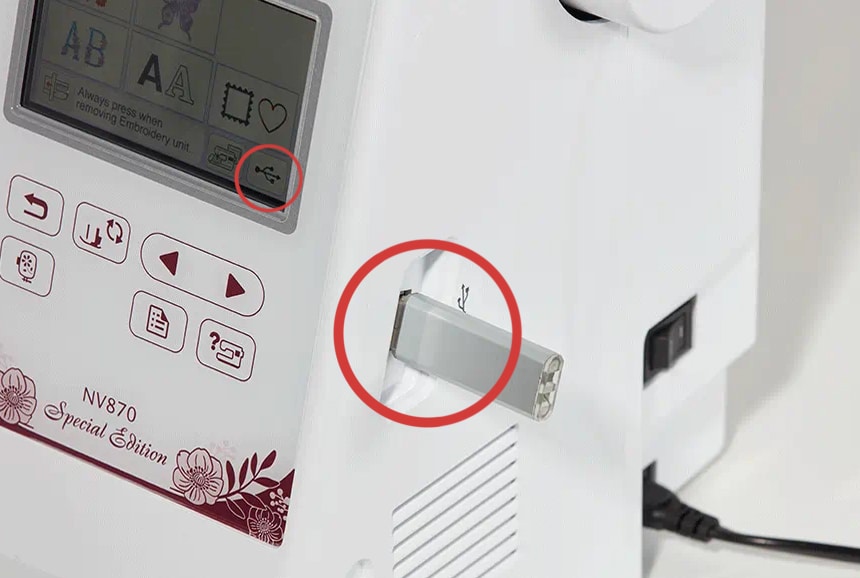 Locate the DST file you want to copy, right-click while the file is highlighted, and select “copy.”
Perhaps you have your design stored in another format such as JPG, and you want to learn how to convert it to a DST file that’s usable by your embroidery machine. This can be done online using an online file converter such as file-extensions.org or software like Embrilliance and Sew What Pro.
If you are using software, you will have to download the software from the official website of the providers and install it. After which, you can launch your system and import the file into it. Embrilliance, for instance, allows you to convert from other embroidery formats like exp, emb, jef, and pes.
Asking an embroidery enthusiast to create your designs for you will take a lot off your pocket. In the present era, there are many sites that offer embroidery designs at a competitive rate. The companies usually specify the downloading instructions as well as the right software to use for extraction.
Always double-check to confirm that the company offers their designs in DST file format; else you will have to go through extra trouble to convert. This rule also applies if you opt to create your design with embroidery software.
However, if you can’t go through such troubles, you will be interested in embroidery sites like embroiderydesign.com and Oregon Patchworks. You can make your findings, and we will be sure you will find the result that matches your style if you’re not comfortable with these two.
There are tons of ways to go about how to create a DST file, and there are even more ways to convert them to other formats. Aside from ensuring you have the right software to open this type of file, you should also cross-check your system requirements to ensure it tallies with the need of the software you want to use.
Most embroidery design software and DST file converter work with Windows 7 and above. This is true if you intend to use AutoCAD to learn how to make a DST file. Lastly, it’s recommended to have a USB storage stick to make it easier to transfer your DST file from a computer to the machine.
