So…what’s an understitch? It’s a straightforward sewing skill that will help make the garments you create look more professional and put together. It is a skill that is especially needed if you plan to sew dresses or shirts that need a solid and special neckline.
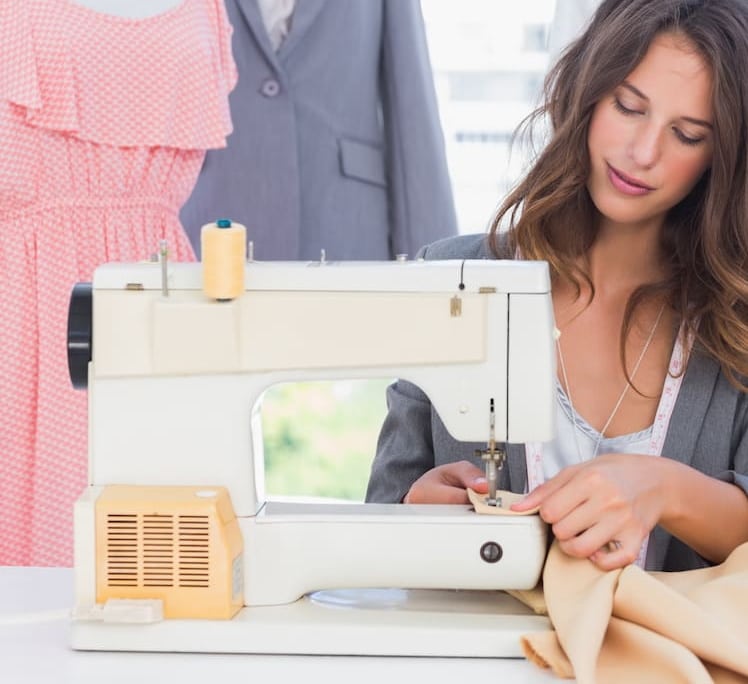
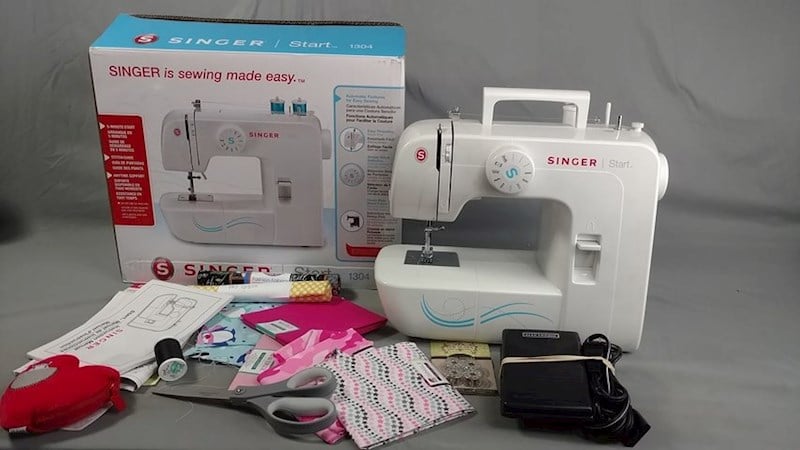
An understitch can be done with a sewing machine easily, but it can also be completed by hand. If you are wanting to buy a sewing machine to learn to understitch, one of the best options is the 2212 sewing machine by Janome.
The easy-to-turn dial and the 12 built-in stitches make it easy to use for new stitches. A good sewing machine will let you get the understitching done much quicker and let you master the skill sooner as well.
(But if you’ve got a problem with stitches skipping, fix it up by checking out our article why is your sewing machine skipping stitches?)
 An understitch is a simple
sewing technique
Trusted Source
Sewing - Wikipedia
Sewing is the craft of fastening or attaching objects using stitches made with a sewing needle and thread.
en.wikipedia.org
that can keep your lining or facings from showing on the outside of your garment. It will keep all the lining and the facing on the inside of the garment so that stitches are not visible on the outside.
An understitch is a simple
sewing technique
Trusted Source
Sewing - Wikipedia
Sewing is the craft of fastening or attaching objects using stitches made with a sewing needle and thread.
en.wikipedia.org
that can keep your lining or facings from showing on the outside of your garment. It will keep all the lining and the facing on the inside of the garment so that stitches are not visible on the outside.
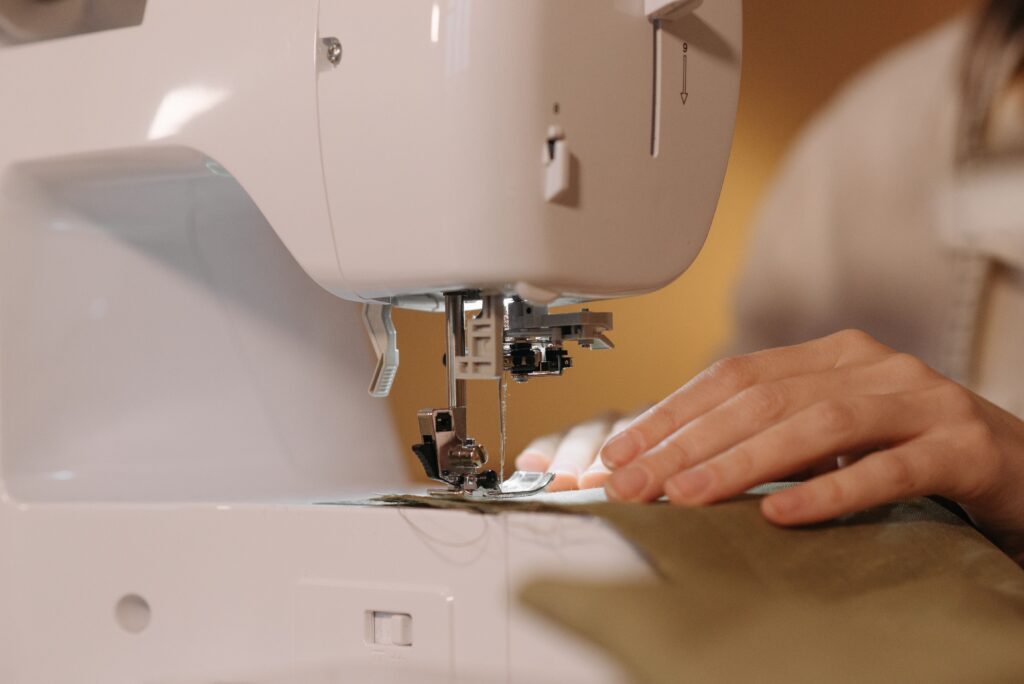
Understitching can be done with a sewing machine or by hand with a thread and needle. If you are new to sewing, you can consider getting a basic sewing machine or just practicing the technique with a hand sewing kit.
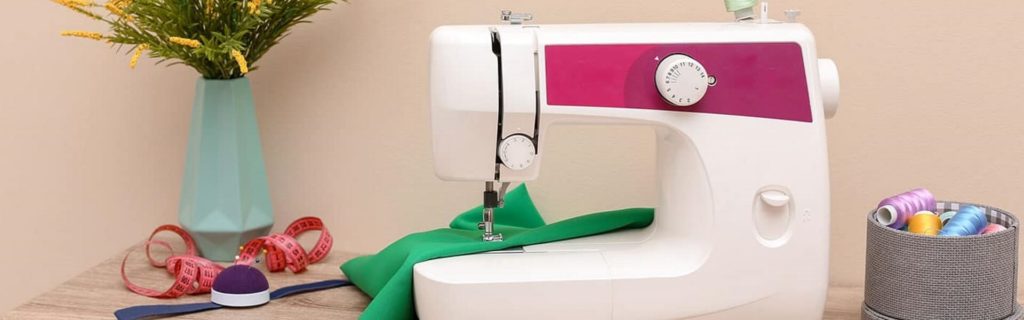
If you have never understitched before, you can always practice with some older fabric you have around your home. This will ensure that you are ready before you begin doing work on clothes or other garments.
In general, to learn to understitch is pretty easy especially with a heavy-duty sewing machine. It can also help you learn a basic sewing skill that will move you towards becoming an expert in no time.
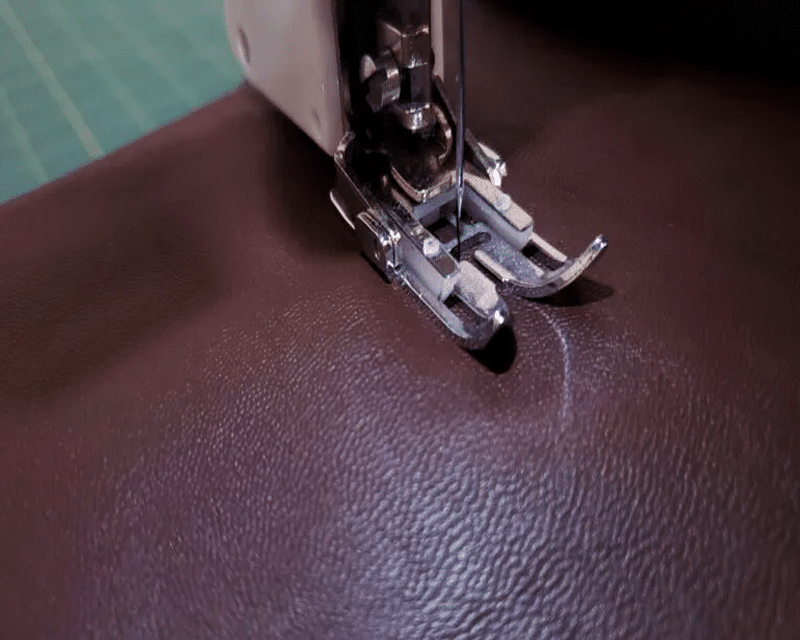
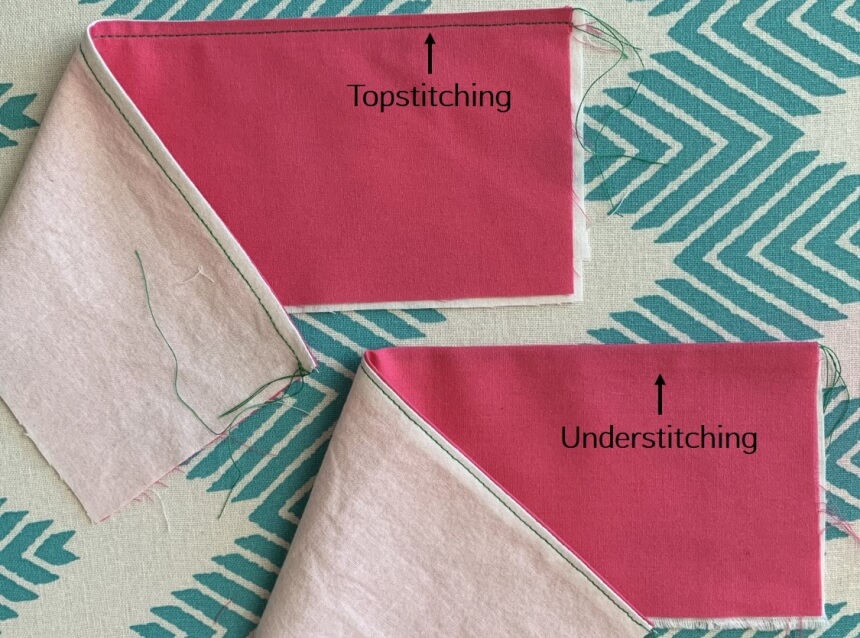
Always try to under stitch as close to the corner as you can get. If you are a beginner and want to practice, choose two different patterns or colors of fabrics so that you can easily see where you are stitching.
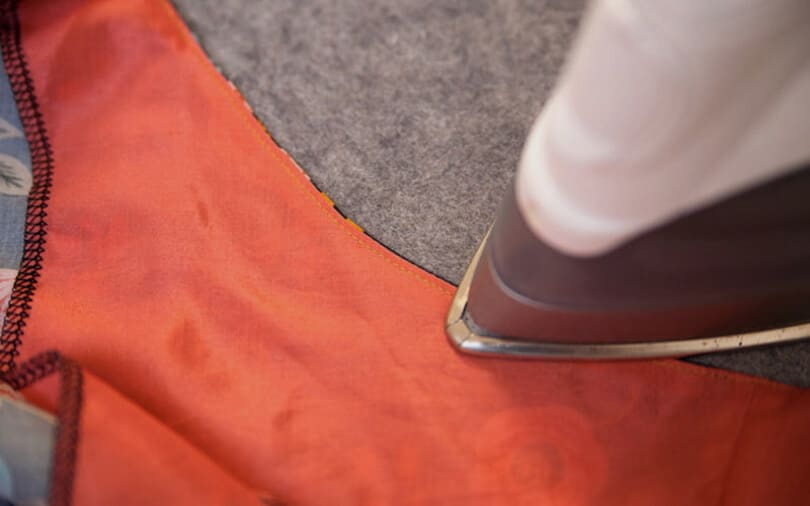
The first thing you want to do is stitch the two pieces together with the right sides facing each other. Always follow the pattern’s seam allowance and try to stay as close to it as you can. After this, you will iron it and use the machine to complete the job. We have outlined the exact steps below.
Continue to practice until you are confident. You can always remove the stitching and start over if you want to. Once you have the hang of it, you can move towards fixing your garments and having clothing that looks like it was made by a professional.
Some people are tempted to only press the seam and not continue with the understitching because ironing makes the garment appear like it has no linings sticking out. However, remember that as you wear and wash the garment, the lining and facing will appear more prominent.
Understitching can also prevent you from having to iron clothes as often.
Some people completely forget about understitching because it is not as common on clothes made nowadays. You probably even buy clothes from local shops and online stores that do not have understitching.
People who are just getting into making their own clothes probably have never heard of understitching either. However, it is a highly effective technique that will keep all the linings and facing in place. Threads or parts of the dress poking out onto the outside of the garment will be a thing of the past.
It is also one of the easiest techniques to learn, especially if you have experience with sewing already. The understitch is especially important as you begin to learn to sew dresses in all patterns, as well as blouses with distinct necklines. With understitching, all of your clothes will look more professional and you can be proud knowing you made them on your own.