Singer sewing machines provide multiple ways to nurture your creativity with unlimited designs. One of the key skills you need is how to thread a singer
Sewing machines come with a front loading or top loading bobbin and this might slightly change the way you install the bobbin in different types of machines. However, most sewing machines are threaded in a similar manner that we have explained in this guide. We have included instructions on how to thread a bobbin and insert it in your machine, how to thread upper thread and how to thread with automatic needle threaders.
By following our guide as well as the quick-start guide or manual for your Singer heavy duty sewing machines, you will find the sewing process quick and fun.
(Are you using a Necchi? It’s a bit different! Learn the steps in our article on how to thread a necchi sewing machine!)
The best heavy duty sewing machines come with detailed diagrams and instructions on how to thread bobbins. The process is quite simple once you understand it. You will need to choose the right thread for your sewing project. Next, we will explain how to place the thread properly and how to run it through the thread guides and threading slots. We have included all the information you need know about how to thread a bobbin Singer heavy duty machine.
Singer 4423 threading is similar with most Singer models. We will briefly discuss the steps in this section since we have explained them in detail later on in this article.
Winding the bobbin:
Place the spool holder and thread on spool pin, and then pull the thread into the thread guide. Wide the thread around the tension discs in a clockwise direction and put the bobbin on spindle.
Push bobbin spindle to the right. This position is for bobbin winding.
Hold the end of the thread and press the foot pedal.
Cut the thread and push the spindle to the left position for sewing, then remove it.
Inserting the bobbin:
Turn off your sewing machine before inserting the bobbin.
After confirming that the needle is in its highest position, insert the bobbin with the thread in a counterclockwise direction.
Pull the thread through the slit and draw it clockwise to put it into the notch. Pull out a 6-inch long thread and replace the cover plate.
Threading the upper thread:
Rotate the handwheel counterclockwise and release the tension discs by lifting the presser foot.
Place the thread spool on the holder and pull the thread through the upper thread guide and pre-tension springs.
Pass the thread through the right and left channels and through the take-up lever slot, and then behind the horizontal thread guide and needle clamp guide.
Trim the thread, or have SINGER 4423 Heavy Duty which comes with a built-in automatic needle threader do it for you.
The following are detailed instructions on how to thread a bobbin Singer heavy duty sewing machine.
The bobbin in regular and heavy-duty sewing machines is located on top of the machine and you use the same process to thread it. Confirm first that the bobbin is compatible with your model.
Next, check whether the spool pin lies in a vertical or horizontal position. Vertical spool pins do not require a spool cap or spool holder to be placed on top of the rim of spool but horizontal ones do, and the cap must be of appropriate size to stop the thread from unraveling when you start sewing. Your thread may also unravel if you choose the wrong needle for your pattern and fabric Trusted Source Sewing Shortcuts Sewing shortcuts help the home sewer save time while making attractive fashions. Using shortcuts is an important reason more people enjoy sewing at home. aces.nmsu.edu . Some heavy-duty sewing machines come with spool caps in different sizes. Choose a spool cap that matches the size of your thread spool as well as the size and style of needle that would be most suitable for your fabric.
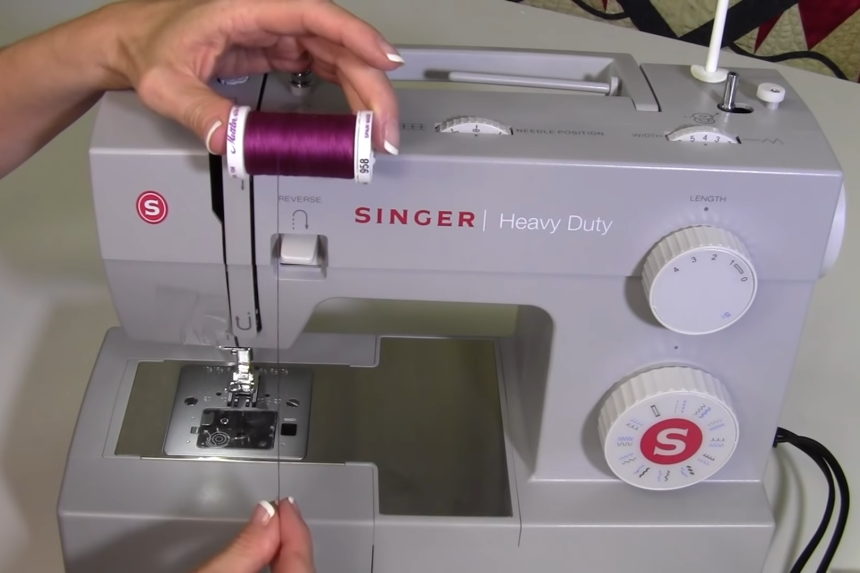
The first step on how to thread a bobbin Singer heavy duty machine is to set the thread spool on the spool pin. You can opt to put the spool pin felt, if available with your model, under the thread spool.
The next step is to pull the thread through the bottom slot underneath the first thread guide, and then through the upper slot to wind it down and around the tension disc in a clockwise direction. Make sure to wind the thread through the discs. To slip the thread into the tension discs, use your right hand to hold the spool as your left hand pulls up the thread. Most Singer heavy duty models come with diagrams with instructions on how to thread bobbins.
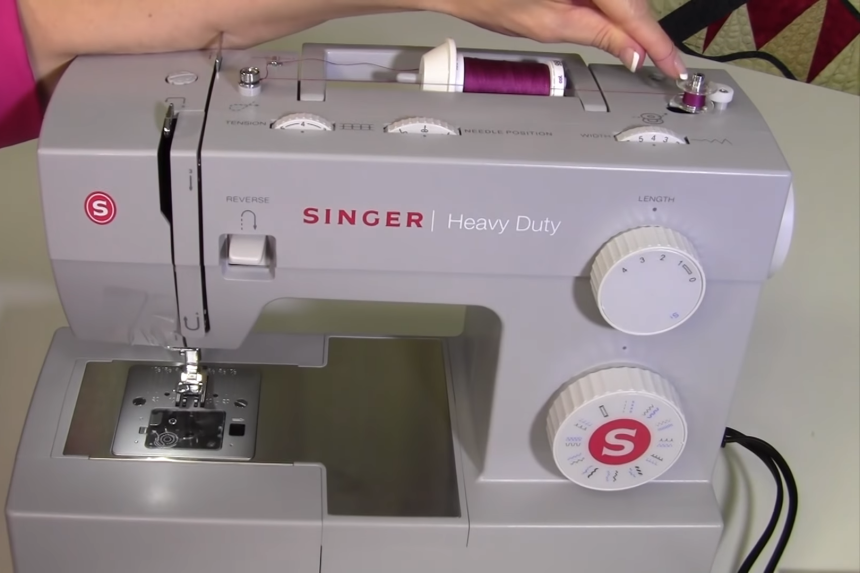
There is a small hole on top of the bobbin. Place the thread through this hole by inserting it from the center to the top, and put the bobbin on the bobbin spindle with the thread end facing upwards to secure the bobbin while sewing.
Push the bobbin spindle to the right and then push the foot pedal, or the Start button in computerized models, as you hold the end of the thread to wind the thread a couple of times around the bobbin.
Let go of the end of the thread and fully push the foot controller or press the Stop button until the bobbin is full.
Return the spool pin to the left side and then trim the end of the thread. Lastly, remove the bobbin from the bobbin spindle.
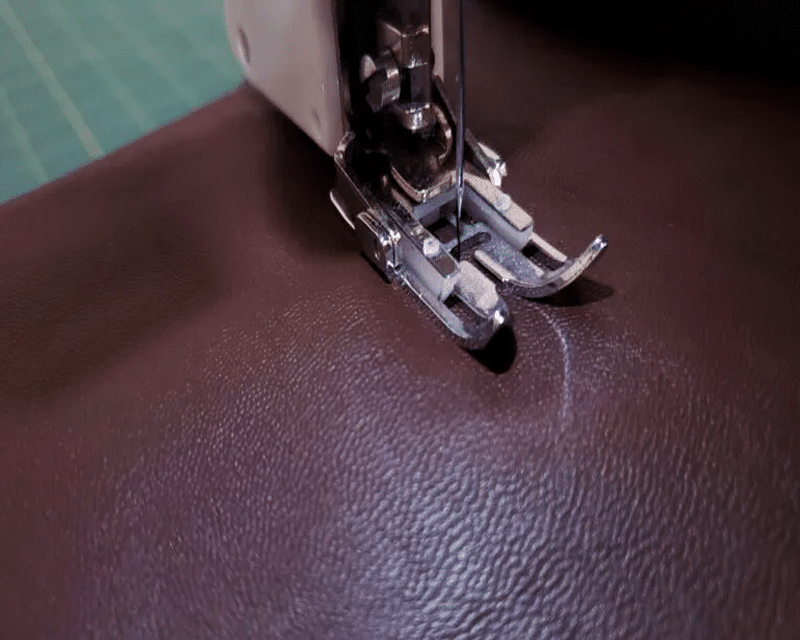
Singer heavy duty machine threading process also includes inserting the bobbin in the machine after winding it. Heavy-duty models provide the best sewing machine for leather, denim and other tough materials.
Singer sewing machines come with either front loading bobbin or top loading bobbin. The former is particularly common in mechanical models where it is placed on far right on top of the machine. Newer models feature the latter that is placed below the needle and is also easier to load and excellent at even stitch. However, both follow the following basic steps.
Turn the hand wheel toward you to place the needle in its highest position.
Push the black release button to the right side to pop open and remove the cover plate of the bobbin.
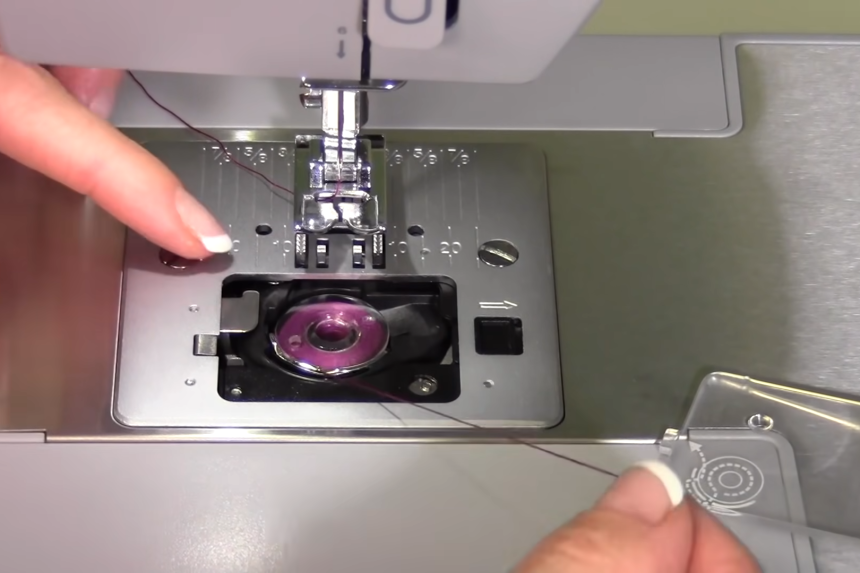
Insert the bobbin into the hole with the thread running in a counterclockwise direction to prevent tangling.
Put the thread through the small slit placed in the bobbin case and then pull it clockwise out of the notch provided. For top drop-in bobbins such as the one available with Singer 4452, pull approximately 6 inches of thread towards the back of the machine below the presser foot to ensure the thread stays in position. The thread cutter will cut off the excess thread.
Replace the bobbin cover plate.
This section will cover the Singer heavy duty threading of upper thread.
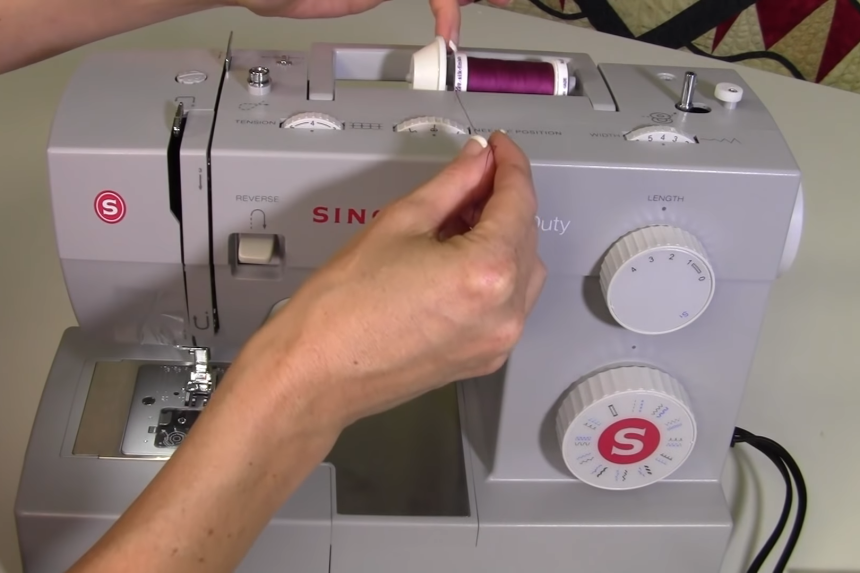
The first checklist for this stage is to turn the hand wheel towards you to ensure that the needle is in its highest position. The second one is to ensure the thread is properly placed on the spool pin and coming out from the back. Raise the presser foot to regulate tension for great stitches.
Pass the end of the thread around the upper thread guide using the steps we listed earlier in on how to thread a bobbin. Next, pull the thread through the pre-tension spring that is located at the back of the unit, and then down the right channel before passing it up the left channel. Use the thread take-up lever found at the top of the left channel to hook and pass the thread from right to left and to pull it down through the opening of the horizontal thread guide.
Pull the thread through the opening on the side of the needle clamp guide placed above the needle.
Pull approximately 8 inches of thread below the presser foot.
Front to back motion is the recommended needle threading method unless you have the best intermediate sewing machines that feature an automatic needle threader. We have discussed automatic needle threaders in the next section of Singer heavy duty threading.
Set the machine on straight stitch and then center and raise the needle to its highest position to be able to pass the threader hook through the eye of the needle.
There is a threader lever located on the left side of your sewing machine. Pull it down to its lowest position and turn it gently towards you. Hook the thread around the thread guide and pull down the automatic needle threader to pass the thread into the hook. Run the thread through the hook, starting from bottom to top.
Release the lever by turning it away from you to return it to its resting position.
Pull the thread loop through the eye of the needle by releasing the threader.
Automatic needle threaders are convenient because they speed up the threading process for beginners Trusted Source Edmonton sewing surge: Interest in age-old practice spikes during pandemic Repair backlogs, machine supply shortages as hobbyists and mask-makers take up sewing www.cbc.ca and eliminate guesswork.
Having the right tools such as the proper sewing machine, needle, thread and other accessories is only part of what makes great designs. However, having the ideal equipment without knowing how to operate and optimize their features will hinder you from achieving exceptional results.
We have compiled this useful singer threading guide on how to thread Singer heavy duty sewing machines to teach you the steps and techniques that will save you time and effort on your projects. This guide will also extend the lifespan of your machine and its accessories through proper use and maintenance. Furthermore, the information in this article regarding Singer heavy duty threading also applies to other brands of sewing machines. Hopefully this singer threading guide has made the process of how to thread a singer much more manageable