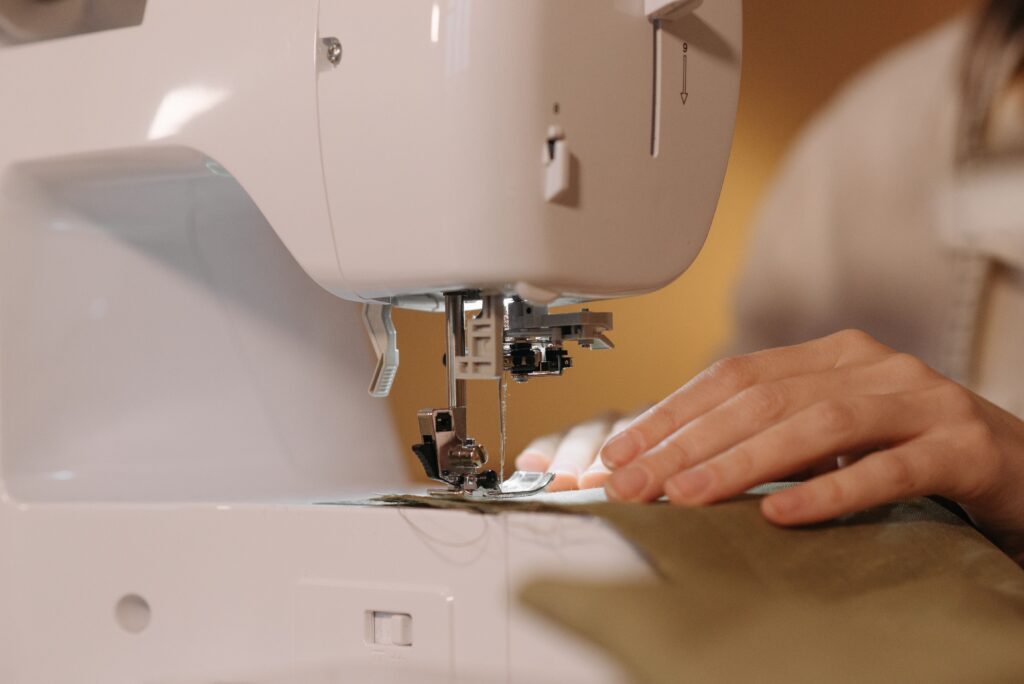
When working on a sewing project or any project for that matter the most anticipated portion of this experience is the end result. Seeing how your handy work turns out and marvel at your skill and prowess is the most gratifying point of a sewing experience, aside from being paid for it of course. But then your sewing machine decides to deny this gratification by breaking down and now you have to make the machine instead of making some stitches.
The good news is that in most instances of this sort your sewing machine is not broken its experiencing some common technical issues. You probably overlooked a certain simple functional aspect of your machine and as consequence it developed slight mechanical issue. A mechanical issue that is easily salvageable without having to take your sewing machine to the repair shop, so long as you know where to start.
This article provides sewing machine troubleshooting solutions so that you can save yourself the trouble of carrying your sewing machine to a repair shop and spending money to get it working again. It is important to note however, that different sewing machine models have unique functional issues and so troubleshooting your sewing machine my not be the same as the next person’s. Here are commonly owned sewing machines and their troubleshooting procedures. If your sewing machine did not make it to the list you should consider finding your sewing machine manual. Sorry.
Of course there are sewing machine problems that are common to any model of sewing machine. For instance, does your sewing machine skip stitches, snaps threads, break needles, tangles threads or even make weird noises while working? If the answer is yes then read on and you might save yourself some time and steep sewing machine repair costs going forward.
Snapping threads; in most thread breakages the issue is the type of thread. Make sure the thread you use for threading a sewing machine needle is not meant for a hand sewing needle because that will definitely break. If thread snapping is still an issue try lowering the tension settings for the thread on the top spool.
Bending or breaking needles; bent or broken needles can be very frustrating but also dangerous so caution and immediate action should be taken once this is noticed. Commonly the issue in this case is fabric needle incompatibility. For instance, heavy fabric such as leather, vinyl or denim require sharp sturdy needles while lighter fabric like knit, or cotton do well with ballpoint or jersey needles. Bent or broken needles can damage your fabric so it imperative that quick action is taken to immediately replace the needles as instructed by the sewing machine manual. If the issue is not fabric and it persists then a sewing machine repair is inevitable.
Tangling threads and jumbled up knots; this is one of the most annoying yet common sewing machine mechanical issues. Usually when your machine tangles, knots up threads or decides to miss stitches that you very well intended to stitch the issue is accumulated fluff. That is lint and dust collected by the machine over a significant of activity. The fluff builds up inside the bobbin case and moves around as the bobbin is active which may end up in the wrong end hence the mechanical defect. So regularly clean your machine using a brush or vacuum attachments to avoid this annoying eventuality. However, if this happens to your machine frequently then you may want to look into changing your threading and tension settings.
Strange sewing machine noises; your machine may start making weird clunky noises which is not a surprise for an older model machine. Most people tend to ignore the sound and continue using the machine anyway, which is a recipe for disaster. Usually when its starts complaining it is an indication that it needs a good clean and a little oiling. So you could save yourself a trip to the repair shop by simply doing a little maintenance to your sewing machine.
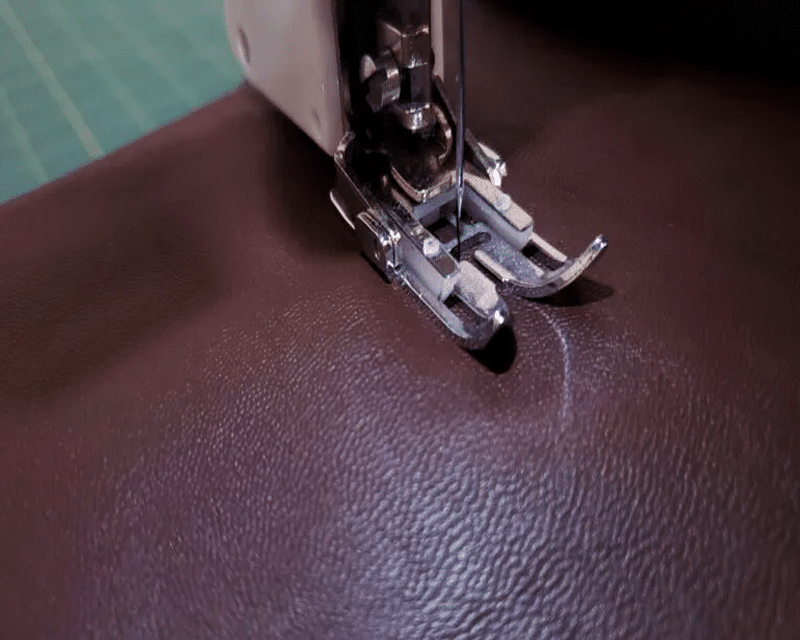
Another commonly experienced sewing machine technical hitch is the stitching issue. In fact this problem is so rampant it gets its own category. Once in a while or sometimes more frequently than you would like to bear your sewing machine may make irregular stitches, decide not to stitch at all or perform other stitching errors. For that, here are some tips on troubleshooting sewing machine stitches that you likely have or are experiencing.
Not stitching; the first thing to check for in this scenario is the threading on the upper and lower bobbins where you simply rethread if that is the issue. If not then check to ensure that your hand wheel is tight in case it was loosened while winding the thread on the spool. Another possible instance is that the thread may have unthreaded immediately you stepped on the pedal because you did not pull enough fret to the back of the machine.
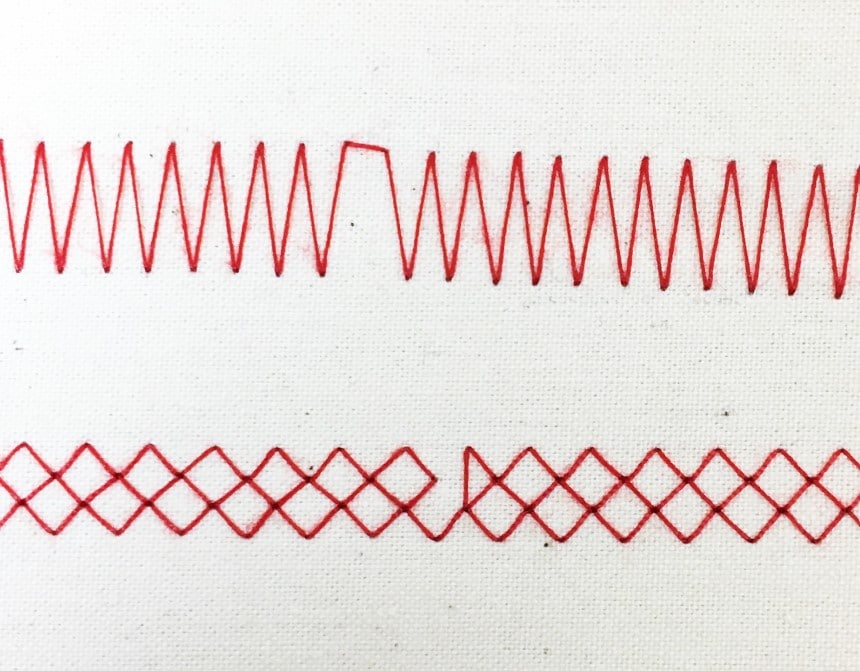
Zigzag stitch sewing machine troubleshooting; trouble making a zigzag stitch is basically associated with the presser foot. You need to check that you are using the right presser foot whenever you intend to make a zigzag stitch. The zigzag stitch needs the presser foot to have a wider hole. Anything less will most likely mess up the zigzag stitch and even break the needle. Goes without saying that you should avoid this eventuality because if the needle breaks you might get shattered needle parts shoved into the sewing machine which is a recipe for further mechanical problems. To change the footer click the release lever, and remember the wider the zigzag stitch the wider the footer hole needs to be.
Skipped stiches; for sewing machines that skip stitches the problem is almost always with the needle. In most cases the needle might be bent or damaged. Sometimes the damage may be so minimal that you may not be able to observe it. Causes of the damage may vary ranging from; improper installation, using the wrong needle size, using the wrong needle type or accumulated fluff (for this a little cleaning would suffice). So just so you are sure before checking this possibility off try using a band new needle.
In other instances your speed might be affecting the stitching, thus let the machine drag the fabric at its own pace. You could add a table in front of the machine to catch the fabric so that you can reduce the pull tension caused by gravity on the other end of the sewing machine table.
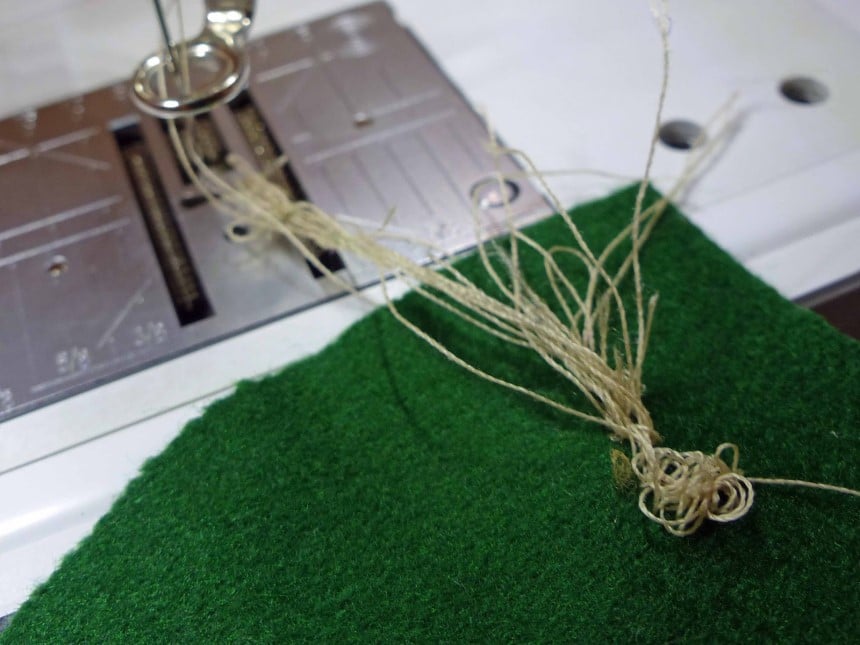
Bird nesting; (another name for jammed stitches) is a basic sewing machine stitching issue caused by failure to properly thread the machine. To determine if it is the upper or lower section that needs rethreading choose different colors for each thread and some scrap fabric. Now make a try to make a stitch and you can easily identify which color is jamming up stitches. However, in most cases the upper thread is the source of the bird nest. This is because the sewer may miss putting the thread through the take-up lever which forms a bird nest in quick succession.
That is primarily what you need to know about troubleshooting sewing machine stitches. However, if you troubleshooting attempts are not successful using the above tips then you unfortunately need to take your machine to the repair shop.
Now here are some commonly owned sewing machines and how to troubleshoot their unique mechanical hitches.
The Singer sewing machine is one of the most commonly owned sewing machines globally. This makes Singer sewing machine troubleshooting a little bit easier since there is a lot of content online about this sewing machine. All in all the most commonly experienced sewing machine issues for the Singer sewing machine are thread related which include; thread loops, thread shredding, thread snapping, and skipped as well as irregular stitches. Here are some troubleshooting tips to lessen your troubles.
Thread loops; the Singer sewing machine will from time to time exhibit thread loops that show on the underside of the fabric, which is a rather messy finish. The issue here is usually improper threading on the upper thread. The resolution for this scenario is rethreading the machine which would entail first lifting the presser foot to raise the needle to the highest position. Then ensure that the thread is properly set on the tension and take-up lever (which is what causes the thread looping).
Thread breaking; thread breakage for the singer sewing machine again mostly involves the upper thread. This is usually a consequence of the obstruction of the thread path, incorrect threading or the upper thread set extremely tightly. Ensure that the thread is not caught behind the spool cap or on the spool surface, enable correct threading and properly set thread tension.
Distorted stitches; usually when you push or pull on the fabric while sewing the stitches will appear distorted. Do not bother yourself, the feed dogs can do the pushing and pulling at their own pace, thank you very much. However, for a Singer Sewing machine the issue may be using the wrong presser foot. Have in mind that the all-purpose footer is not quite viable for dense stitching (the Satin or Open Toe footers are more appropriate) which may cause stitches to get stuck under the presser foot.
Singer sewing machine 401a troubleshooting; the design for this particular Singer sewing machine model is a little more vintage which brings about a relatively unique thread troubleshooting issue. The Singer 401a’s common issue is that the machine tends to fluctuate with the tension. For this begin by lifting your presser foot, then running the thread through one of the tension discs, then pull the thread until you hear the spring on the tension assembly click. This manages the thread fluctuation issue.
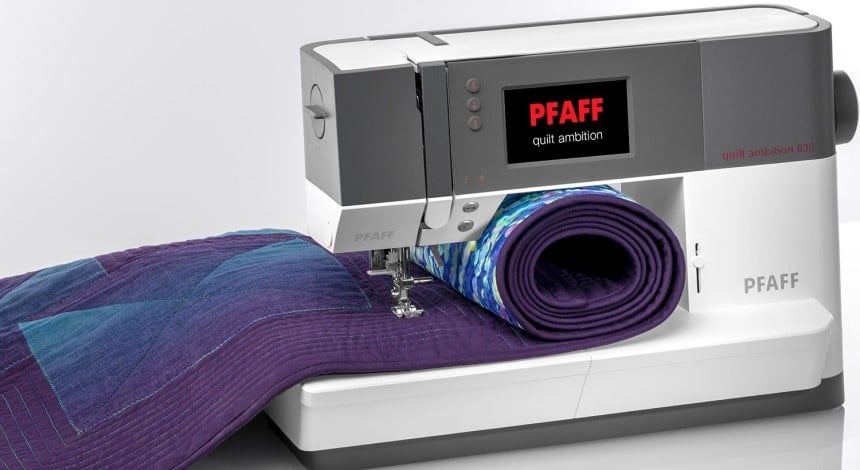
Pfaff sewing machines are designed for a smooth sewing experience, and are well known for their smart even seams. Immediately your Pfaff sewing machine begins to exhibit non-Pfaff sewing qualities such as uneven seams, knots, skipped stitches and bird nests, then you need to troubleshoot it before you have to do more than just a few maintenance procedures.
Pfaff sewing machine troubleshooting basically involves cleaning and maintenance, which is conducted procedurally as you will now read. For this procedure you will need a thread, a cleaning brush, a small screw driver, sewing machine oil, small sharp scissors and the Pfaff sewing machine manual.
Cleaning; the first procedure is cleaning. To begin switch the sewing machine completely off then raise the footer and the needle completely to access the bobbin compartment. Remove the bobbin and its case as well as any thread within the bobbin compartment (the threads accumulate hear and can likely stop your Pfaff sewing machine from working). The small pair of sharp scissors come in handy here.
Continue by removing the needle, and the presser foot, and unscrew the needle plate to access the area under it. Clean the feed dogs and the area underneath the needle plate which is where lint accumulates to cause unevenly seamed stitches. Use the brush and a blast of air for this part.
Open the hook rack and detach the hook then relieve the area of any threads then clean the area with a brush and blast some air while you are at it. Then add a drop of oil into the hook rack.
Finally reassemble the sewing machine and ensure that every part is reinstalled correctly.
Maintenance; for this stage check ad ensure that the machine accessories are in order. Replace the needles with new and properly suited needles depending on your sewing fabric, then check the spool for any rough edges that usually causes the machine to stop (simply turn the spool). Replace the your upper and bobbin thread with new sturdy thread brands. Weak threads break and leave lint that cause uneven seams.
If your Pfaff sewing machine still does operate propeller after all that, carry it to the nearest repair shop.
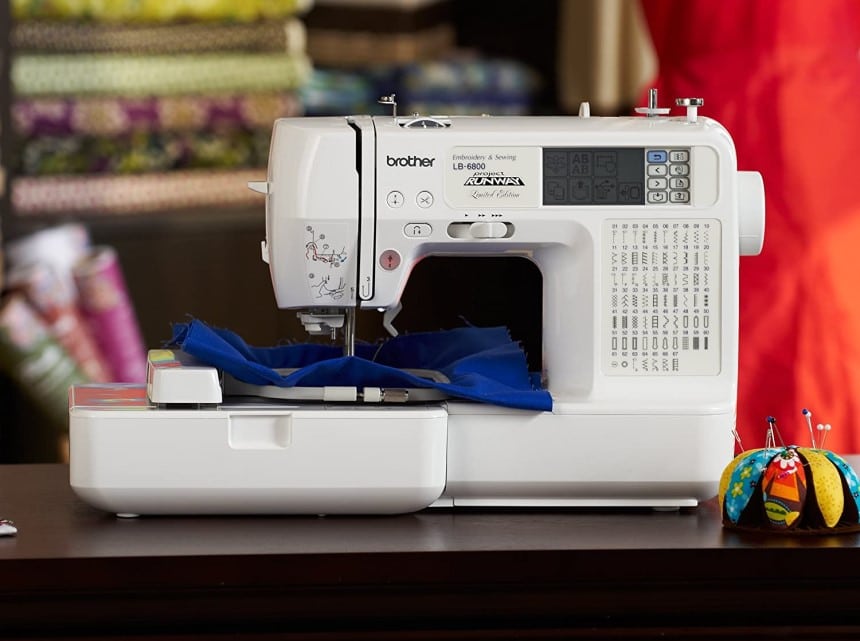
The Brother sewing machine is designed for the novice category of sewers. It is supposed to be easy to use while offering you efficiency. The manufacturers of this brand of sewing machine even have a support center app for customer queries on their product to ensure efficiency of their product. If your Brother sewing machine is not stitching the way you like it, here are some Brother sewing machine troubleshooting tips for your troubles.
Fabric not feeding; for non-computerized Brother sewing machines the issue here is usually a raised footer which should be lowered before you start sewing. The digitized version will automatically remind you to do so. In a different instance the issue may be that the feed has been accidentally lowered, so double check to make sure that it is raised. Also if the stitch length on your Brother sewing machine is low the feeding will not be sufficient.
Dormant needle; sometime the needle on your Brother sewing machine might be unresponsive despite the hand wheel being free. Simply check if the machine is in bobbin winding mode. Slide the winder shaft to the left to switch it back sewing mode and happily get on with your project.
Not picking up the lower thread; the Brother sewing machine not picking up the lower thread is commonly a needle issue. Check to see if the needle is in good condition, it may be probably bent and would need to be replaced. Brother sewing machines are very picky when it comes to needles and so they are not compatible to Singer or Butterfly branded needles among others. Organ and Schmetz branded needles are recommended for this sewing machine.
Reverse sewing; if you experience this weird phenomenon and own a mechanical Brother sewing machine then simply check the button hole lever and turn it to the up position. As for the digital Brother sewing models turn the switch on and off which will recalibrate the feed motor.
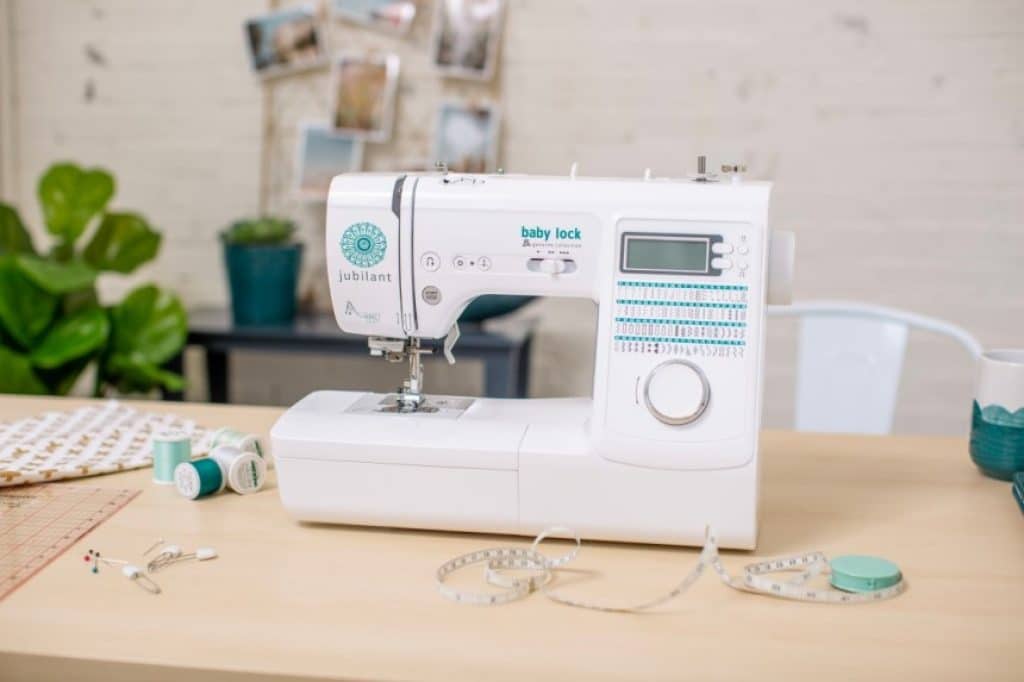
The Baby Lock sewing machine is a reputable sewing machine popular for its portability and efficiency. However, this nifty piece of machinery just like the other sewing machines in this compilation has troubles of its own which are easily solvable. Here are some Baby Lock sewing machine troubleshooting guidelines for all you Baby Lock users.
Clean the sewing machine; the Baby Lock sewing machine’s petite size makes it accumulate lint and dust a lot faster than other sewing machines. You now know what dust and lint could do to your sewing machine which includes uneven seams and broken needles. Frequently cleaning your Baby Lock machine especially at the bobbin and tension areas will save you a lot of trips to the repair shop.
Needle and thread; always ensure that your threads and needles are of good quality. This is because the wrong needle might break or bend which would be detrimental to the whole machine’s mechanism. Whereas weak and old threads break or shred and leave lint that accumulates inside your Baby Lock sewing machine’s bobbin case.
Basically, the Baby Lock sewing machine only acts out if it is poorly maintained.
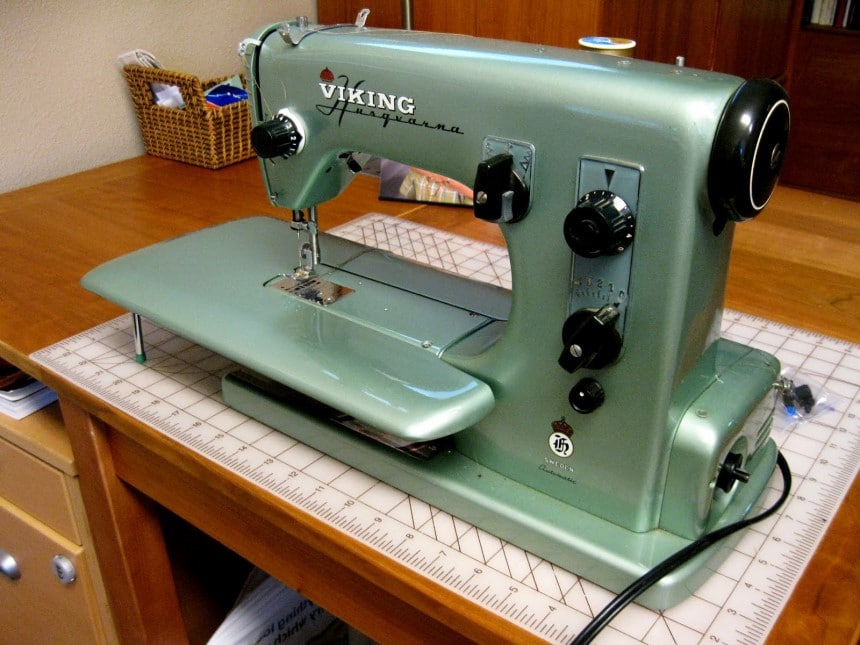
Built for overall efficiency and convenience the Husqvarna Viking sewing machine is among the finest of the lot in sewing machine models. This lightweight easy to use sewing machine is suitable for both novice and experienced users and comes with a digital screen and a myriad of stitch functions. But in case some of these stitch functions are not functioning as expected, get some Husqvarna Viking sewing machine troubleshooting guidelines here.
Dysfunctional bobbin alarm; the Husqvarna Viking machine is fitted with a bobbin alarm which is an aspect of its efficiency features. Incase this alarm is not working then do not panic it is most likely an error caused by a filled up bobbin case. A simple cleanup of the bobbin area will do the trick. However, ensure that you use only the Husqvarna Viking approved cleaners for this task.
Thread cutter that does not cut; this is another efficiency aspect of the Husqvarna Viking sewing machine which is also prone to error. In the event of a non-cutting thread cutter remove the needle plate to access the bobbin case. Clean this area which is most likely the cause of the malfunction. Then enable automatic thread cutter on the machine’s menu and you are good to go.
Fabric not feeding; this is usually caused by the machine being on free motion mode so just correct that and it should feed properly.
Irregular or wrong stitches; this error may not be the machine’s fault. Always ensure that you check your sewing settings before you commence sewing. In most cases when there is an irregular Husqvarna Viking stitching it is because the twin needle or stitch with safety sewing settings were set on the menu for stitches they were not meant for.
Non-responsive icons; sometimes the icons on your Husqvarna Viking screen may not activate when you touch them, which basically means trouble because you cannot access the rest of the machine’s settings. Worry not however, because all you have to do is calibrate the screen from SET Menu.
The Kenmore sewing machine is a popular sewing machine sold by sear and owned abundantly for its proficiency as a sewing machine. For most other the Kenmore sewing machine models all they need is some care. Thus a Kenmore sewing machine troubleshooting mainly involves some basic conservancy procedures.
For the Kenmore sewing machine you begin by cleaning. You will need a flat head screw driver to access screwed regions such as the needle plate. Clean the bobbin case using a lint brush which should have been dispensed alongside the Kenmore machine when you bought it. You could use tweezers for this task as well. You should then oil the mechanical parts of the sewing machine. For the Kenmore sewing machine these parts are located on the left side of the machine behind the face cover. Unlid the face cover and carefully drop some oil on the needle bar as you move it up and down using the hand wheel.
Replace your every mechanism to its original position and replace the needles especially if they are bent or broken. Then head for the spool where you rethread the whole system from the spool to the thread guide to the bobbin thread. And finally check and adjust the tension.

However, the Kenmore 385 model stands out from its counterparts. As the latest model troubleshooting this sewing machine requires more than just maintenance.
Kenmore Sewing Machine Model 385 Troubleshooting
The Kenmore 385 model sewing machine is a digitized sewing machine hence most of its trouble shooting issues are electrical oriented.
Zigzag motor error; signified by the E1 error code this issue is characterized by a raised needle bar and the sewing machine cannot make the zigzag motor to start. To counter this error first unplug the machine and check its wiring on the zigzag motor which is to be replaced if the fuse is blown and the circuit A is not affected. The wiring should expose circuit board A as well where you would need to replace the fuse on the circuit board if it is blown or the circuit board if it has a black spot.
Feed motor error; symbolized by the figure E2 this error entails a lowered needle bar which disables the machine from preparing a feed motor to start. Check the wiring after unplugging the machine of course to access the connections on the feed motor and the circuit board A. replace the fuse on the circuit board if it is damaged or the circuit board if you spot a burn spot. Replace the feed motor if the circuit board and the fuse are unaffected.
If making these kinds of repairs is too technical for you do not risk causing any more damage, so seek expert assistance.
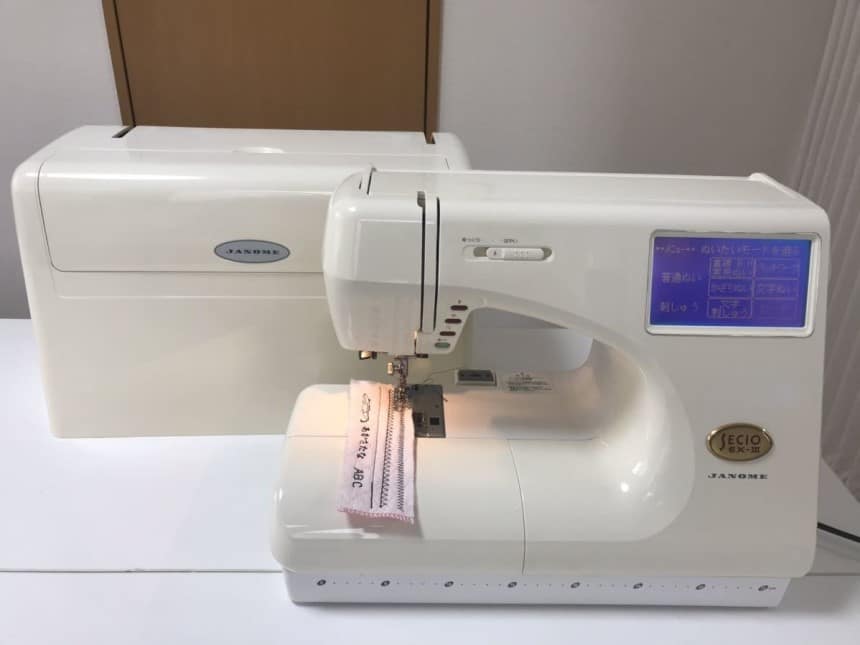
The Janome brand is quite common in the sewing machine world, well known for their affordable yet efficient sewing machines. It comes in different styles and offers a good number of functions but most of all, the Janome sewing machine is well for its durability factor. Nonetheless, Janome sewing machine troubleshooting is still required because through the test time even this brand of sewing machine is bound to feel the pressure.
Three threads at the presser foot; usually there are supposed to be two threads at the presser foot. The third thread is as a result of a loop between the bobbin thread and the upper thread trying to form a stitch which make it hard for your fabric and threads to pull out of the sewing machine. You therefore need to end the stitch cycle. To handle this ensure that the take-up lever is in the highest position (raise it manually if you need to) and lift your footer. Then with the raised take-up lever and the hand wheel turned towards you finish the stitch
Trapped Fabric; in this scenario the case is usually that the presser foot is still in the upright position while you try to sew. This causes the thread to jam around the fabric as you try to sew since the feed dogs cannot pull it through the machine. Simply unblock the jam and free the machine from any excess threads on the fabric inside the machine, reset the presser foot correctly and start again.
Machine unthreading; this issue is commonly because the thread is either too short or the thread went underneath the footer when you began to sew thus pulling the thread out of the needle right as the sewing starts. To solve this, simply make sure that the bobbin threads and the eye of the needle are 3-4 inches long under presser foot and are stretched out back behind the Janome sewing machine.
Hopefully all these words, sentences and paragraphs have been of some help to you and your sewing machine. If not, then that is quite unfortunate but at least you learnt something new about troubleshooting sewing machines. Also, if none of the contents of this article were helpful in restoring your sewing machine, then a prompt trip to the sewing machine repair shop would be ideal. However, you can save yourself all this trouble by properly maintaining your sewing machine; regularly clean and oil the machine and do not spare any expenses on machine utilities such as threads and needles (because cheap is expensive).