As a fashion designer, you understand how important it is to finish a skirt or pants well. Elastic is one of the simplest ways to finish shorts, skirts, or pants’ patterns. It’s an easy choice for designers and users because it makes the clothing comfortable to wear with minimal fit issues.
If you’re a beginner, you can be forgiven for not knowing how to sew elastic waistbands Trusted Source Waistband - Wikipedia A waistband is a strip of material that is either elastic or some other confining fabric that encircles the waist. en.m.wikipedia.org because the process is a bit tricky. But it’s quite easy to learn if you have the right guide available to you. Luckily for you, this article will explain the processes involved in sewing elastic waistbands.
There are different methods you can use to sew the elastic waistband. But your sewing project should determine your choice of method so that you can achieve the right results. We will explore the methods below and provide you the best guide you can get.
 When an elastic frequently twists and turns inside its casing, there’s an uneven forming around the waist that leaves the elastic floating inside the tube of fabric. That can be very unpleasant and uncomfortable. The primary cause of such a problem is the improper sewing of the elastic waistband.
Sewing your elastic waistband properly should be a top priority so that you don’t have issues with the finishing of your clothing.
The first thing you must do is get a reliable sewing machine. The machine can be mechanical, but if you have a big budget and want an easier and faster exercise, you can go for a high-quality computerized machine like the Janome MC6650 Sewing and Quilting Machine, which offers great speed and precision. The machine boasts a start/stop button that gives fingertip control of stitching.
The Juki HZL-F600 Computerized Sewing and Quilting Machine are also popular among fashion designers as a reliable option thanks to its many features such as automatic thread trimming by heel motion of the foot pedal, walking foot for multiple sewing layers, amongst others. If any of these machines do not suit your taste, you can consider any high-quality Eversewn sewing machine due to the manufacturer’s reputation for making reliable machines.
After getting the right sewing machine, use it to sew elastic directly to your fabric, joining the two materials together. You need to fold the fabric into the garment at a level equal to the elastic’s width. Also, you should trim off the extra fabric that may get folded one more time.
 Before sewing an elastic waistband, there are certain instruments or materials you must get ready for a seamless exercise. They are:
As we mentioned before, there are different methods for sewing an elastic waistband. We will explain four of them and help you understand the perfect one for your sewing project.
 This method is ideal for elastics and other stretch items that are 2cm (3/4 inch) or 2.5cm (1 inch). Use the following steps to sew an elastic waistband with a zig-zag:
Step 1: Get the skirt or pants to the level where they need a waistband. Then turn the wrong side out.
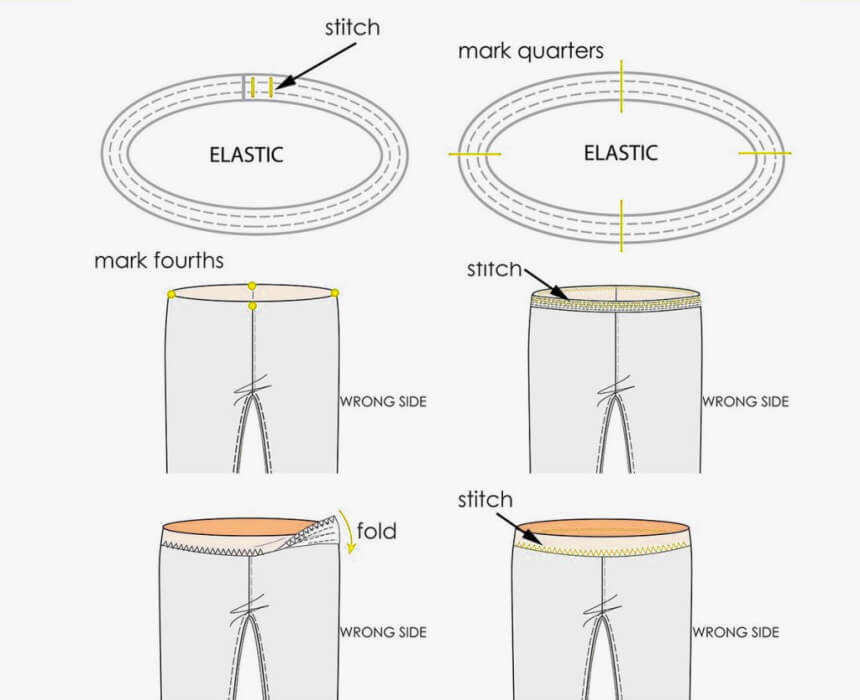
Step 2: Pick up your elastic and measure a band with enough length to fit your waist. Use the elastic to form a circle and join both ends together, but don’t overlap them. This process is referred to as ‘butting’ the ends.
Step 3: Zig-zag across the joined ends of the elastic to sew them together. Check how the elastic band fits on your waist. Adjust it to suit your taste. Elastics don’t stretch by the same amounts, and some can provide more comfort than others. Another factor you must consider is if you prefer wearing pants or skirts slightly below or above your belly button.
Step 4: Mark both the waistbands and elastic bands in quarters.
Step 5: Align the waistband and elastic marks. Then stitch along the edge using a zig-zag stitch or a serger. If you’re using a serger, be careful not to cut any of the elastic.
Step 6: Fold the elastic down and stitch the edge using a twin needle or zig-zag stitch. You can use a high-quality thimble with the needle to make the exercise easier.
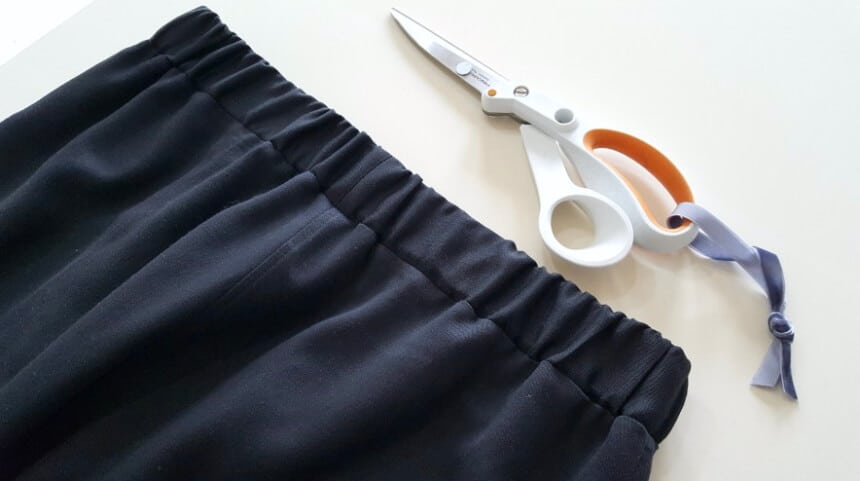
 Sewing an elastic waistband with a casing is straightforward. Before anything, you need to create a casing which is quite easy to do. The elastic used in casing is typically a bit narrower than some other methods.
The common width is 12mm (1/2 inch) or 6mm (1/4 inch). Of course, you can decide to use a wider elastic, but it may become a bit bulkier.
Follow these instructions to sew an elastic waistband with casing:
Step 1: Measure your waist and cut the elastic to the measurement. Ensure that there’s enough seam allowance for the casing.
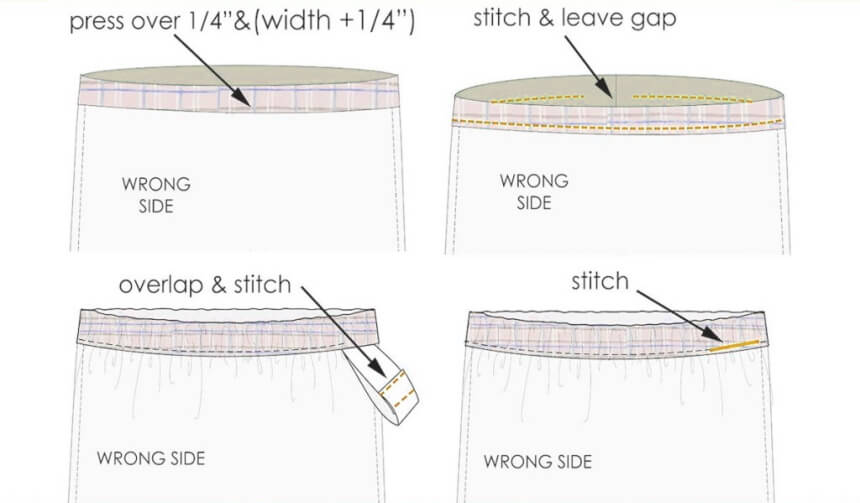
Step 2: Press the top edge of the casing over by the width of the elastic plus 6mm (1/4 inch). If the elastic’s width is 2cm (3/4 inch), you should press the edge by 2.5cm (1 inch). This will allow easy stitching.
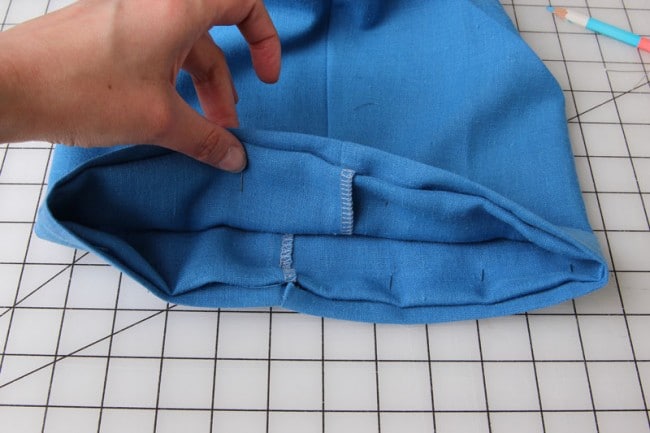
Step 3: Stitch around the casing near the edge and leave a gap aside. The gap should be somewhere hidden.
Step 4: Use a safety pin to thread the elastic band through the gap you left in the casing.
Step 5: Overlap both ends of the elastic and then stitch them together. Try the pants or skirt on before making the next move. Adjust the elastic if there’s any need to do so.
Step 6: Get the elastic inside the gap. You can then stitch the gap closed.
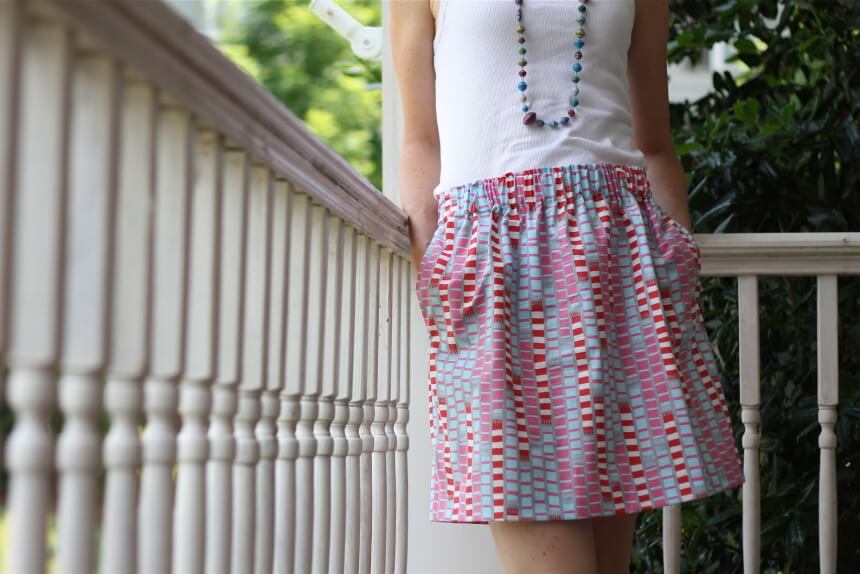
 If you want to have an elastic waistband in pants or skirts with a curved top, this method is ideal for you. It’s usually favored because when elastic is threaded through a separate waistband, it can minimize the bulk. Besides, this method is usually used with 2cm (3/4 inch) to 2.5cm (1 inch) wide elastic. The following are the steps involved in this method:
Step 1: Cut the waistband from your fabric. For stretch fabric, add ease of 3mm (1/8 inch), and for woven fabric, add 6mm (1/4 inch). Ease is added so that the elastic can have a little wiggle room. Formula for fabric width is 2 x (elastic width + ease + seam allowance).
Step 2: For the fabric’s length, cut to your widest hip measurement. This will help you get the pants or skirt on by only stepping into them. For stretch fabric, you can cut it a bit shorter because it will stretch.
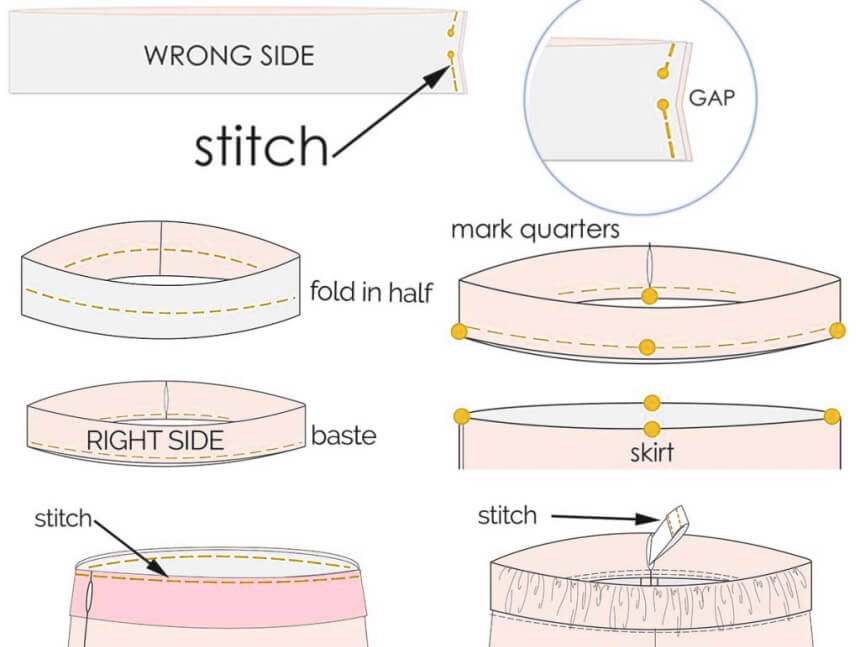
Step 3: Fold the waistband in half and place them right sides together. Then stitch and leave a gap just below the middle (the elastic’s width).
Step 4: Now, fold the waistband lengthwise and place the wrong sides together. Then baste their edges.
Step 5: Divide the skirt or pants and the waistband into quarters and then mark. If the fabric is woven, the skirt or pants may be gathered already to the waistband’s width.
Step 6: Align the waistband and skirt or pants quarters and stitch. Let the hole for the elastic face out.
Step 7: Fold the waistband and use a safety pin to thread the elastic.
Step 8: Use a needle to hand stitch the gap closed.
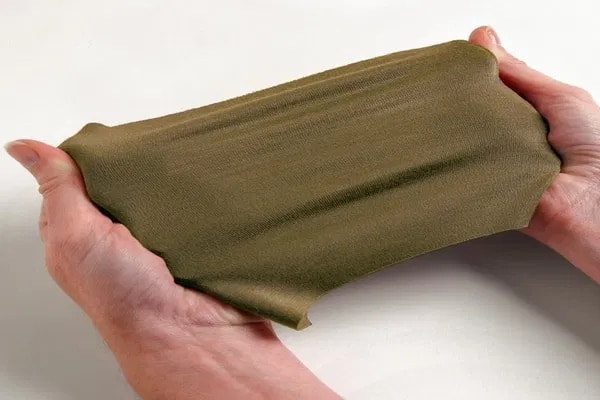
Wide elastic, the last on our list, can be easily used for a waistband. Wide elastic is usually 1.5cm (5/8 inch) wide but can go up to 2.5 – 5cm (1 – 2 inches).
You should know that narrower fold-over elastic will not hold up gathered skirts’ weight and maybe better for kids’ clothing, underwear, or light and ungathered items. 2.5 – 5cm (1 – 2 inches) wide elastic is ideal for skirts.
Use the following steps to sew an elastic waistband with wide elastic:
Step 1: Measure your waist and cut the elastic to the measurement plus 2.5cm (1 inch).
Step 2: Overlap both ends by 12mm (1/2 inch) and pin it. Check how it fits on your waist. Determine how comfortable it is and if you’ll need to cut the elastic shorter.
Step 3: Stitch the overlap.
Step 4: You may need to slightly gather really wide fabric skirts first. The gathering should be the widest width you can stretch out the elastic band.
Step 5: Divide the elastic band into quarters and mark.
Step 6: Divide the skirt’s top into quarters and mark.
Step 7: Align the quarter marks and hold them with a pin.
Step 8: Stretch out the elastic band and sew the edge of the skirt to the elastic using a zig-zag stitch. We advise a zig-zag stitch because a straight stitch will not stretch, causing the stitches to pop in some cases.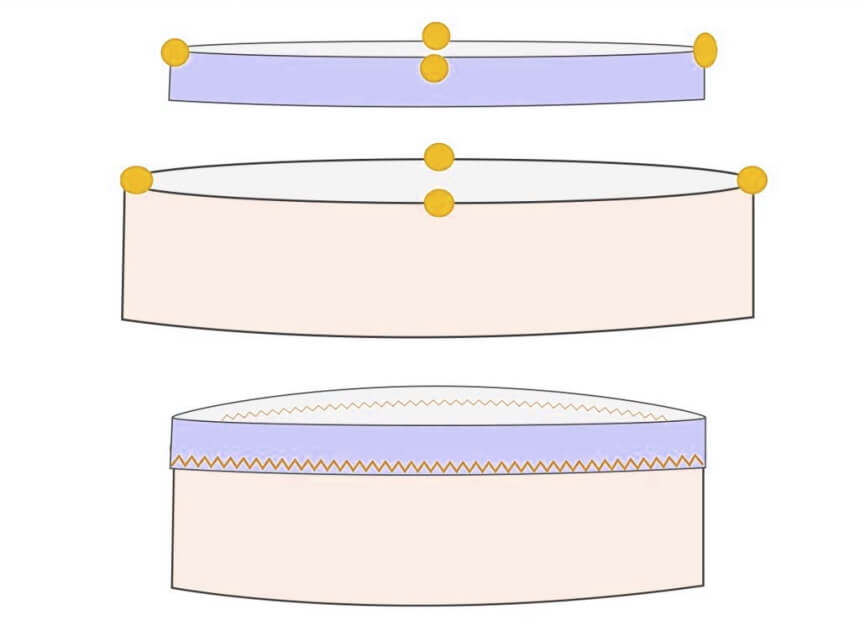
A nice way to finish a skirt or pants is by adding an elastic waistband to them. Apart from giving the clothing form, elastic also makes it fit and comfortable. However, it’s not enough to decide to use elastic for your sewing project. You need to also know how to sew elastic waistband properly. Sewing it wrongly won’t deliver the right results.
Moreover, this article has thoroughly explained how to sew an elastic waistband. There are at least four methods you can use to sew an elastic waistband, depending on your sewing project. We advise that you carefully study the instructions highlighted in this article so that you can finish your sewing project in the best way possible.