Are you frustrated by the current cost of pillows? They seem to be more expensive every time you look at them at the store, which can discourage you from getting them altogether. However, there is no rule against making your own. The materials and equipment needed are not all that expensive, and you can make as many pillows as you like. Also, a pillow project may keep you busy and entertained for a while. The only question remaining is how to sew a pillow? Depending on the equipment you have, the guide below could prove helpful in your pillow-making endeavor.
 If you don’t have a sewing machine and don’t have the funds or the plans to acquire one, you have no choice but to do the project by hand. However, this still requires a few essential materials and pieces of equipment. The list includes needles, chalk, at least 20 sewing pins, thread, scissors, fabric, and pillow stuffing materials.
The Tulip Needle 6 Piece Set is, according to reviewers, a great needle set to buy for your first time if you don’t already own one. The set should be enough for all types of sewing projects, including sewing, embroidery, and even quilting.
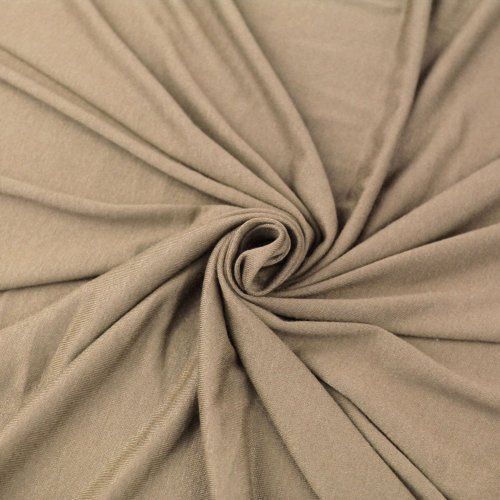
Notably, the fabric and the pillow stuffing materials you choose will depend on your preferences. For the latter, you can pick polyfill, foam, old clothes, cotton, beanbag filler, and more, depending on your budget.
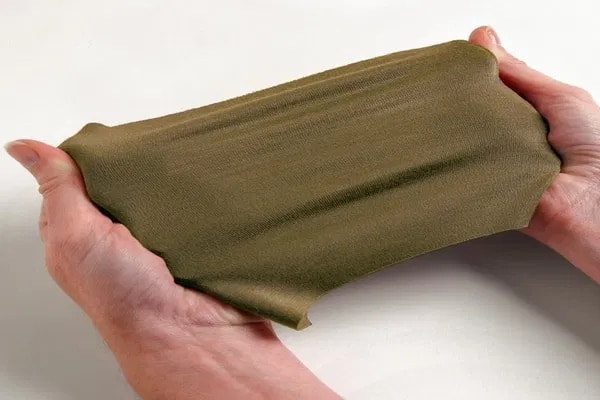
Before we start, we will be using terms such as “face side” and “non-face side” in relation to the fabric. The face side refers to the side that is left visible once the pillow is done. The non-face side will refer to the side that is left inside the pillow once the project is done.
With the materials all set now, you can now learn how to sew a pillow by hand. Pick the fabric and place it on your worktable with the face-side facing upwards. Depending on the fabric, it might be pretty easy to figure out which side should be the face side since some are patterned while the non-face side is plain.
Next, fold this fabric so the face side is now covered. Measure 12 inches by 12 inches on the folded fabric and cut it. As you may have guessed by the dimensions, this part of the tutorial teaches how to sew a throw pillow. You can, however, change the cut dimensions depending on the type of pillow you intend to make. Make sure you’re cutting the other three edges of the fabric and not the one that is folded. You should end up with 1 square foot of folded fabric.
After that, you can start sewing the fabric to make a pouch. Sew the edges of the fabric next to the folded edge while leaving the opposite end open. Once done, you should end up with a fabric with three closed edges and one open one. Also, leave about half an inch of fabric near the top for folding. This will allow the final edge to be as neat as the other three.
Remember that this pouch is still inverted due to the fold. As such, you need to turn it inside out to bring the face side out. Make sure you push the corners of the fabric out as you’re doing this as well.
After that, pick the stuffing materials you chose and push them inside the pouch. You want to fill it up so that it is firm and full, but you also don’t want to overdo it. After that, you can close up the open edge of the pillow. You can get more information on how to do that in the section below.
 For sewing a pillow closed by hand, you’re going to want to use a ladder stitch for a better finish. It is relatively complicated but worth it in the long run.
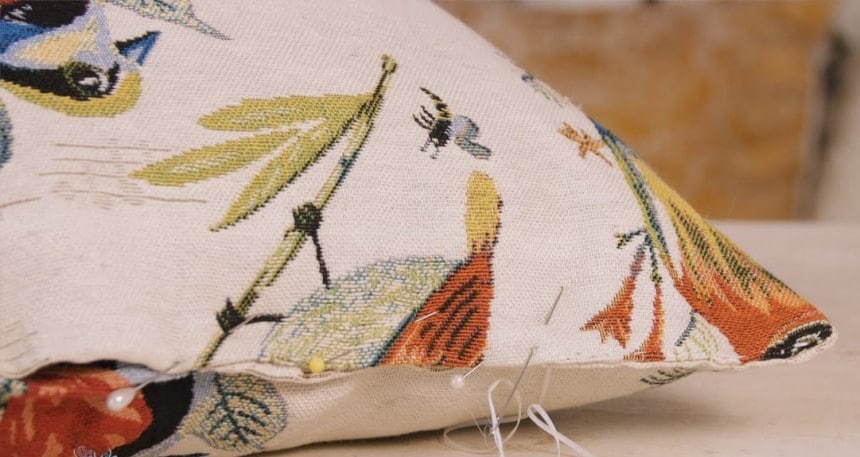
First, start by sewing a straight line near the edge of the fabric on both sides of the open end. It should be about 3/8 of an inch from the edge. Alternatively, you can draw on this line but make sure the line is thin but visible enough.
After that, fold the edges inwards about half an inch. The 3/8-inch line makes it easier to make this fold. At this point, you should already have stuffed the pillow. Consequently, you can use the pins you have to hold the edge of the pillow together.
Get a long piece of thread through the needle you’re using and tie a big knot at the end to make sure it doesn’t go through the fabric. Take out one pin and open up a small section of the edge of the pillow. It should still be folded at the half-inch mark, so you’re going to want to insert the needle into the folded edge. When you push your needle through, you need to make sure it’s taking as little a bite of the fabric as possible.
After that, push the needle through the folded edge of the fabric on the other side before pulling it tight. By doing this, you close up part of the opening, albeit a small one. You will keep doing this while alternating the stitches between the two folds of the opening until the entire edge is closed.
As you’re coming to the end, you’ll have to knot the thread. For this, you’ll pull the thread through the fabric but not all the way. This leaves a loop that you can push your needle through, resulting in a knot. Do this two times for good measure. After that, push the needle through the knot into the pillow and allow it to exit away from the edges. By pulling the tail, the knot will sink deeper into the pillow, making it less visible. Finish up by cutting the thread and leaving most of the tail inside the pillow.
 You may also want to learn how to make an envelope pillow using a French seam. That said, it gets so much easier not just for this project but for others that involve fabrics if you have a sewing machine. The Brother XR9550 is, according to reviewers, uniquely qualified for almost anyone who wants to tackle such projects. This is more so due to the accessories included alongside the 165 built-in stitches and the intuitive LCD screen.
As for the materials, you need fabric, pillow form, scissors, and sewing pins. Pillow forms will come in varying sizes, and you can even use the method described above to make your own. That said, the technique mentioned above also works while using a machine. However, you may need to change a few steps.
To do this, switch out the hand stitching for machine stitching in step 3 of the “How to sew a simple pillow by hand” process described above. You will, however, still need to close the pillow by hand, as described above.
Now that you have the materials needed, start by measuring the size of the pillow form. This is necessary since it will inform most of your other decisions when making the envelope. Cut one side of the fabric to match the size of the pillow form. This should make the front side of the pillow.
You will then need to cut the fabric for the back of the pillow. To get the dimensions for this, first, measure the width of the fabric that you already cut, then measure the height. The width should remain the same, but the height is where it gets tricky.
Divide the height by two, then add five inches. This allows the fabric to overlap when the envelope is finished.
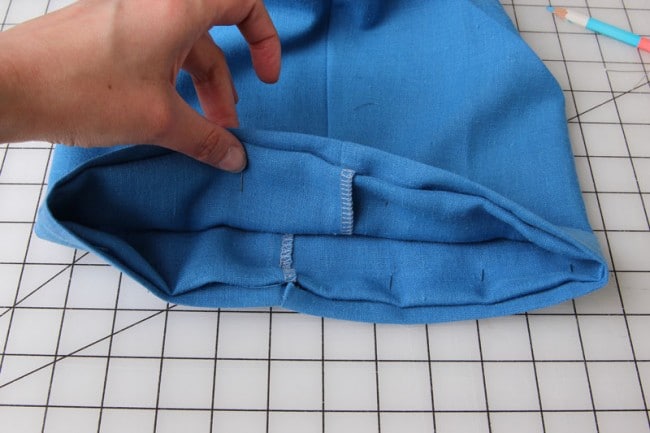
This requires hemming the back pieces of fabric. Fold the edge of the back fabric twice on the shorter edge. The fold should be no more than ¼”. If, for instance, you have 16” X 10.5” fabric, you should fold it twice to make it 16” X 10”. The two folds take up a total of half an inch. Before doing this, you should lay the fabric with the face side lying on the table. That way, when you fold the fabric, you’re folding it inwards. Complete this step by sewing along the entire fold.
Lay the fabric intended for the front of the pillow face side down. After that lay the two fabrics meant for the back of the pillow with the face side up on top of the first fabric. Since the two hems overlap, one should end up hidden under the other.
Hold these pieces of fabric together using the sewing pins and make sure everything is aligned before you start sewing. After that, put the fabric under the sewing machine and stitch together all four edges. Remember not to sew through the pins as you might damage your other equipment.
Cut the excess fabric in the corners using your scissors to make them less bulky. After that, turn the pillow inside out. This is possible because of the space left in between the overlapping pieces of fabric. Push out the corners with something like the blunt end of a pen.
This leaves the non-face side of the fabric on top and the face side covered. Press the seams on this side flat against each other on this side and sew them as well. You might still need to hold the fabric in place using the pins while doing this.
This allows you to create the French seams where even if you were to turn the pillow inside out, you wouldn’t be able to see any raw-cut edges.
The last steps include turning the fabric inside out again, so the face side is on top. After that, you can push in the pillow form through the space between the overlapping pieces of fabric. You have probably done this last step with pillowcases in the past, so it shouldn’t be hard.
 Learning how to sew a pillow with a
zipper
Trusted Source
Zipper - Wikipedia
A zipper is a commonly used device for binding the edges of an opening of fabric or other flexible material, such as on a garment or a bag. It is used in clothing (e.g., jackets and jeans), luggage and other bags, sporting goods, camping gear (e.g. tents and sleeping bags), and other items.
en.wikipedia.org
is not all that different from sewing without one. The materials needed include needles, chalk, at least 20 sewing pins, a thread, the zipper, scissors, fabric, and pillow stuffing materials.
Learning how to sew a pillow with a
zipper
Trusted Source
Zipper - Wikipedia
A zipper is a commonly used device for binding the edges of an opening of fabric or other flexible material, such as on a garment or a bag. It is used in clothing (e.g., jackets and jeans), luggage and other bags, sporting goods, camping gear (e.g. tents and sleeping bags), and other items.
en.wikipedia.org
is not all that different from sewing without one. The materials needed include needles, chalk, at least 20 sewing pins, a thread, the zipper, scissors, fabric, and pillow stuffing materials.
You might have to wait till you have the measurements for your pillow before you purchase the zipper. Follow steps 1 through 3 given in the “How to sew a simple pillow by hand” section above. This should leave you with one open edge on the pouch you’ve created. There is, however, no need to sew by hand if you have a sewing machine available.
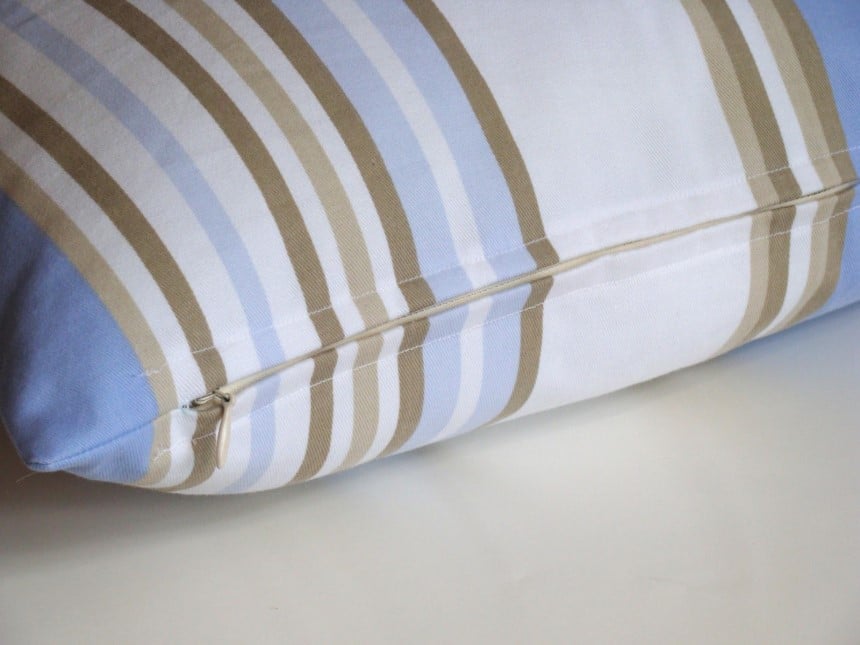
Once you have the pouch ready, you don’t immediately turn the pillow inside out. Instead, you keep it as it is and fold the half-inch fabric left at the top. You can then sew your zipper tape with this part of the fabric. The zipper should be upside down as you’re doing this. Do that for the other edge of the open pouch and the other side of the zipper tape.
By doing this, you end up closing the pouch with the zipper. However, this is not a problem as the zipper can be opened. After that, open the zipper and turn the pillow inside out. Remember to push in the corners before you start stuffing the pillow. Once you’re done stuffing, close the zipper, and your pillow should be complete.
A point to note is that you might have to hand stitch the corners at the ends of the zipper to make sure that anything beyond the top stop and bottom stop is well hidden by the fabric.
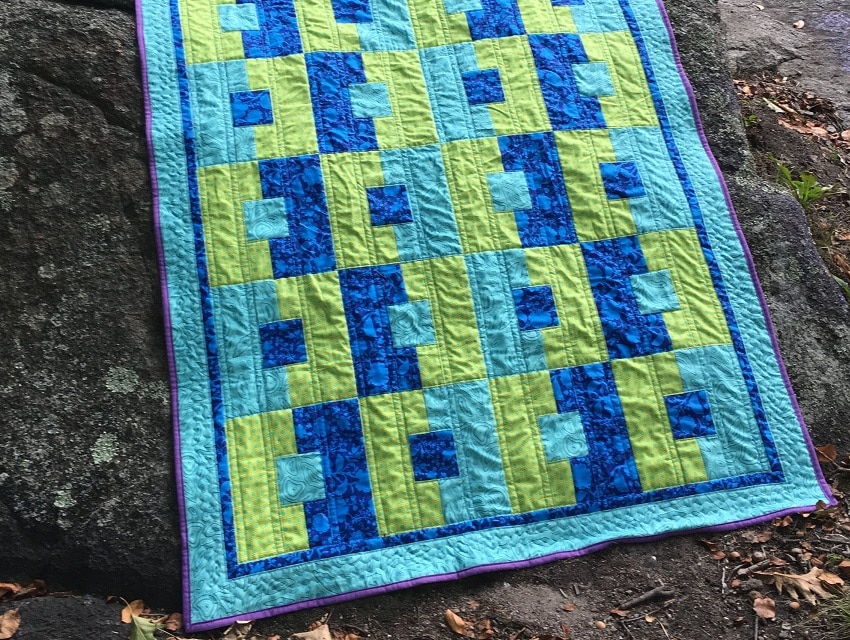
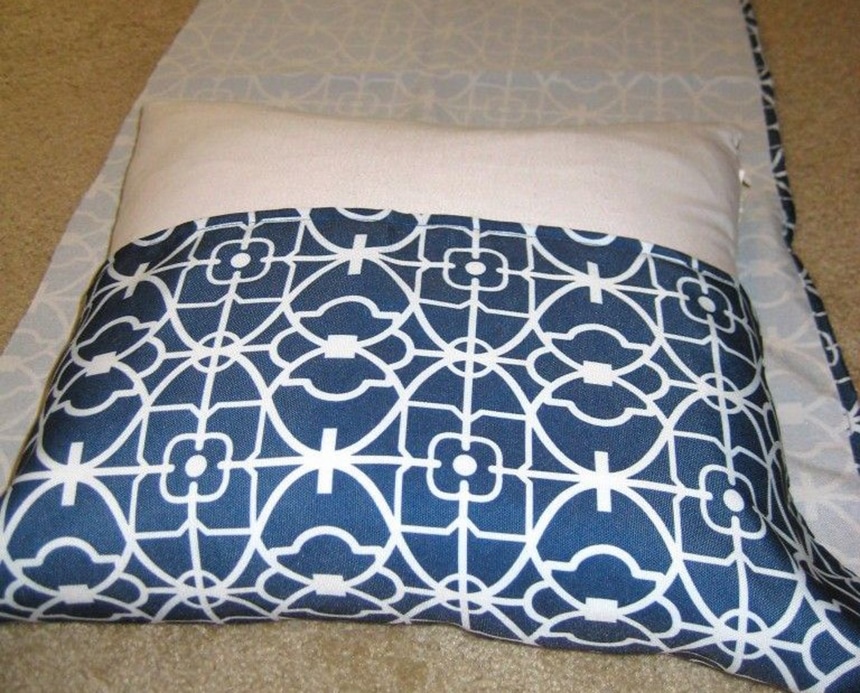
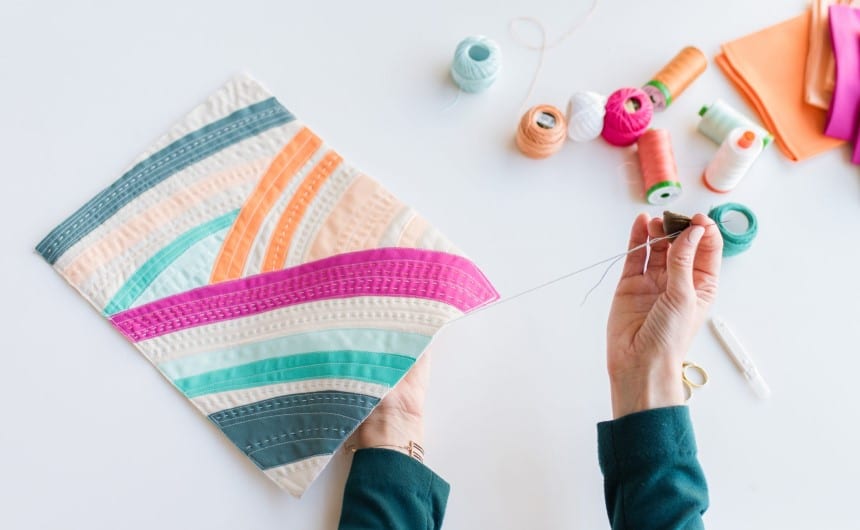 Sewing a decorative pillow is another relatively simple process. For our pillow, we are going to add trim to two sides of the pillow. Use the template we’ve given in the “How to sew a simple pillow by hand” section until you are done with step 2. Also, you’ll need to add trim to the materials you need for the job.
This should leave you with one folded edge of fabric and three open ones. Place the trim on the two edges of fabric that are perpendicular to the folded one. They should match the 12” size length we recommended or whatever length you intend to use for the pillow. As such, remember to cut them accordingly.
The trim should be placed between the two edges of the fabric before being fastened using the sewing pin. A point to note as you’re positioning the trim is that the frayed end should be under the fabric as well, while the uniform end should be the closest to the edge.
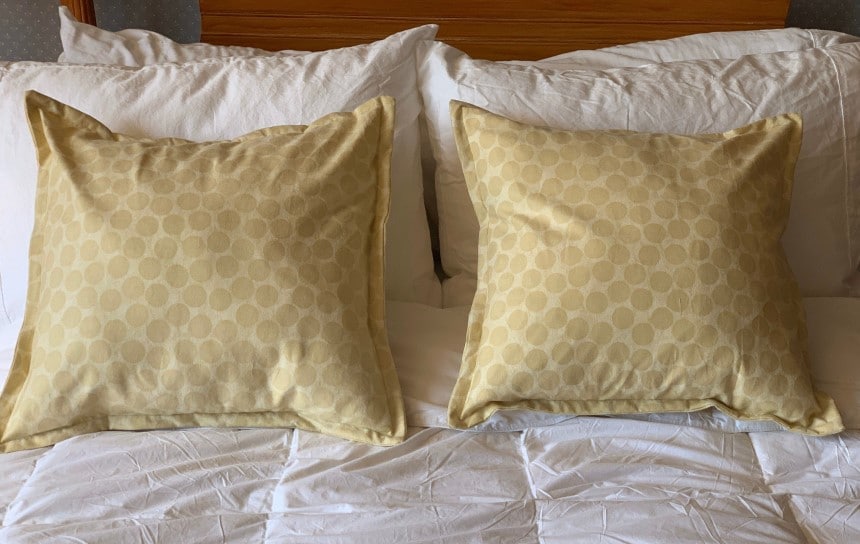
Put the fabric under the machine and sew the edges and trim together. When you eventually turn the resulting pouch inside out, the trim should end up on the face side of the fabric. After that, you can stuff the pillow and close the open edge. The resulting pillow should have two plain ends and two ends with trim making it a decorative pillow for your couch or bed.
This guide shows that you don’t have to be a sewing genius or an avid DIYer to learn how to sew pillows from the comfort of your home. As a bonus, you don’t even need lots of equipment. You can make do with a simple needle-thread combination, scissors, fabric, and the right stuffing materials. You can now experiment with the information provided in the above write-up to make some great-looking pillows.