Pillow and pillow-cover DIYs are not only fun and creative but also an affordable way of getting decorative pillows that match your overall aesthetic. You can buy pillow fillings at a reasonable price point then customize and experiment to achieve various pillow shapes and sizes. You just need a proper sewing machine and some skill for the job. For most sewists, sewing the pillowcases is normally a pretty straightforward task until its time to close the pillow.
Closing a pillow is pretty complicated because a lot is involved in accomplishing the task. Before you even learn how to close a pillow with a sewing machine, you need to have sound knowledge of how your machine operates, and how to make accurate measurements and cuttings. There are several ways to go about it, and each of them requires different types of skills. Also, each option has got a different effect.
(Want more technical knowhow? Check out our article on how to make sewing patterns here)
You can close a pillow with various techniques depending on your style tastes and preference. All the six methods will give your pillow an aesthetic appeal and a long life if done right.
This is one of the easiest pillow closure techniques because you don’t close the pillow completely.
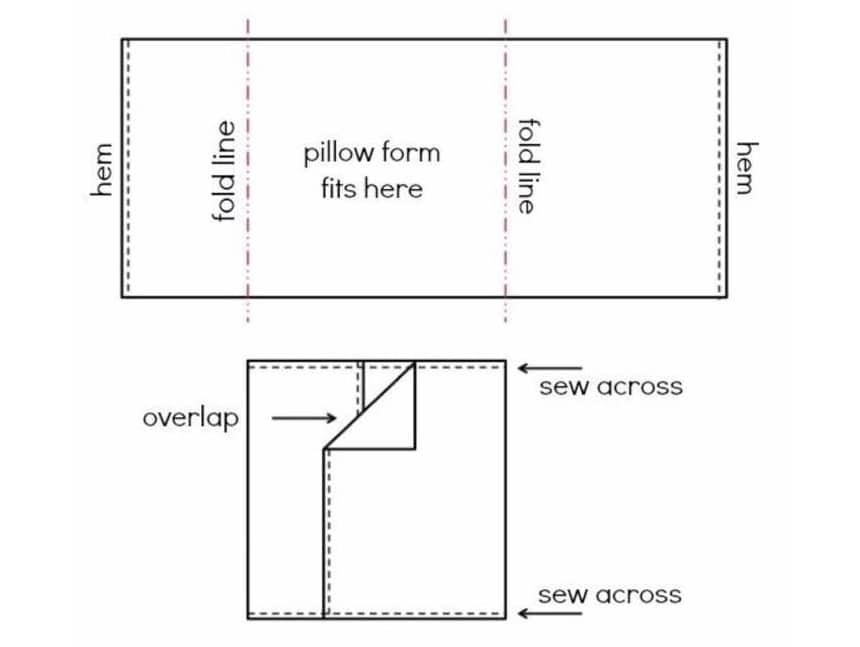
The pocket pillow closure technique requires you to make a pillow cover that has overlapping flaps of fabric at the back so that you can insert a pre-made pillow in between the flaps.
This is the ultimate technique for achieving uniformity. If you choose to use stuffing or have no intention of removing the pillow, handstitching is the best pillow closure method. It is not complicated at all as you just need to sew the three sides of the pillowcase together then leave one side open. Iron the edges before stuffing the casing or inserting a pre-made pillow, after which you can close the open end with a hand sewing needle. If you are not sure of the type of needle to get, check out the FindingKing 25 glovers needles set. According to most reviews, the set offers superb versatility and top-notch quality with its variety of needles.
Just like the pocket closure technique, the flap technique doesn’t involve a complete closure of the pillow casing. It also isn’t too complicated. In fact, its procedure is pretty similar to that of pocket closure. Once you have hemmed the sides of a long rectangle, you insert a pre-made pillow inside the case then pull its top over the pillow to close it inside. This technique’s upside is that you can make the flap have a decorative element on the pillow. You can use beautiful buttons or hook and loop tape to hold the flap closed.
If you are looking to have a decorative element on your pillows, this is a prime choice. Technically, the button closure is not a ‘closure’ but a way of enhancing the pillow’s aesthetic appeal. You can add buttons on either the flap/envelope closure or the pocket closure. The buttons will help secure the flaps and keep the pillow intact inside the casing. Remember that sewing the buttons on and creating buttonholes require accurate measurement and cuttings.
This is not the simplest technique, but its convenience and tidy hidden look make it a worthy experience. Unlike most closure methods that involve closing the pillow as the last step, the zip closure technique requires you to add the zipper first. After measuring and cutting, the first step is to sew one edge of two identical pieces of your fabric together. Ensure you sew the right sides together. When done, iron the seam open then lace the zipper at its center. Sew the zipper in place. Here is
how to sew a zipper using a sewing machine.
Trusted Source
How to Make a Pillow Cover with a Zipper: 14 Steps (with Pictures)
Zippered pillow covers are a convenient way to update the look of a sofa or bed. You can revamp your existing pillows with new covers in an instant, and then remove the covers whenever you need to wash them.
www.wikihow.com
Once the zipper is in place, remove the stitches that hold the sewn edges of your pillow casing’s fabric together. This will expose the zipper underneath. Test the zipper then go ahead to sew the remaining three edges of the fabric pieces.
Any beginner or amateur sewist needs a beginner-friendly guideline on how to close a pillow with a sewing machine, and here is one. Be sure to follow each step keenly to avoid a devastating outcome.
The first thing to do is of course to pick the fabric you’ll be using to make the pillow. Your choice will be highly affected by what you intend to use the pillow for. Silk makes the most comfortable sleeping pillows because its smooth to the touch, and it doesn’t absorb all the moisture from your skin and hair. For your living area throws or decorative pillows, you can go with cotton fabric or velvet.
Grab a pair of sharp scissors and cut the fabric you have picked into a rectangular or square shape. Blunt scissors will compromise the quality of the fabric. Out of the fabric you cut out, cut 2 pieces that are similar in size and shape.
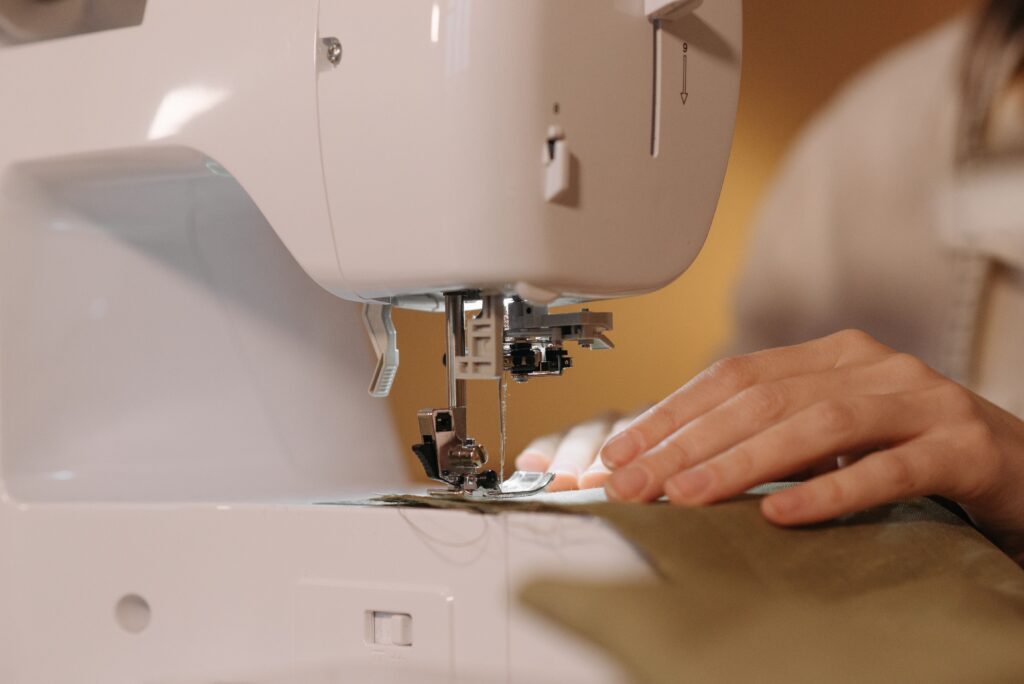
Place one piece of fabric on top of the other. Ensure their right sides face each other then match the edges perfectly. Place one of the edges of the two pieces of the fabric between the feed dog and the sewing foot. Pick a stitch of your liking from the options available, then drop the presser foot and activate the sewing machine. Sew the seam. For some useful tips on how to close a seam using a sewing machine, watch this video:
Sew the other 3 sides of the fabric pieces. Ensure the seams are secure with dense stitches. You don’t want the content of the pillow pouring out because of loose seams. You can as well do double or triple stitching to close the beginning and the end of the seams tightly. Essentially, remember to leave a small part of any of the casing’s seams unstitched so that you can insert the pillow’s material through it.
At this point, you should be having a rectangular or square-shaped casing with three completely closed seams and one seam with an unstitched part. From step 3, you have been working with the pieces of fabric with their right side inside. Bring the in-right-side out.
If you want your pillows to have an attractive design, this is when you get to do it. You can imitate a design from any existing templates and sew the markings you have made with either the machine or hand needles.
Press the outside of the pillow casing with a hot iron as there wouldn’t be another chance to do so.
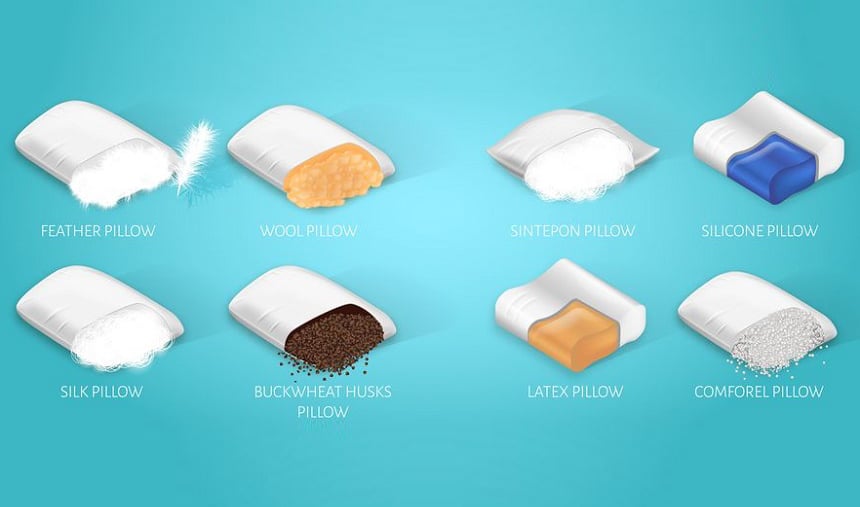
This is when you get to insert the pillow material. Choose the material according to your preferences. If comfort tops your list, then go for feathers or high-quality soft cotton fibre. If you are making a pillow for your aching back or neck, be sure to consult a doctor for the right choice of pillow stuffing material. Stuff up the pillow cover to a size that you desire. A throw pillow could use more material for an attractive puffy look. A sleeping pillow needn’t be too puffed up.
Once you’re done inserting the sufficient amount of pillow material in the casing, then you can close the unstitched hole through which you have been stuffing it. At this stage, your pillow is all puffed up and gigantic that placing it on the sewing machine’s feed dogs might be a true challenge. Therefore, you need to close the unstitched seam with a hand needle. A thin hand needle would come in handy and to achieve a secure seam, use dense stitches or double stitch the seam.
For longevity’s sake, use the pillow in a flat position. A vertical or any other compromising position will distort the pillow and weaken its seams.
If you use soft cotton pillow fillings, be sure to air it out in the sun once per week to prevent it from forming a lump like shape that can be uncomfortable.
Use a loose pillow cover on top of the original cover to prevent it from getting dirty. You can always remove the loose cover every time it catches dirt from dust or oil. If the original cover gets dirty, you can clean it with soft cotton soaked in soapy water then put it outside in the sun to dry.
If you plan to make pillows in bulk for commercial purposes, consider getting a sewing machine built with such projects in mind. The Brother sewing and quilting machine is one such machine that comes highly recommended by reviewers and experts because it comes with 165 unique stitches and 8 different styles of auto-size buttonholes.
With all the tips and pointers we have provided, closing a pillow with a sewing machine will be effortless. Get to work and create the most beautiful and comfortable pillows for your space. The tips we have provided on our guide are the beginning of a simple stitching experience that will lead you to new horizons of seamless creativity. You can advance from basic pillow closing to achieving aesthetic effects with your pillows using different pillow closure techniques.
Once you have gathered all the required materials, then learning how to close a pillow with a sewing machine should be a breeze as complicated as it is deemed. As per the cliché ‘practice makes perfect’, you can perfect your skill by going through the simple guide repeatedly for more astounding outcomes.