Do you want to display the logo of your favorite brand on your jacket? Do you want to display the skills your kids learned at a summer camp on their backpack or jacket? Do you want to hide torn spots on your clothes without taking them to a tailor? If you answered yes to any of the above questions, this article is for you, as it shed light on the intricate information you need to patch everything from jeans to jackets.
Bear in mind that you don’t need to know how to sew or use a sewing machine to apply a patch on your clothes or jacket. In this article, we are going to teach you how to iron on patches, how to attach boy scout patches without sewing, and how to use glue patches and stick-on patches.
Before we dive into the nitty-gritty of this article, we are first going to be looking at some items you will need to patch your clothes without sewing.
The first item you will need is an iron. See, you don’t have to spend a lot of money on an expensive iron, a regular one will do.
You can buy patches at online stores or at your local mall. Keep the jacket or cloth you plan to patch in mind before making a purchase.
To ensure that your patch stays in place, you are going to need high-quality glue that won’t leave stains and is non-toxic. Note that not all glues in the market are designed to be used for patching. You may have to do some research to find the right one. If you don’t have time for that, then you can purchase any of these two products Beacon Patch Attach, Beacon Adhesives Fabri-Tac Glue.
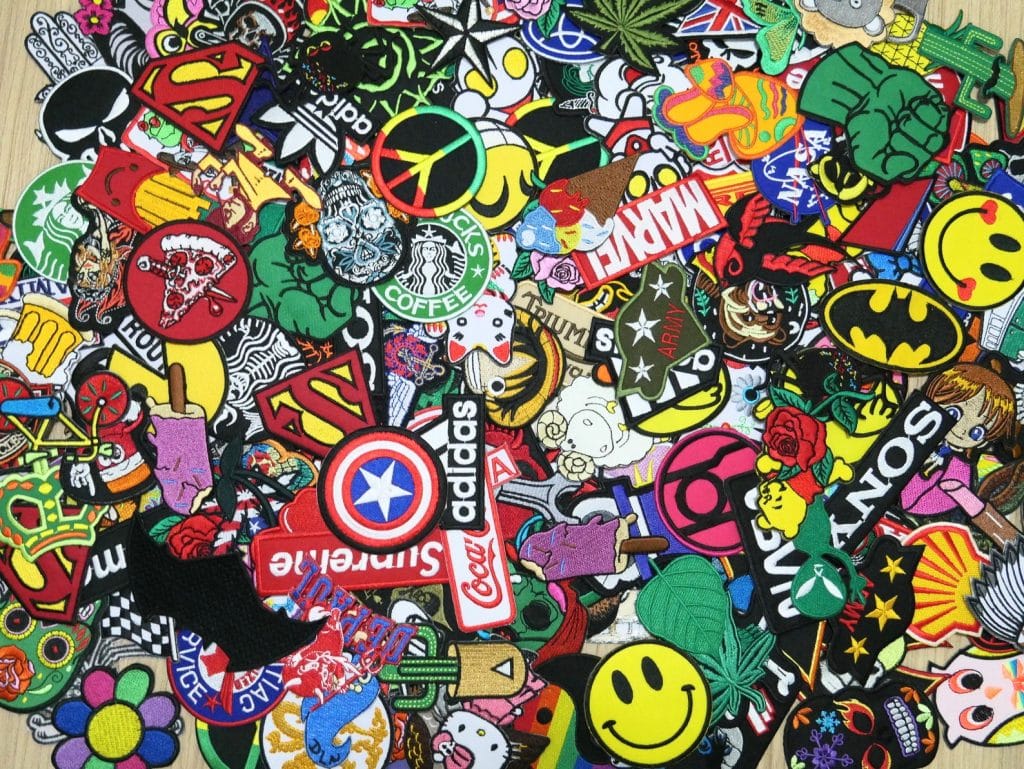
Let’s face it, not all patches are made the same. While some are eye-catching and will give you loads of compliments, others are distracting, oversized, and may ruin your shirt or jacket. See, if you want your patching projects to come out well, you have to give careful consideration to the type of patch you use. Below are some things you should consider before choosing a patch
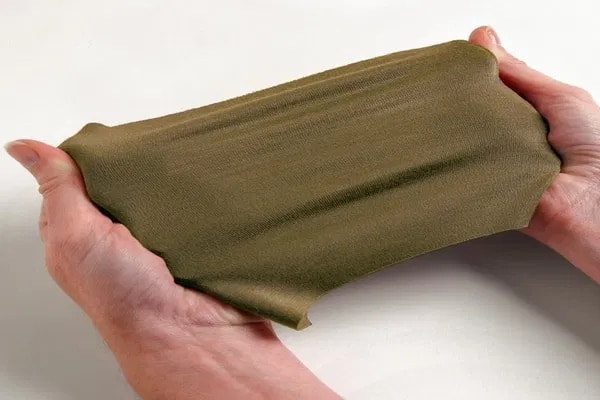
 Before you start your shopping for a patch, it is wise that you first have a good understanding of different clothing fabrics. This will go a long way in helping you determine the best kind of patch to use for your project.
Here are some common fabrics you should know about-
Since the type and size of the patch you pick can make or break your project, you must think carefully before making a final decision.
The two most important things you need to give careful consideration to when picking a patch is the message you want to send and the brand colors. Note that you don’t have to pick the biggest patches you can find to make your jacket stand out. Instead, go for a mid-sized or small (but not too small) patch that is attention-grabbing, but not distracting, and can deliver the message of your brand without being overwhelming.
Of course, you can place your patch on basically anywhere on your cloth or jacket, but if you want it to come out well and hopefully, turn heads, you have to place the patch in the right place.
Below are some of the best places to put a patch.
If the patches you found don’t quite convey the message you want to send, or you need something unique, then you should consider opting for a custom-made patch.
Did your kids recently join the scouts? If yes, you are likely going to be worried about how you are going to attach scout patches to your uniform without spending endless hours sewing them. But the truth is that learning how to attach girl scout patches without sewing isn’t as difficult as you probably thought. In fact, it is easy if you know the right way to do it.
A lot of parents whose kids are in the scouts know that there are alternative ways of attaching patches to their kids’ uniforms, but many of them never try out these alternative methods. The reason for this may be because they feel that these methods aren’t effective and may not be able to hold the patch in place for long, or even worse, fall off after washing it a few times. But that is far from the truth, as iron-on and glued patches can stay in place for years and years to come.
So, if you are tired of going through the painful, frustrating, and time-sapping process of sewing your kid’s scout patch manually, you are going to benefit from this section.
 Using glue is the best alternative to sewing. But not just any glue will do. To ensure that your kid’s scout patch stays in place for a long time, you need to invest in high-quality glue. If you can get your hands on one, you can be confident that your kid’s patch will stay in place, even after several wash circles.
Here is how to use glue to attach a boy’s scout patch
Start by deciding where to place the patch. If you aren’t sure where to place the patch, visit the boys’ scout website for instruction. And don’t beat yourself up if you accidentally put the patch in the wrong place, as it can be removed. Read the instruction that comes with the glue you used to learn how to remove it.
Lay the scout uniform on a flat surface, like an ironing board.
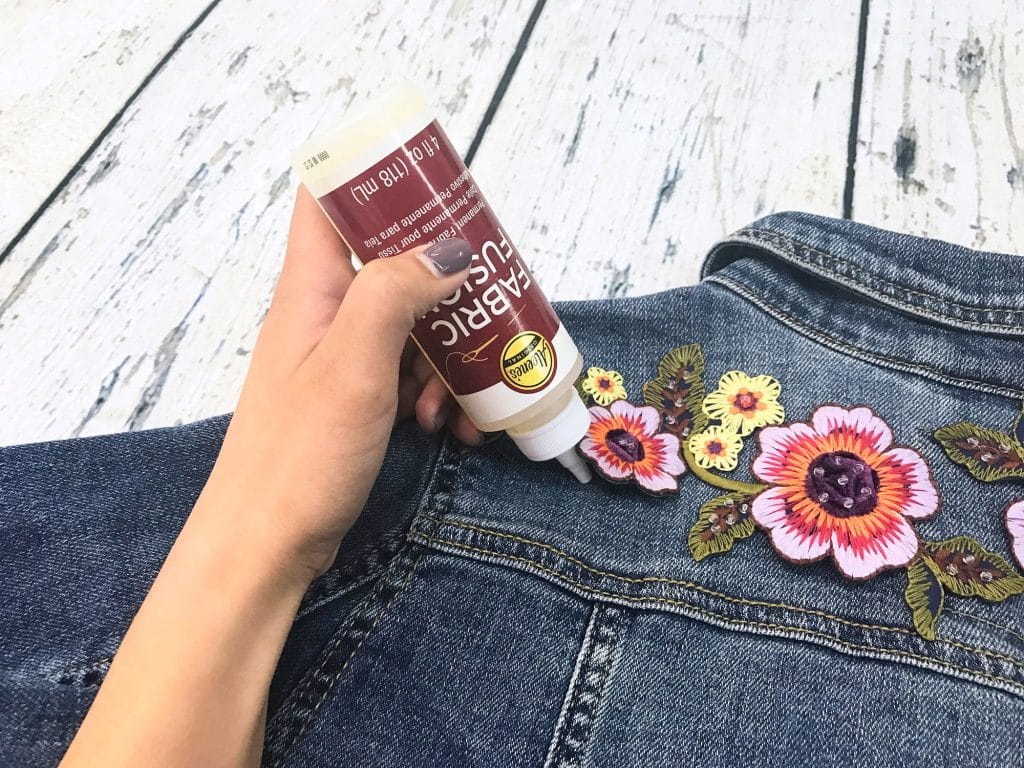
Carefully apply glue to the patch and the uniform (the area you want to attach the patch).
Wait for a few minutes (2 to 5 minutes). The glue creates a strong bond as it slowly evaporates.
Place the patch on the scout uniform and press them together firmly.
The patch and the uniform will stick together almost immediately. After 24 hours, the uniform can be washed, dried, and worn.
Ironing is one of the best ways to attach a patch to a piece of clothing or accessory. That being said, if you want the patch to stay in place even after washing it several times, you have to learn the right way to iron it. In this section, we are going to look at how to apply iron-on patches.
The first thing you should do before you heat up your iron is to examine the fabric of the jacket, uniform, shirt, or accessory you want to patch. Heavy and moderately light fabric like denim and cotton are the best for iron-on patches.
Here is a rule that can help you pick the right patch for your clothing or accessory- The patch should be as heavy as the fabric you choose.
Don’t forget to look at the care label on the clothes you want to patch to see if they can be ironed. If you can’t find any label on them, then you should try figuring out the material it is made of on your own, or ask a tailor.
Avoid polyester, silk, and other delicate fabrics, as the heat from an iron can burn or discolor them.
Place the jacket or cloth you want to patch on a flat surface and decide where to place the patch. If you plan to iron on only one patch, then you should put it in a prominent position. However, if you plan on ironing on several patches, ensure that there is enough room for all of them.
 Step 1
 Place the piece of clothing on an ironing board. If you don’t have one, then you can use a table. Cover it with doubled up bath towels.
Carefully place the patch in the position that you want. The adhesive side of the patch should be placed on the fabric.
Heat up your iron
Turn your iron to the hottest setting the fabric you want to patch can take. Ensure that there is no water in your iron and that the steam option is turned off.
Place a cloth over the patch. The reason why you are putting a towel on the patch is to protect it and the surrounding fabric. Be careful while doing this, so that you don’t change the position of the patch.
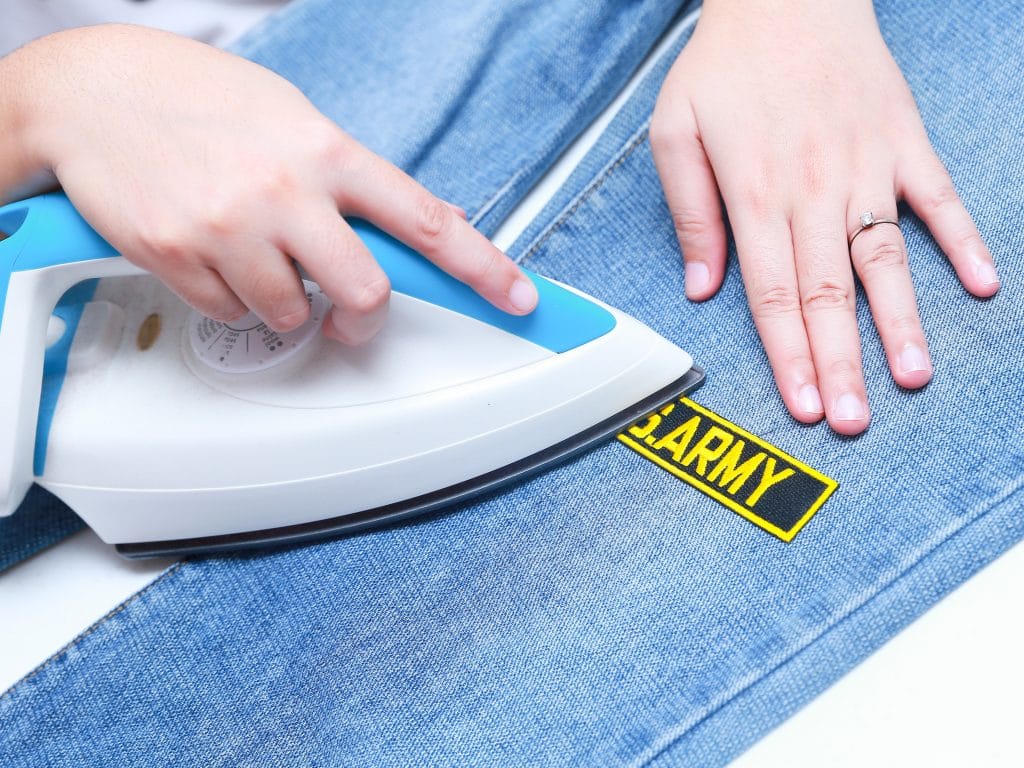
Press the heated iron over the patch and hold it at that position for 10- 20 seconds. Apply as much pressure as you possibly can and try to keep your hands stable.
Carefully remove the iron and allow it cool. After a while, lift the towel up to see if the patch is fixed correctly. Inspect the patch by gently rubbing its edges. While doing this, if you notice that some part of it lifts up slightly, then you should place a towel or light cloth on it again, and iron it for 10 to 15 seconds.
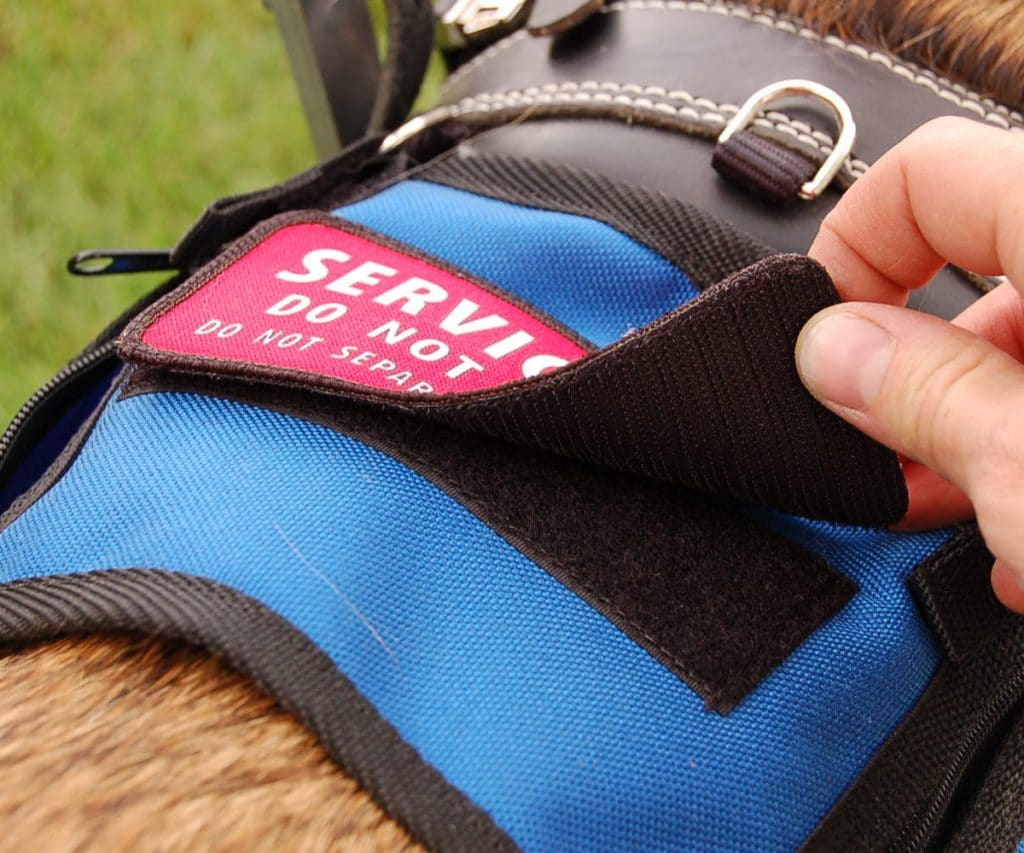
There are three main ways to attach Velcro patches without sewing. The first is by using an adhesive that is specifically designed for Velcro. The second is by using glue. The last way is by using Fabric-based tapes.
Of course, you can use any of the different heavy-duty and multi-purposed adhesives out there, but if you want the best result, you should purchase the ones designed specifically to function with Velcro. Using a Velcro patch is a straight forward process, and is not really difficult. However, try to pay close attention to the warning label on the product and fabric you use. Ignore this, and the Velcro patch may curl at the edge.
 This is another great way to attach a Velcro without sewing. With this method, you can be confident of an exceptional result. Note that you won’t have to iron, glue, or sew if you are opting for this method. Even more, you don’t need to have a good crafting background.
Wash and dry the cloth you want to use
Carefully cut the tape to your desired size. Bear in mind that the more Velcro you use, the better and stronger it will fasten.
Peel the liner off and carefully stick it to the fabric.
After doing, all of the above, wait for 24 hours before washing or wearing the fabric.
This is a straight forward process to attach Velcro to a fabric. All you got to do is to apply your glue to the Velcro piece and the material. Be careful when using the glue so that it doesn’t go beyond the edge of the Velcro patch.
Using iron-on patches for jeans is basically the most effective way to patch any denim or jean material. However, to ensure that the patch stays in place, you have to do it right.
Below is a step by step guide on how to patch a jean.
Purchase a regular iron-on patch. Since you are working on denim, it will be wise you stay away from iron on a leather patch, as it may look odd. Try to go for something that goes with the shade of your jeans.
Cut the patch, if need be, to fit the hole in your jean or the area you want to patch.
Read the instructions that come with the iron-on patch to determine how to set your iron. Next, plug your iron and let it get hot.
Press down the patch with your iron for 20 to 30 seconds.
To ensure that your patching project comes out great, you have to figure out the right patching method to use. Yes, doing this may be difficult, but it will save you from ruining your cloth or accessory. And try not to wash your patched clothes too often, so that the patch will last for years and years to come.
Happy creating!