

Does learning all the parts of a sewing machine make you an advanced sewist? Can it guarantee a quicker device setup and better results? While it’s not necessary to understand the working process of a sewing machine, we feel that even brief knowledge of its mechanism can prove useful. Not only when something breaks, but even when you need adjustments for a difficult project.
In this guide, we give you a simple overview of each sewing machine part! Almost all such devices follow the same rough design, though some of the modern computer models may have a few added extras to get to grips with.
These are the different parts of a mechanical sewing machine that relate to the actual function and mechanics of the machine. Whether you are buying a sewing machine for beginners or something that is a little more advanced, you should try to understand all of these components.
There are a number of different sewing machine designs, of course, and they vary slightly, but the same mechanical parts tend to exist on every single machine on the market.
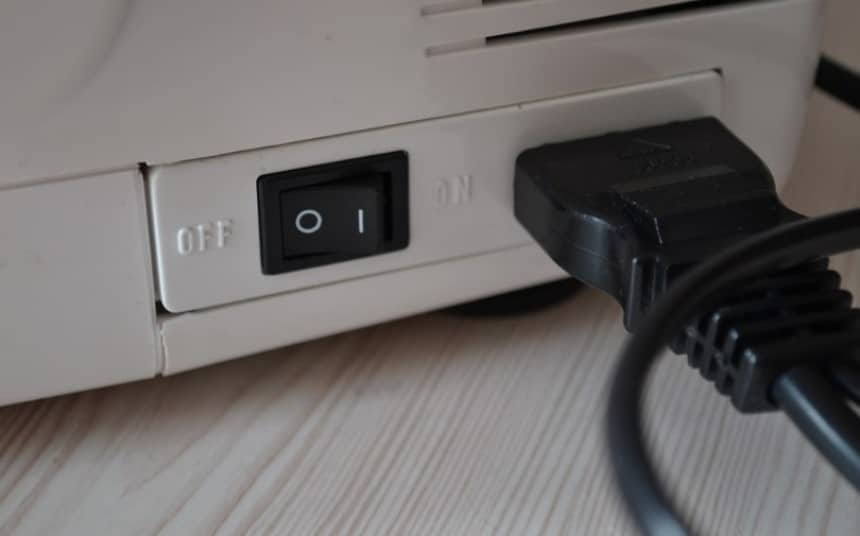 We’ll start with the easiest and most self-explanatory to understand. The power switch simply lets you turn your sewing machine on and off. On most models, it is situated on the right. The Singer MX60 is an example of this.
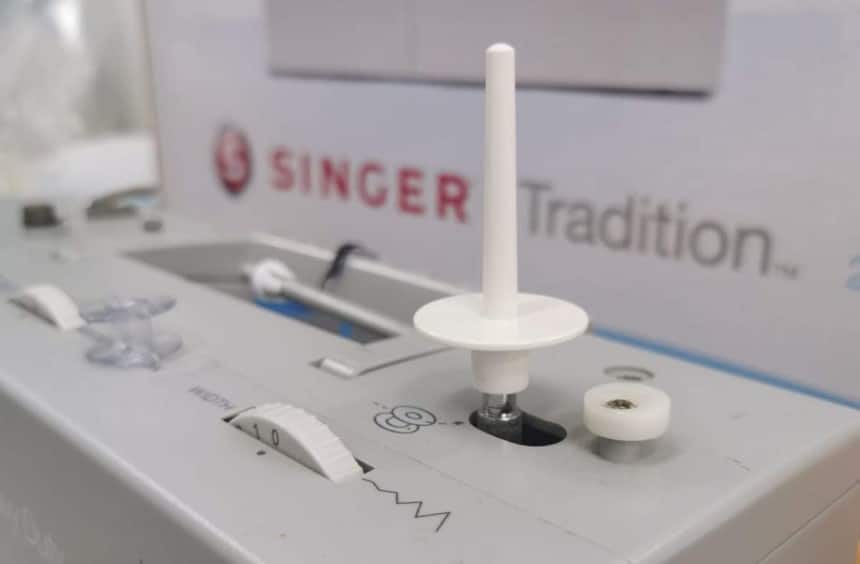 The spool pin is where the thread is situated. It keeps it in place while in use.
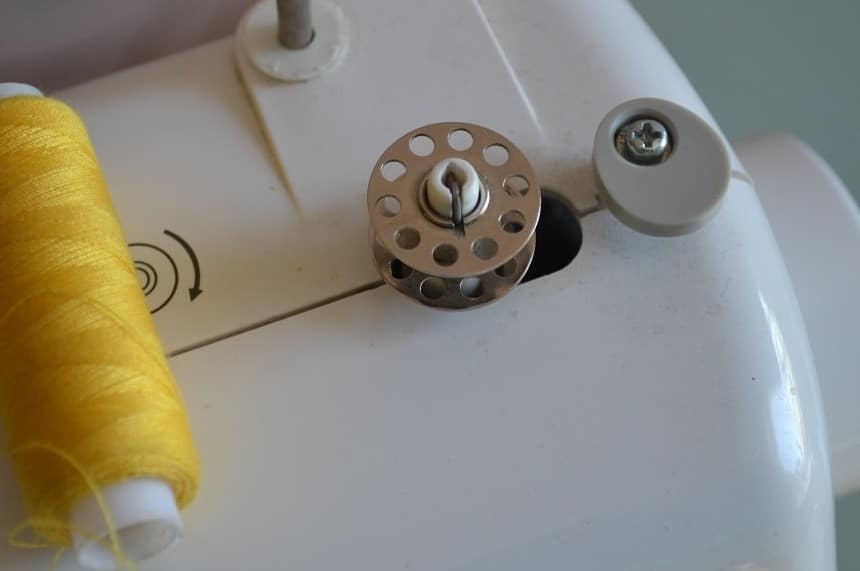
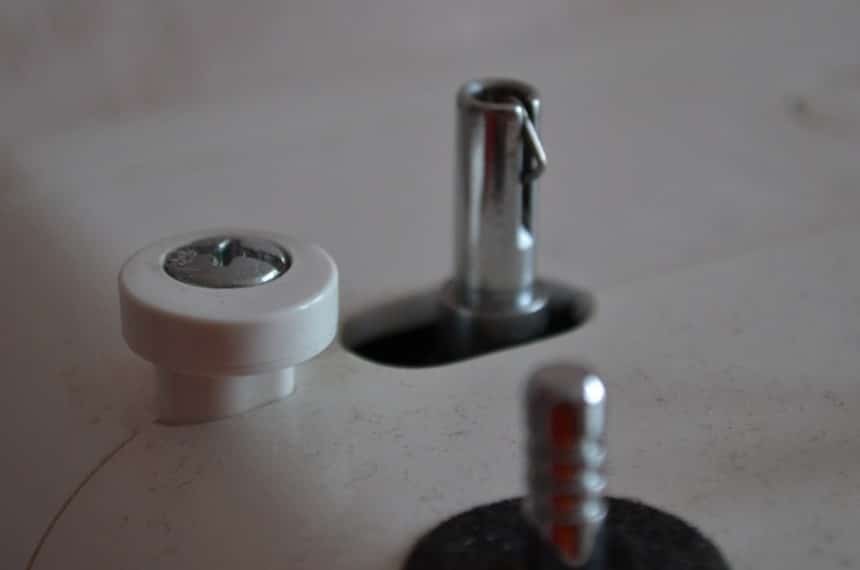 While you are winding, this is where you put the bobbin. The spindle is where the bobbin sits, and the stopper prevents it from winding further when you’ve reached the right capacity.
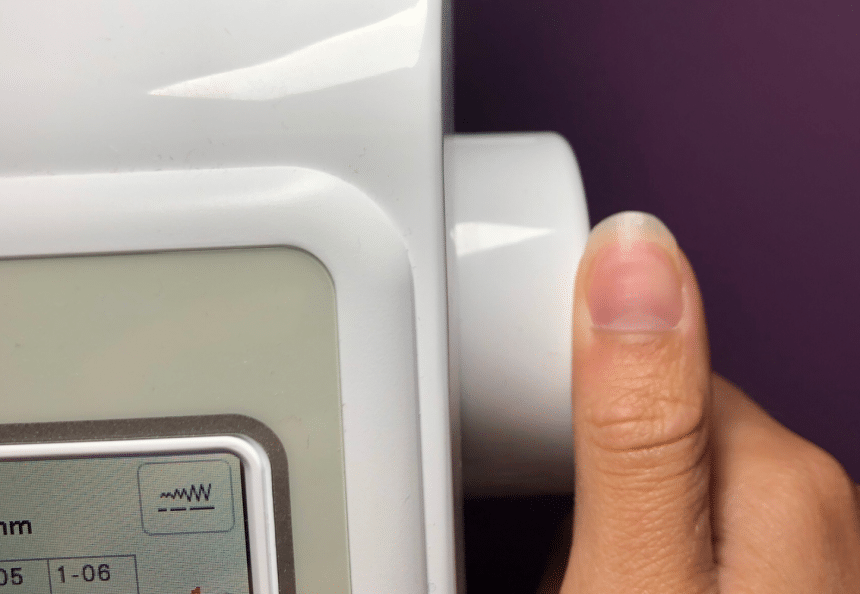 You can use the handwheel, on the right side of the machine, to raise and lower the needle. This is simple to operate and you simply crank right or left to tighten or loosen.
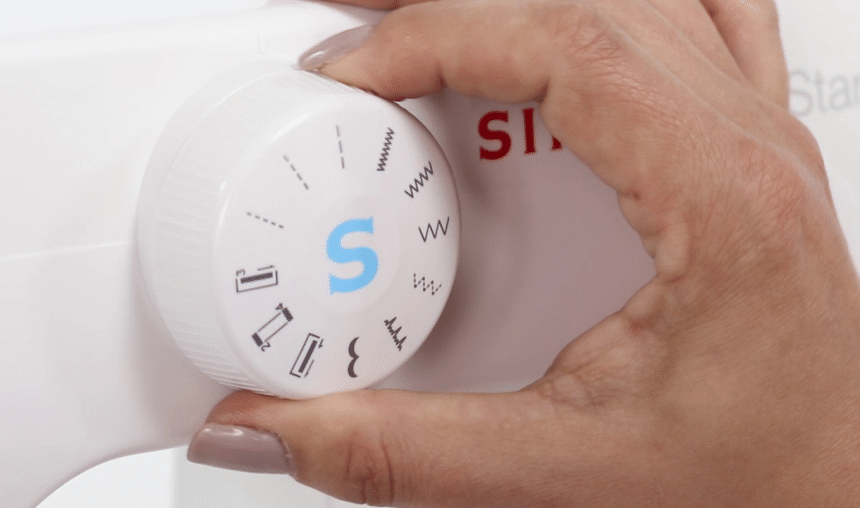 This is sometimes called the pattern selector. Stitches can be carried out in different patterns, and the selector dial is where you can choose which pattern you wish. Not all models have this, but models like the Brother CS700X have incredible numbers of patterns to choose from. This actually has 70 stitches.
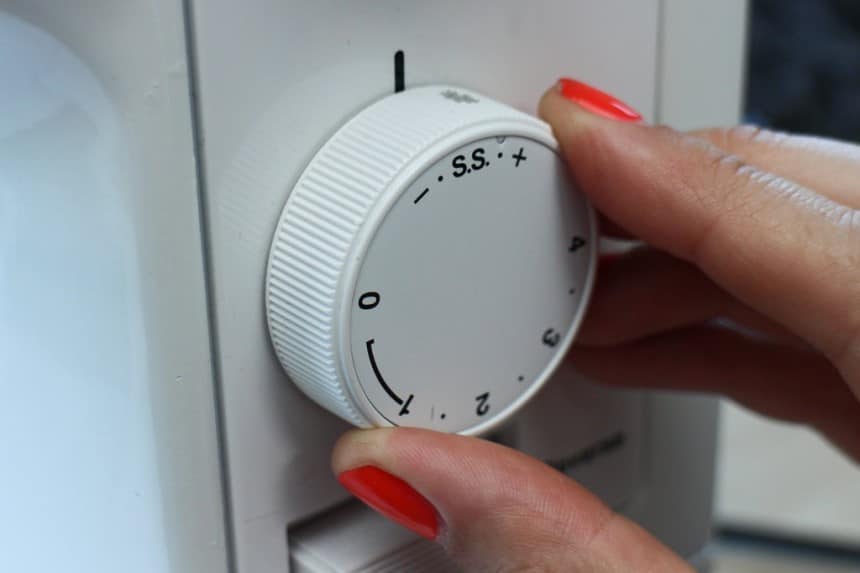 Another aspect of the stitch itself that can be controlled. You can choose between different lengths and widths to get the appropriate stitch type and style for your project. You might need something more heavy duty for projects involving materials like leather.
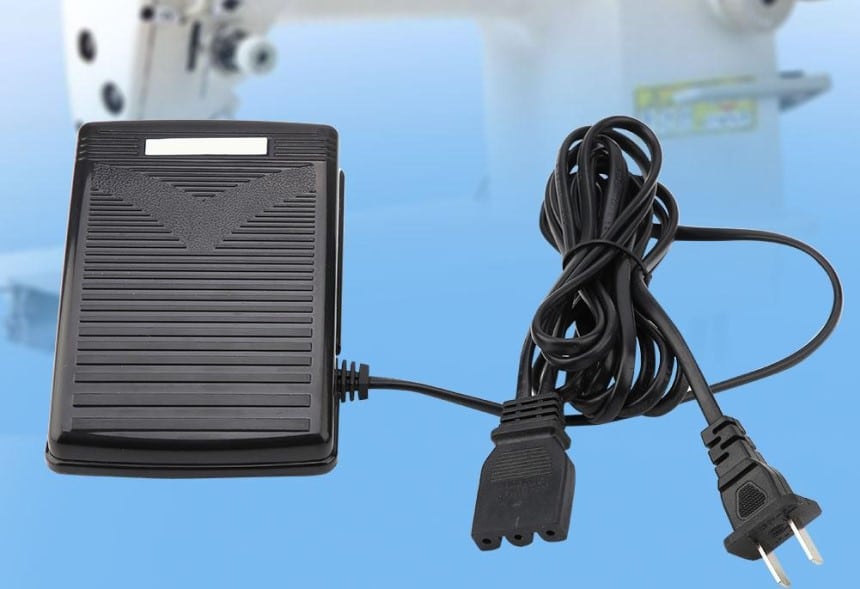 The speed of the stitches is normally controlled by using a pedal. You can choose how quickly to perform the stitches. Quicker stitches run the risk of errors.
 This is a dial that controls the tension of your thread. The right tension creates solid and uniform stitches but if it is too tight, the stitches can break. Set it loosely and the stitches won’t hold together your quilt or other sewing projects.
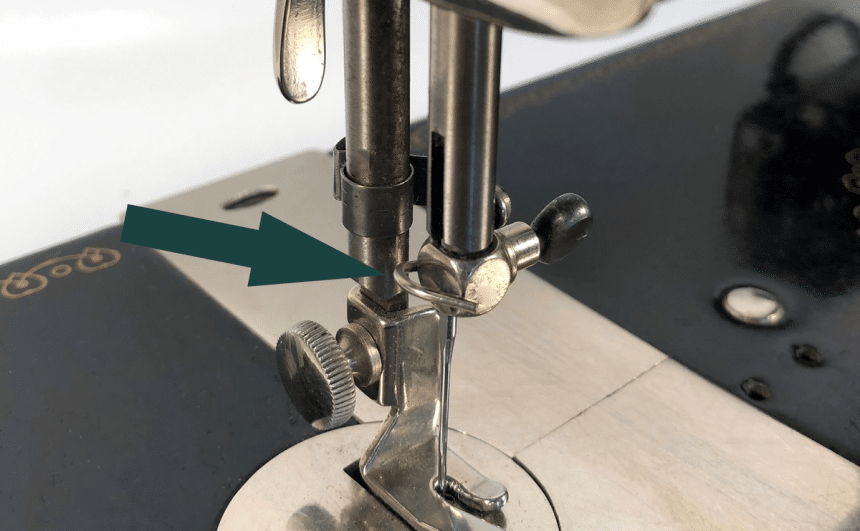 These simply further help to regulate the tension of the thread and get it right for every stitch.
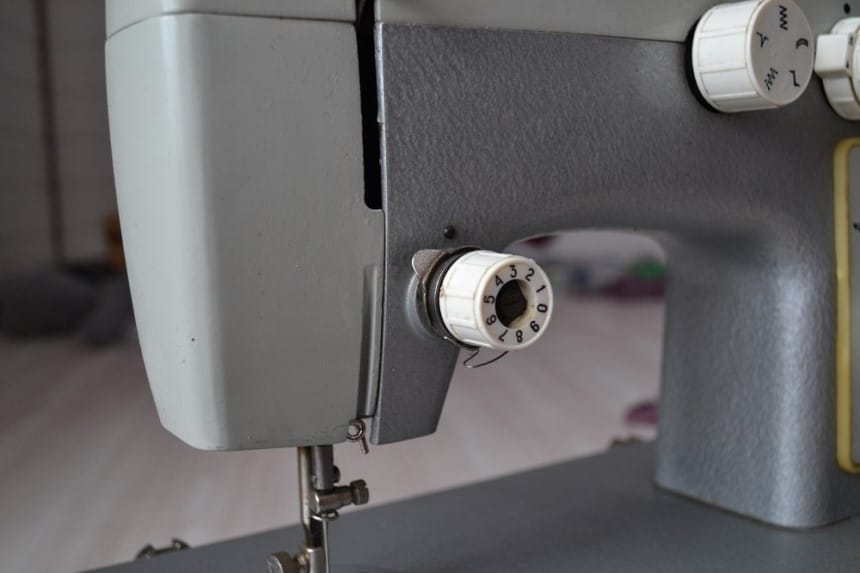 Usually, a dial to allow you to make changes to the tension yourself, and adjust to ensure that you are using the right level of tension for your project.
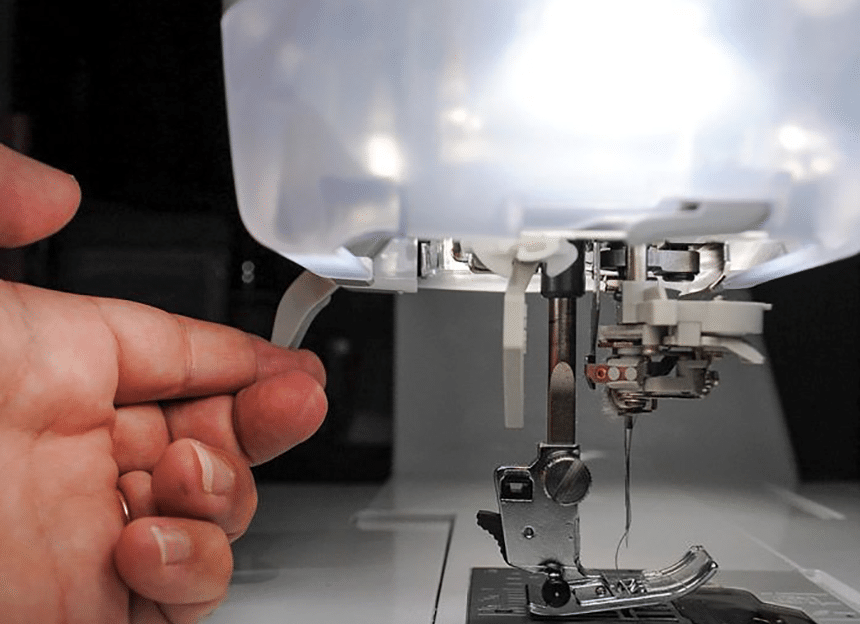 A removable foot to give more control and keep fabric in place. The sort of model you need for a quilt will be different to a zip, for instance.
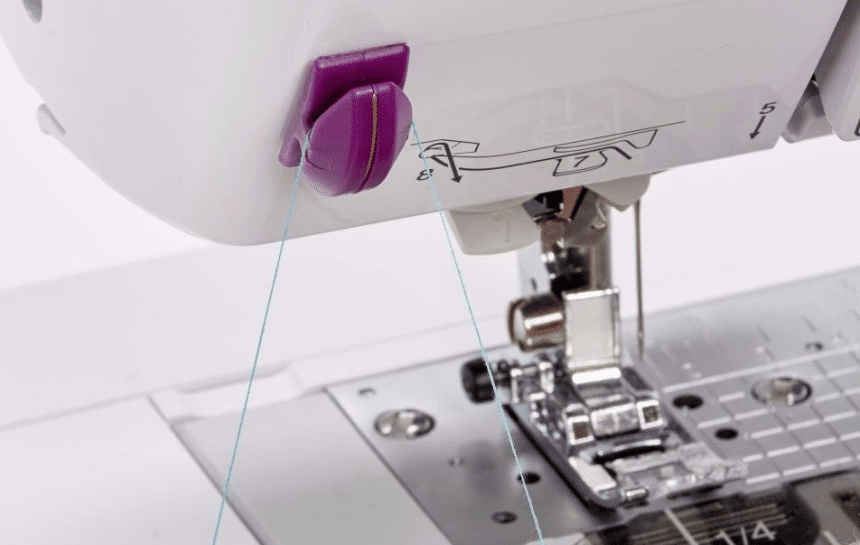 Allows you to cut the thread when you need to end the stitch.
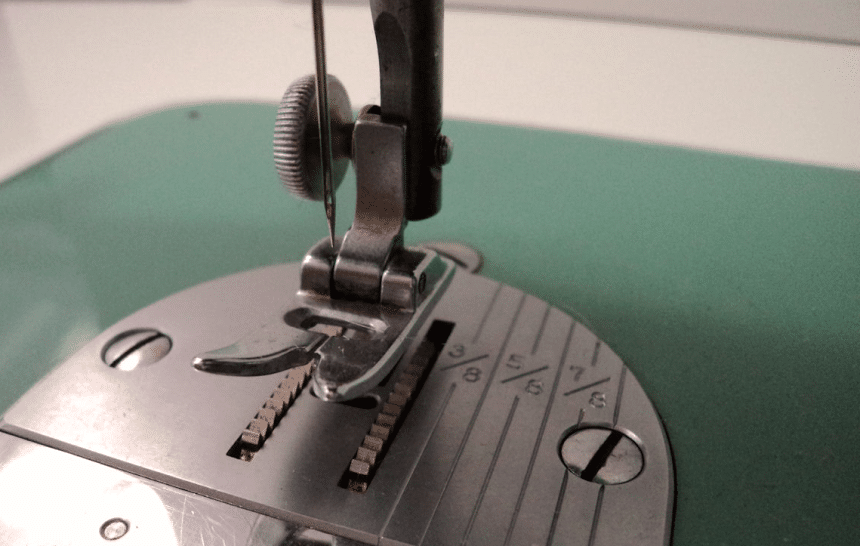 The metal plate under the needle that helps to gradually feed the fabric through as you need to.
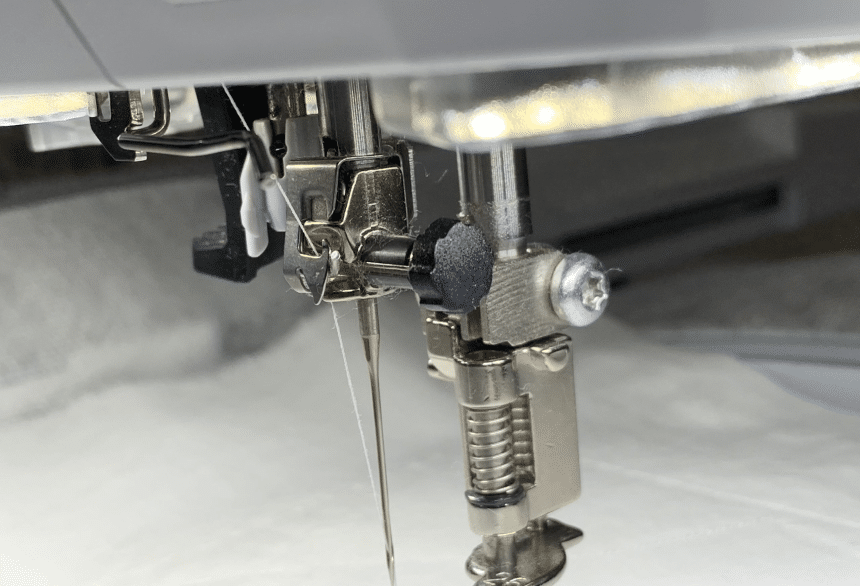 The clamp screw is simply the part of the sewing machine that holds the needle steadily in place, ready for its up and down motion.
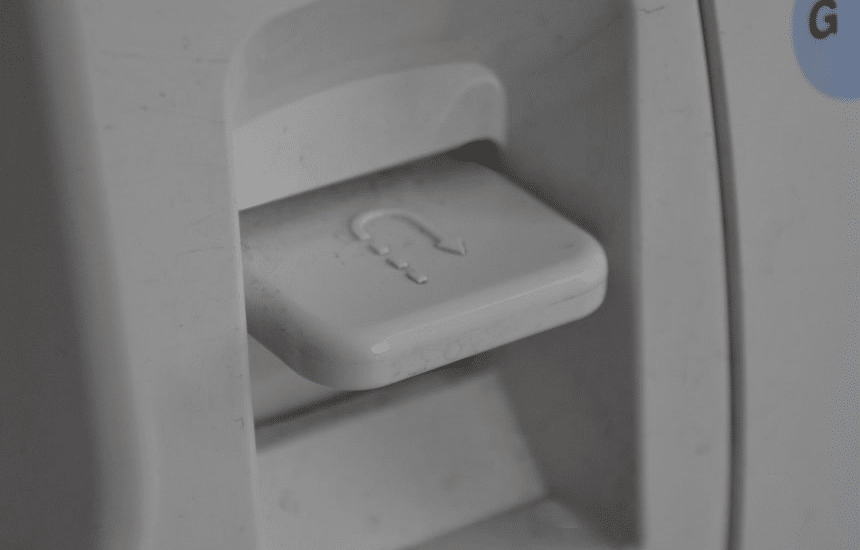 This allows you to put your machine into a backstitch mode. This is useful for creating the end of a stitch and securing the stitches in place.
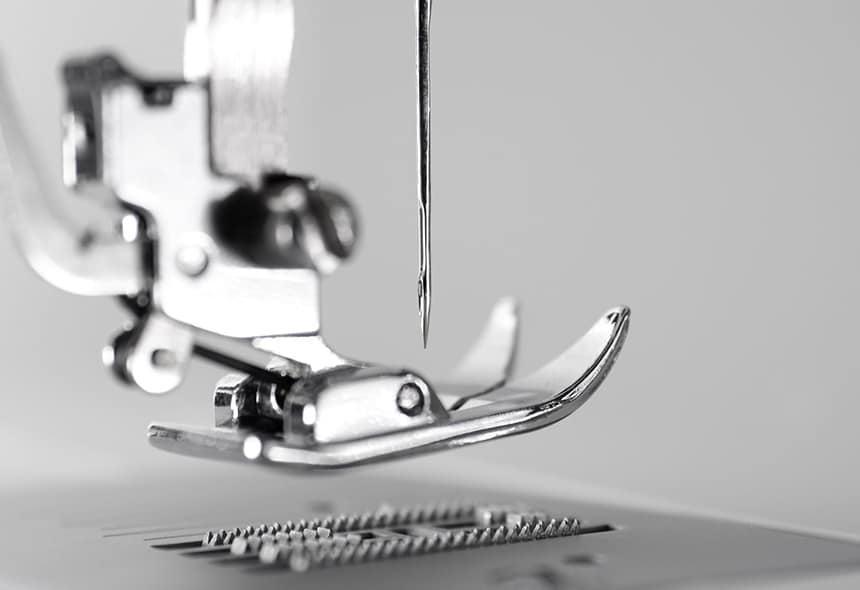 The feed dog is vital, it helps to pull the fabric forward and allow you to create a continuous stitch. The height of the feed dog plays a big part when using bigger fabric.
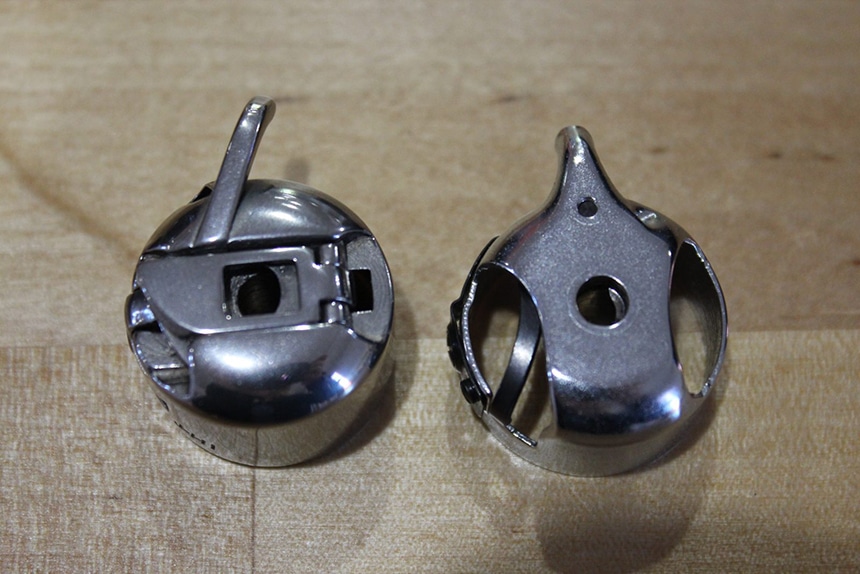 This is the area where the bobbin is situated.
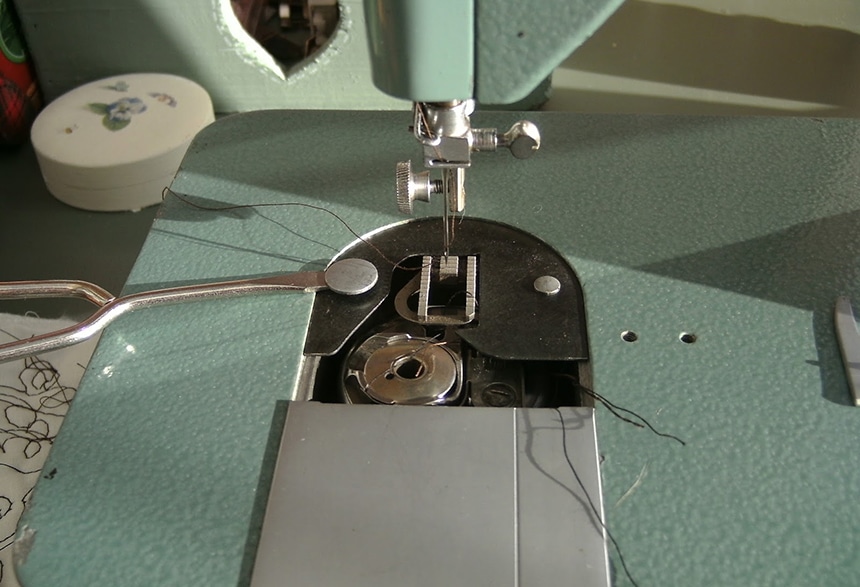 This is an optional extra hinged compartment for allowing access to the bobbin.
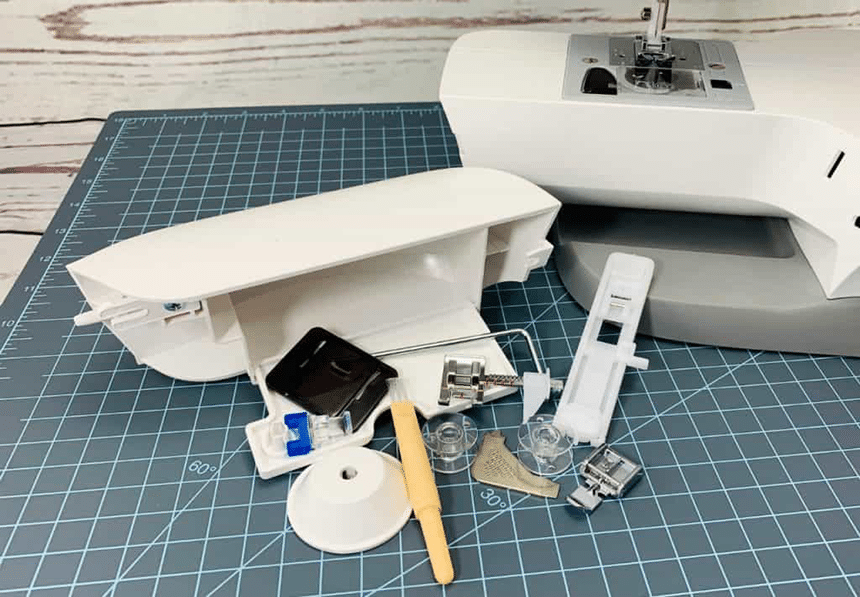 As you would expect, this is where the accessories are kept! It helps to have a neat area to store things, but most people are pretty good at keeping their sewing accessories pretty neat anyway.
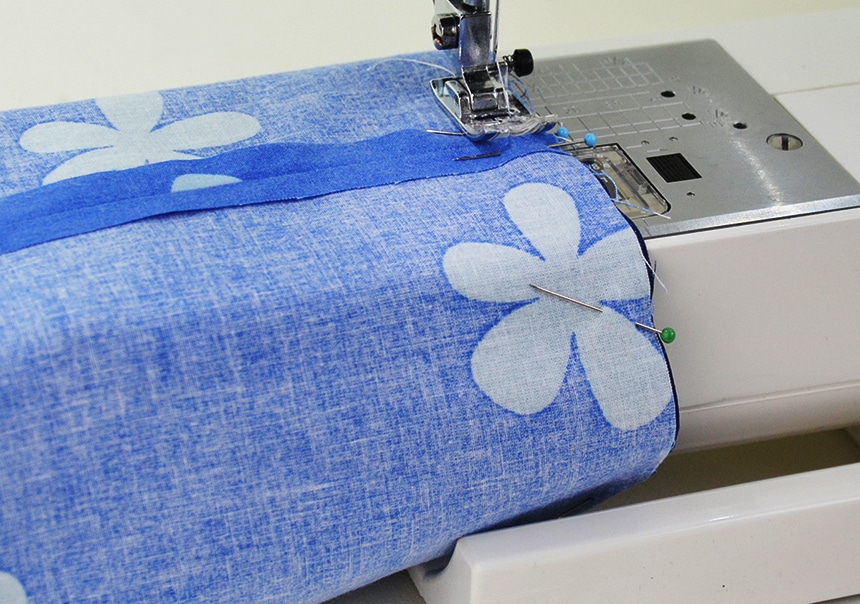 The area under the needle that holds parts together is known as the shuttle, and feed dog. The free arm machine gives a larger area for this to let you to move fabric around or “free arm” the design by creating less uniform angles and stitches.
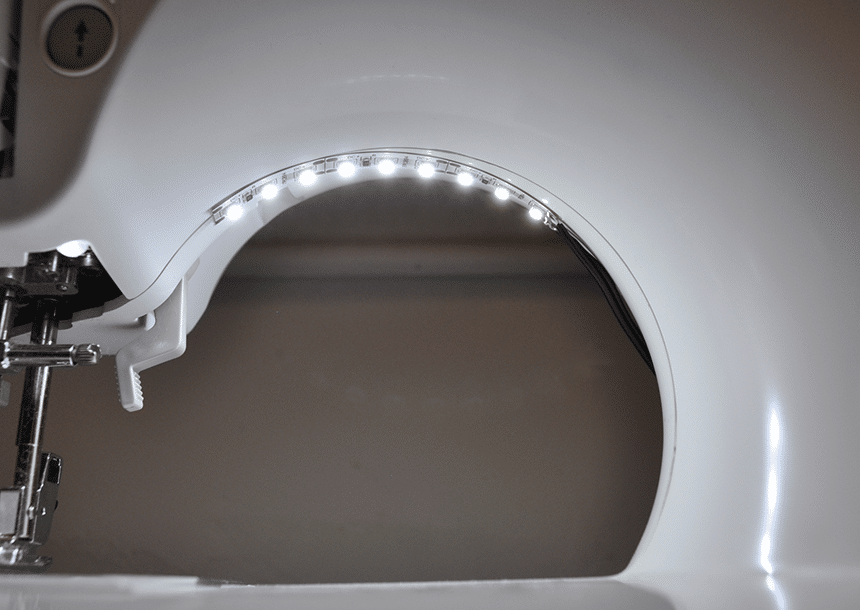 A simple light to help to illuminate the area in which you are working. This helps to prevent errors and makes your life a lot easier, especially when you are working with detailed projects. You should use a well-lit area anyway, but this extra light can help. It may also need to be replaced once in a while when the bulb goes.
These are the parts that you will only find if you have a computerized sewing machine. These aren’t just reserved for industrial sewing machines Trusted Source Sewing machine - Wikipedia There are mainly two types of sewing machines available: industrial and domestic. Industrial sewing machines are larger, faster, and more varied in their size, cost, appearance, and task. An industrial sewing machine can handle heavy-duty sewing jobs. en.wikipedia.org , and loads of people find that they can get a lot of use out of a computer interface to make their sewing process easier.
Computerized sewing machines often include a lot of extra features and functionality. For instance, you will find that a lot of quilters and embroiderers use these machines. As well as being able to stitch and sew, they can create more complex designs. On top of that, the computer interface may make them easier to use, especially for more tech-savvy people.
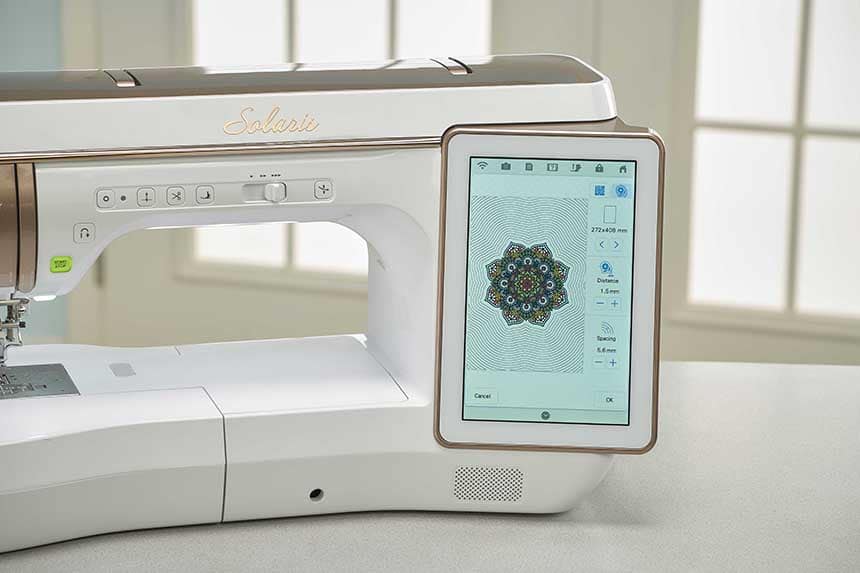 This is the screen that allows you to see all of the different controls and the aspects of your stitch. It acts a little bit like a tablet or a phone. Some are touch screen but others will require you to press buttons to control the different aspects. Always refer to your manual in order to understand the operation screen as they vary by brands.
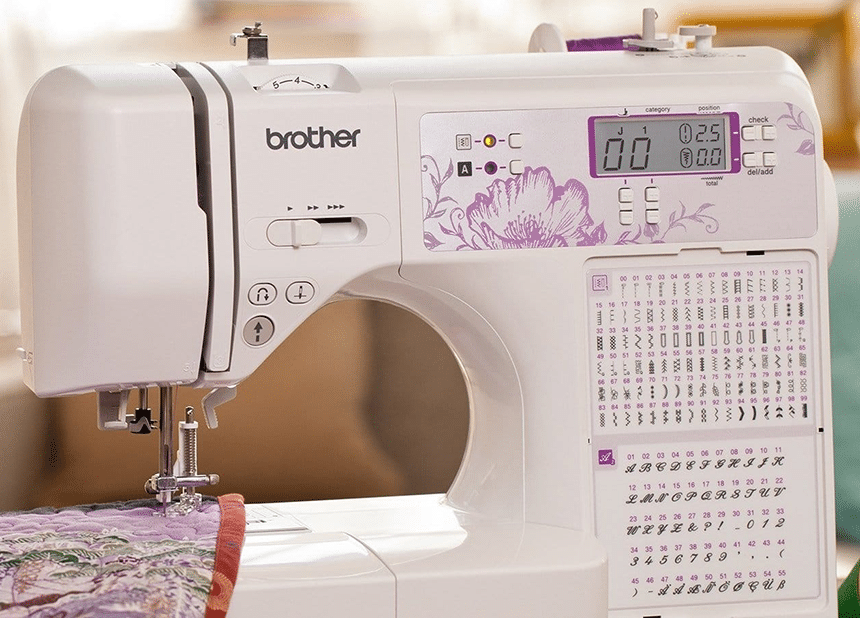 Instead of a selection wheel, you might have a more hi-tech panel where you can choose the type of stitch you wish to use.
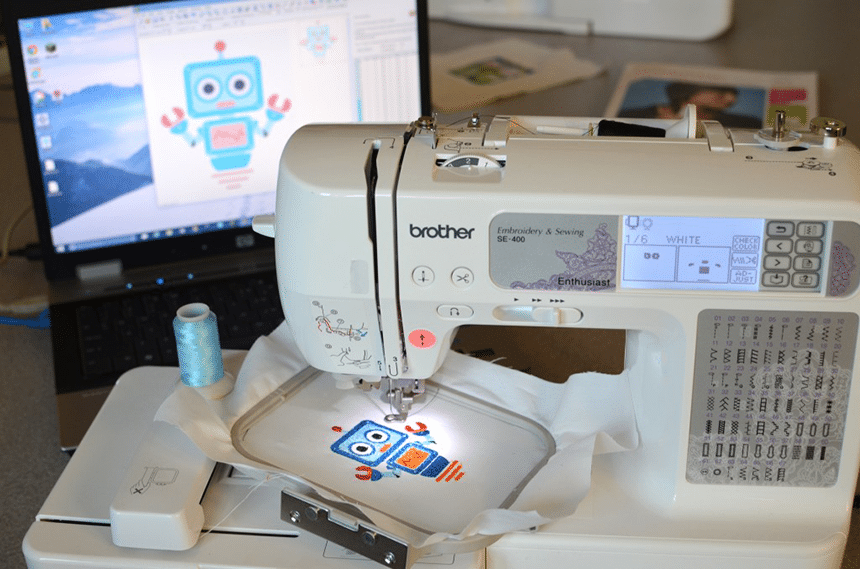 A lot of digital and computerized sewing machines actually come with an embroidery area and a hoop, this means that you can easily upload designs and create embroidered patches on your sewing machine. Although this is not necessarily a common part of a sewing machine, it can be useful for lovers of crafts.
Because an embroidery hoop is its own entity and the embroidery section will work differently to the sewing section, it may have a specific part of the machine that is dedicated to embroidering fabric, separate from the feed dog and the rest of the sewing machine.
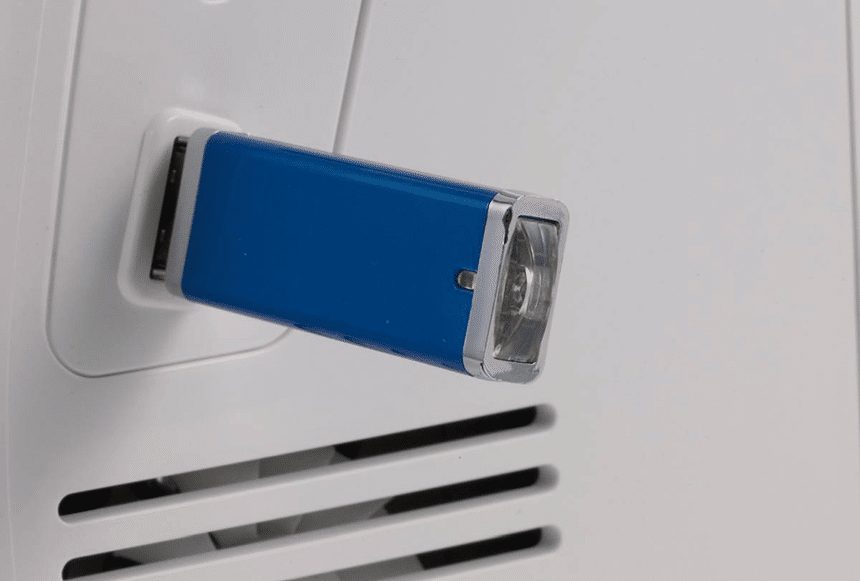 We live in an age of technology. The USB port is especially useful when it comes to embroidery patterns as it lets you import a lot of different designs that can be used with your machine. Some of these sewing and embroidery machines are very smart and enable you to upload images and turn them into simple designs.
To use the USB port, you can download patterns on your laptop, transfer them to a USB memory stick or pen drive and then upload via the USB port, which will recognize certain types of embroidery files.
Sewing machine designs are evolving and changing all the time, and the fact that we’re coming into a time where technology is taking over means that the high-tech functions like computerized sewing machines will probably continue to alter.
The mechanical parts of a sewing machine show no signs of being changed though. They’ve worked for decades, so why stop now? If you are taking up sewing or getting your first machine, and you’re worried you don’t know your feed dog from your bobbins then our guide will help you to fully understand all of the different parts, and what each one of them does.
Not only does this help you to become better at sewing, it is essential if you need to diagnose a problem and get something fixed.