

Anyone who has never sewn with a sewing machine will find it very complicated at first. But once you understand the basics, everything is much easier.
The basics of operation are the same no matter what brand or model your machine is. Our article shows you in principle the basics, how to set up, and how to use a sewing machine. However, you should learn how to use a sewing machine not only theoretically, but in the practical use of the machine. We will show you what you should pay attention to before starting and what to do if something goes wrong by the way.
In this section, we want to teach you the basics of a sewing machine – from clamping the thread to making your first stitch.
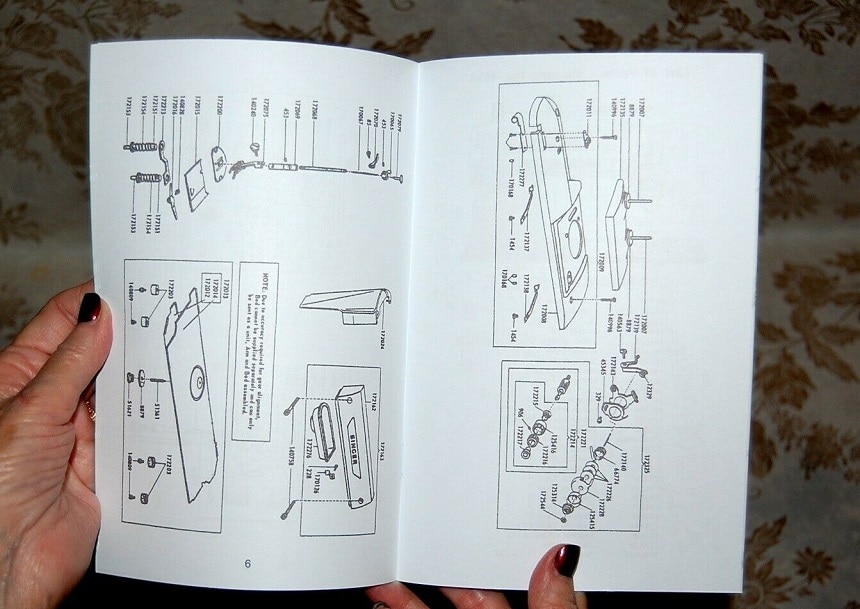
The manual of your sewing machine should be your go-to when you have questions regarding its operation. The manual of your sewing machine, usually available in printed form and/or video form, tells rookie users how to set his place up for the machine, how to operate it, and how to keep it maintained.
Here’s an overview of the most important parts of the sewing machine:
These are the basic parts that you need to know to operate. It is important to know that the sewing machine always works with two threads: the thread and a bobbin thread.
We already mentioned the basic parts of a sewing machine. But how does a sewing machine combine all these to be able to help you get the finished fabric or seams? Here are the functions of the basic parts of a sewing machine.
Power switch: It might sound ridiculous, but finding the power button is the most important step in using the machine. You can find it on the right side of most models.
Spool pin: This is a small plastic or metal stick that you can put the spool of thread on.
Thread guide: Along this guide, you have to tension the thread from the spool pin to the needle or to wind bobbins from the spool pin to the bobbin winder.
The winder: On the top right of the machine is another smaller spool pin next to a small horizontal wheel. You can wind bobbins here.
Stitch settings: Depending on the model, you will find the adjustment levers or wheels in different places. You will usually find a device on the right side of the machine to set the stitch length and stitch type. Newer models are provided with a screen and buttons. Refer to the instruction manual to find out what each button is for.
Thread dispenser: When you are ready to thread the machine, you need to know where the take-up device is and how the thread guide runs. The thread is stretched from the thread reel via a thread guide on the sewing machine and the thread dispenser to the needle. The thread take-up device is located on the front left of the machine. You can bring it up with the handwheel so that you can thread the thread without any problems. The thread guide is indicated by arrows and numbers.
Tension dial: You can use a small numbered wheel you can use to adjust the thread tension. If there is too much tension on the thread, the needle will be pulled to the right; if the tension is too low, the thread will not form a nice seam.
Thumb screw: There is a small screw behind the needle that you can turn to tighten or loosen the needle if you want to replace it, for example.
Presser foot: Under the clamping screw, you will find a split disc that looks like small skis. With the help of a lever, the pane can be raised and lowered. If it is lowered, it ensures that the fabric is held firmly and does not slip while you are sewing.
Presser foot lever: To the right of or behind the needle, you will find a small lever with which you can raise and lower the presser foot.
Stitch plate: This is a silver plate that you can find under the needle.
Feed dog: This feed dog is a small silver metal element that ensures that the fabric is fed while sewing. Under the presser foot, you should find two parallel tracks.
Bobbin case: The bobbin is a small roll of thread, also called a bobbin thread. The bobbin is placed in a bobbin case and this is inserted under the metal plate.
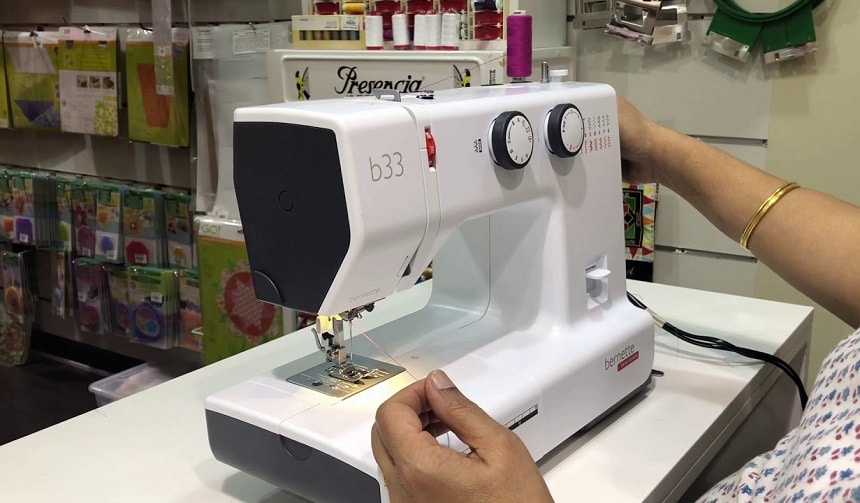
Before you can start sewing, your sewing machine must be properly set up. To do this, you need to place it on a stable surface, connect it to the power supply, insert the foot pedal into the sewing machine, and switch it on. There is usually an on/off switch on the right side of the machine. Then the light on the sewing machine should go on. The machine is now ready for use. Below are the complete step-by-step instructions.
Perhaps you’ve just bought a sewing machine and you’re looking to have it set up for the first time, then the first step is to prepare a place for it. Asides from considering the dimensions of the machine while planning the space, ensure you leave additional space which lets you move around or have a less cluttered work area.
Place the sewing machine on a sturdy table or other stable, solid surface. Sit on a chair that is a comfortable seat height for the table. Position the machine so the needle is on your left and the machine’s needle body is on your right. In the beginning, you will only learn a few basics. You do not have to connect the machine to the mains yet.
Needles have a flat side so they only fit in one direction. The needle must be guided into the shaft so that the eyelet for the thread points forward, i.e., towards you. Insert the needle, then secure it to the presser foot with the thumbscrew. If your machine already has a needle, make sure it’s straight, pointed, and firm.
A sewing machine needs two different thread sources, an upper thread and a bobbin thread that is wound onto a bobbin. To wind a bobbin, you need to put the bobbin on the winder. Press the bobbin winder on the small wheel next to it and turn it on with the foot control.
When you’ve wound the bobbin, you can put it back in the bobbin case. Let the end of the thread hang out so that it can be picked up by the needle.
Now you have to thread the thread. On most new sewing machines, it is common for the threading process to be numbered on the outer casing. So here you can guide yourself by the numbers on your machine.
In general, four steps can be mentioned when threading the sewing machine:
You can also follow the instructions that are described and numbered on your machine.
The thread can be threaded through the eye from the left, right, or front to back. If the thread has already been threaded, you will be shown the direction; if not, the last clue before the eye of the needle shows you the direction to be threaded.
However, the best way to learn how to thread it is if you have seen it done several times or if you have done it yourself. The threading process may vary depending on the model. Follow the instructions in the manual to learn how to use a needle threader on a sewing machine.
Carefully use scissors to go through the gap between the presser foot and the machine to pull up both threads. You should now have both ends in your hand, that of the upper thread and that of the bobbin thread.
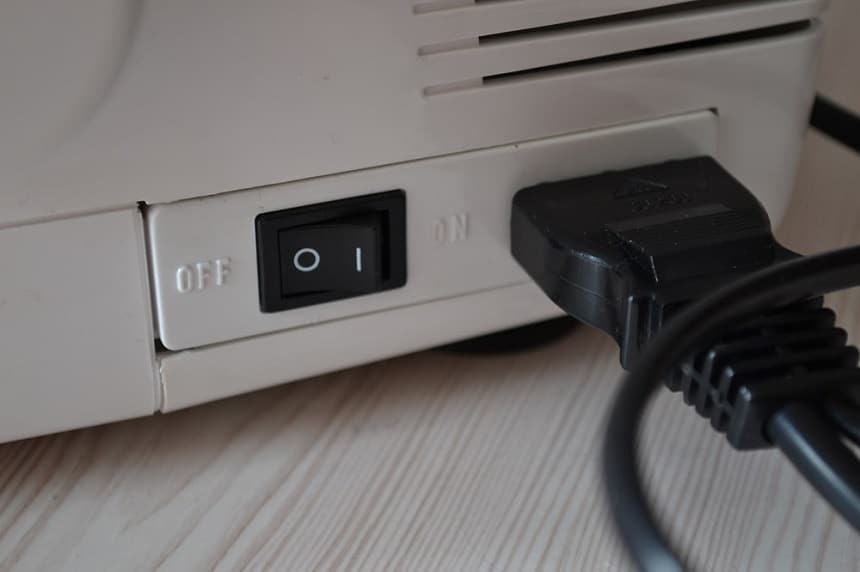
Now is time to switch on the machine. Plug it into the power supply and turn it on. Most sewing machines have a built-in light that often shows you whether the machine is connected to the power or not. The on/off switch is usually located on the back or the right side of the machine. Some machines do not have a switch but are switched on automatically as soon as they are connected to power.
Plug in the foot pedal and place it comfortably under your feet.
Now, you’ve bought your sewing machine and had it set up. Now is time to start sewing. You can follow the procedure below to start sewing.
Which stitch types are there and which stitch is the right one? On most modern sewing machines, the stitch types can be changed by pressing a button or a controller on the machine’s body. The width and stitch length can also be adjusted. Depending on the sewing work, a different type of stitch is then available.
The stitch types can be divided into the “classic stitch types” and the “decorative stitches”. We have put together the most common stitch types for you.
| Stitch type | Function |
| Straight stitch | Sewing fabric together. |
| Triple generation | Reinforced shape of the straight stitch, extra strong and durable seam. |
| Basting stitch | Sewing together loosely, overcasting edges, reinforcing seams |
| Caterpillar stitch | Hole embroidery, plugging of cracks |
| Three-step zigzag stitch | Put on patches, sew on elastic bands |
| Zigzag table | Elastic seams, fastening of lace inserts |
| Triple zigzag stitch | Decorative stitching (for finishing hems) |
| Stitch type | Function |
| Car stitch | Decorative stitch on elastic hems |
| Blind stitch | Zigzag stitch for hems and fabric edges |
You can refer to the operating instructions for your machine if you don’t know where and how to set your stitches. On this machine, the stitches are selected by turning the lower handwheel on the right side of the machine. The needle should always be up when the stitch is chosen as it may be moved.
A straight stitch is used for most seams. Another popular stitch, as you can find on the table above, is the zigzag. This is mostly used to protect corners from fraying.
After the sewing machine has been set up, the first sewing attempts can follow. But before you start the actual sewing project, you should first practice a little on a piece of leftover material. Take a piece of fabric that is as thin as possible and place it under the so-called presser foot. When you sew, the fabric should be on your wrong side.
First, get to know the sewing machine and test the functions on a piece of leftover material.
Now the presser foot is lowered onto the fabric, a lever behind the presser foot must be operated for this. Holding the loose ends of the threads, lightly step on the foot controller and begin sewing. After a few stitches, you can let go of the thread ends and hold the fabric in place with both hands.
Now, after testing yourself with some scrap materials, you can introduce the real fabric. You can place the fabric under the presser foot. The fabric should be on your left when you sew. Keeping the fabric on the right side can cause messy seams.
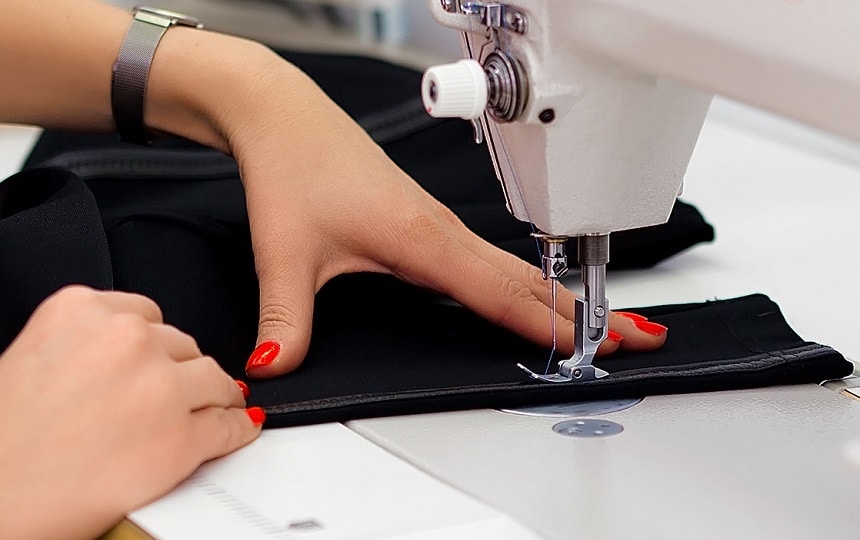
Bring down the presser foot. To do this, you have to use the lever behind the presser foot. If you gently pull on your fabric while the presser foot is down, you will find that it is being held firmly by your machine. As you sew, the fabric feeds through the feeder at the right speed. So you don’t have to pull the fabric through the machine; pulling can even damage the fabric or the needle. You can change the stitch length on the machine.
For your first few stitches, you will need to hold the ends of the threads to prevent them from running backwards. After a few stitches, you can let go and use both hands to hold the fabric in place.
With the foot pedal (on the floor), you control the speed at which the sewing needle moves. The more pressure you put on the pedal, the faster the needle will move. At the beginning, you should work with a slower sewing speed so that the seam stays as straight as possible. The sewing machine needle is manually moved up and down with the handwheel. In this way, you ensure precise and controlled needle guidance.
Your sewing machine can have a knee clamp instead of a foot pedal. If so, use your knee and push it to the right.
You may use the top handwheel on the right to move the machine’s needle by hand or to sew by hand.
The sewing machine will automatically move the fabric away from you. You can sew straight or curved by moving the fabric with your hand. Try a test fabric.
Do not pull the material while it is under the needle. The needle may break or the fabric may be stretched. If you feel that you are sewing too slowly, press down harder on the foot pedal or change the stitch length. Or if necessary, buy a new, faster machine.
To finish the seam, you have to use the reverse lever or button. It reverses the direction of the fabric slide so that it sews in the opposite direction. This button or lever usually has to be held as long as it is needed.
At the end of a seam, a few stitches are sewn backwards to secure the stitch.
Next, raise the presser foot. You should now be able to take the fabric out easily. When the thread pulls the fabric back, you should check the position of the needle again.
Most machines have a built-in device that allows you to cut the thread. If you don’t have this, you can cut it off with scissors. Leave a fair amount of thread hanging from the machine for the next seam.
[vc_tta_accordion][vc_tta_section title=”How do I sew sharp corners?” tab_id=”1605167908829-e8dc39a6-670c”]Some sewing machines have practical cross lines on their needle plate – if not, you can, for example, stick adhesive tape at the appropriate distance from the needle (e.g. 1 cm) as a marker. So you have the exact place to which you have to sew. To hit the corner point exactly, you can reduce the stitch length for the last stitch. Sew this stitch very slowly and stop when the needle is sunk in the fabric. Then the sewing foot is raised, the fabric is turned 90 °, the sewing foot is lowered again and the seam is sewn again. After the corner seam has been sewn, you should reinforce it with an additional short seam with small stitches (2mm). The seam allowance is cut off or cut inwards at one corner. Be careful not to cut into the seam. You can use small scissors, a wooden stick, or a small knitting needle to push out the corner cleanly.[/vc_tta_section][vc_tta_section title=”How to use a serger sewing machine?” tab_id=”1605167908891-cbeda7e2-51ed”]To use a serger, insert the needles, thread the machine, adjust the length of the stitch, adjust the differential drag, and make sure the blades are in place. Place the fabric under the presser foot and lower the foot to hold the fabric in place. Put your foot on the pedal to start sewing with your serger. If your serger is threaded and you want to change the thread color, use the easy lashing method. Cut the old thread near the cone and tie the new color with a common knot. Then just keep sewing until the new color works its way through all the guides and needles, which are large enough to allow the knot to go through smoothly.[/vc_tta_section][vc_tta_section title=”How to use a hemming foot on a sewing machine?” tab_id=”1605168016765-b0c0eefc-6225″]Install the foot, pull the needle thread, and the thread of bobbin back and place the fabric under the foot on the place upside down to you: start sewing a few cm straight stitch. If you want to backstitch to secure the seam, it’s now or never!
Take the fabric you want to hem and make the 1st fold a few mm wide (the width of your rolled hem foot is ideal) over a length of 2 or 2.5 inches of your fabric. Fold a second time again over a few mm wide and crush with your fingernail.[/vc_tta_section][vc_tta_section title=”How to use a double needle on a sewing machine?” tab_id=”1605168059935-f4ead02a-6f54″]The twin needle is installed in the same way as a normal needle, with the flat part of the heel facing the machine. Install two spools of thread on the spool holder(s). If you do not have two spools of the same color, fill a bobbin with the same thread and overlap it on the first spool.[/vc_tta_section][/vc_tta_accordion]
Learning how to use a sewing machine can be frustrating at first. That’s why you should take your time and familiarize yourself with your sewing machine first. When sewing, always make sure that the thread is threaded correctly and that the appropriate sewing machine needle is inserted.
Find simple sewing projects to start with and with a little more practice you will get into the routine and your sewing skills will improve quickly.