
It can be a nightmare to sew on a patch on your coat, shirt, or denim if you have no clue how to do it. Yes, some people prefer to use glue to stick patches while others go for badge magic. Well, it is important to clarify here and now, the most effective way to attach a patch, whether permanently or temporarily, is to use a needle to sew it on. When a patch is sewed on, it can’t accidentally fall off or be washed off during laundry. Whether you are looking to attach a patch to make your clad look cool or it might be a requirement at work, or you want to cover a hole, sewing gives you the right solution you need. Let us look at how to sew a patch by hand on different types of fabrics and clothes.

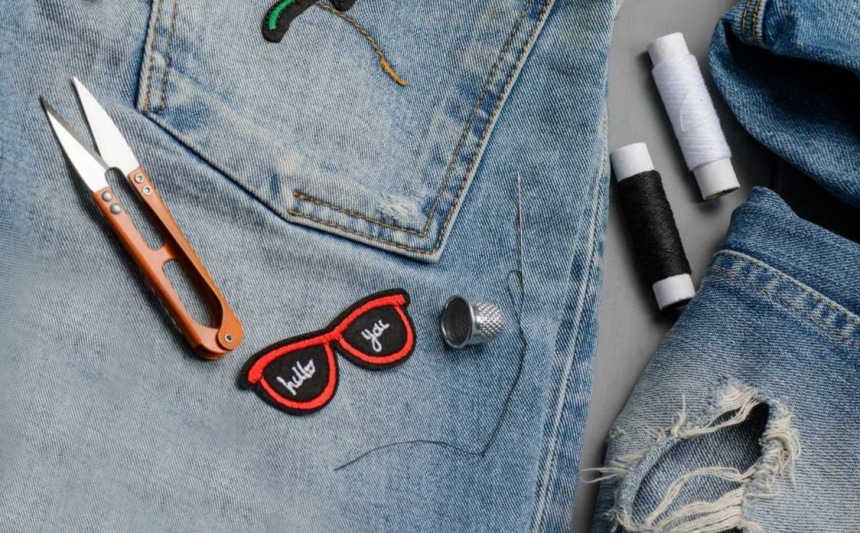
Sewing a patch by hand or machine requires that you prepare the piece of cloth adequately as well as have the right tools with you. When you want to attach a patch to your uniform or some other attire, you need the following:
It could be your favorite pair of jeans that have been torn by some barbed wire, or a flare of charcoal has poked a hole in your leather jacket. We are ever in need of patches, and unless you have an idea and skill to deal with a torn piece of cloth or a patch, you will have a tough time when it comes to patching. There is no need to throw away your favorite denim shirt of coat. We are going to explore the different ways to sew a patch on a uniform, backpack, hat, or shirt by hand. We are also going to look at how to sew on a patch with a sewing machine.
You should start by picking the thread that you wish to use. Pick a thread of the same color as your denim or a darker color. Lay the jacket on a flat place, and identify the place you want to put the patch. You can then use safety pins to secure the patch.
Cut the thread you will use. The thread should be no more than 18″ if you are learning how to sew a patch on jeans. Double the thread and make a double knot at the ends of the thread.
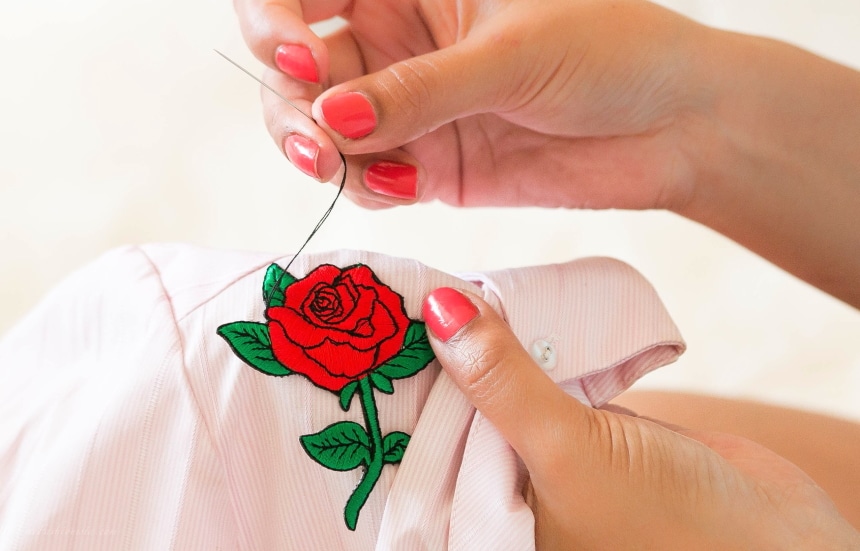
Start sewing the patch from the wrong side of the jacket so that the knot remains hidden. Use a straight stitch hand keeps to the edge of the patch. Keep the stitch as close as possible. Remember to tie a knot at the end and cut the excess string with a pair of scissors.

After going through the basic moves of washing and ironing the shirt, it is now time to pick the right thread and starting the task of sewing it on. Like is the case with jeans, you should fix the patch with safety pins first so as to help you put it at the right spot.
With the patches for a shirt, the color of the thread is very important. You may also want to use a machine as a shirt needs to be neater. With the machine sewing, you will need to use some adhesive instead of pins to first secure the patch. Set the machine to sew at low speed and with straight stitches.
Many of the jackets today are made of heavy material, and this means that you should use a strong needle and probably a thimble if you’ll be sewing the patch by hand. Sewing a patch on a jacket shouldn’t be hard except if it’s on the sleeve, in which case we have covered it below. But you must still go by the basic patching rules of thread color and washing the jacket first to avoid shrinking.
Sewing a patch on a sleeve might seem hard, but with the proper tools, it is quite easy. On a pressed sleeve, place the patch on the exact location you want it to go. You can use a single pin at the center of the patch. This way, there won’t any need to remove the pin when sewing. Since many of the sleeve patches are for uniforms, it is best to sew using a machine. Start with the top and ensure that the sleeve is flat on the table while sewing.
Patching up a uniform should be done according to the set standards. You don’t want to put the flag or company logo facing the opposite direction or upside down. Ask your superiors where exactly the patch should be put on the uniform. Since most of the uniforms require a patch to be on the breast area or on the sleeve, it will be easy to sew them on.
Sewing a patch on a leather jacket requires some extra care. Use adhesive tape to attach the patch on the area you want to sew it on. If your jacket has a lining, you will need to unstitch a gap in the jacket’s lining. The hole should be big enough to allow your hand to get through. Use a 100% nylon or polyester thread to sew the patch. If using a machine, pick an 18-gauge needle and a wide stitch.

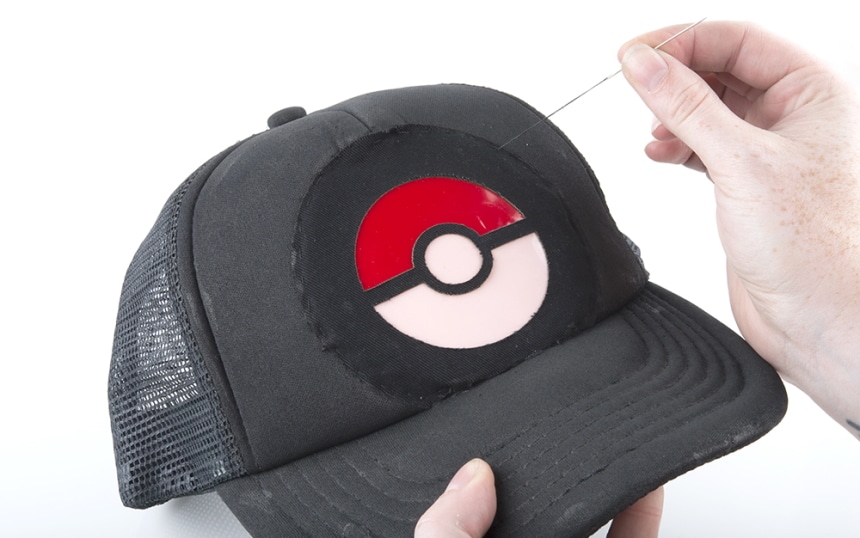
When it comes to sewing a patch on a hat, ensure the thread is the same as that on the hat. It should also be thin and similar to that used on wallets. You need to use adhesive tape to pin the patch to the hat. When sewing, turn the hat and make the front be flat and facing up. If you have a cylinder arm machine, this would be mighty easy. It is best to use a backstitch.
In some cases, it is easier to sew a patch on a backpack by hand because of the tricky location you might want the patch. With hand sewing, you will need to have a strong needle and a thread that is of the same color as the patch. To ensure that the patch is attached nice and strong, use the backstitch technique.
Sewing a patch on any of your clothes should no longer be a mystery. After learning of the basics, which apply to both the hand sewing and machine sewing, you will have an easy time mending and even tweaking your clothes. Whether it is a hat or a leather jacket that you wish to place a cool patch on, you now have the hands-on basics that you need to make the perfect professional patch.