

Leaving the hem of your dress undecorated may not be an option for you, especially if you are a fashion enthusiast. The hem of clothing plays a major role in the overall look of the finished product. With hem stitch Trusted Source Hemstitch - Wikipedia Hemstitch or hem-stitch is a decorative drawn thread work or openwork hand-sewing technique for embellishing the hem of clothing or household linens. Unlike an ordinary hem, hemstitching can employ embroidery thread in a contrasting color so as to be noticeable. en.wikipedia.org , you can tailor your dress’s finish to your taste. While you can decide to make the stitch decorative, you can also opt to make it almost invisible.
Although the process may appear tedious and time-consuming, the most beautiful hems are sewn by hands. With your hands, you can give your dress the perfect finish fit for any occasion.
Moreover, there are many ways to do a hem stitch. You can decide to choose based on your preference and needs. In this article, we will explain how to stitch hems and the instructions you must follow to achieve the desired results.
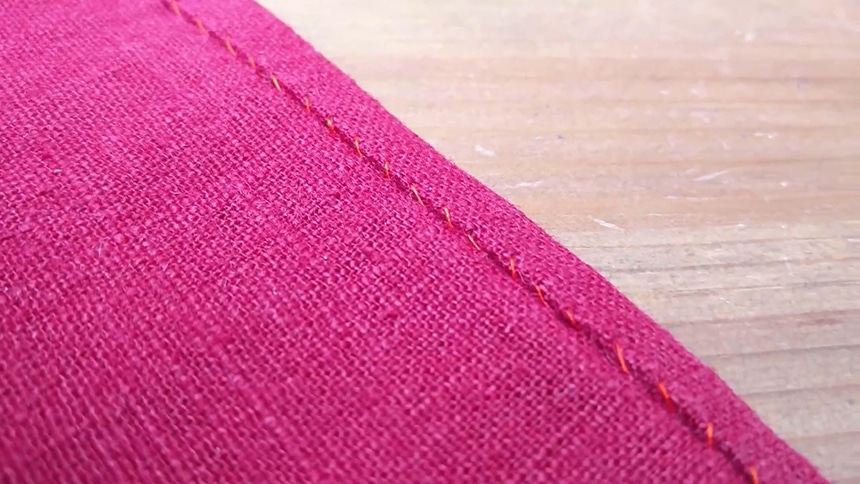
A hem stitch is an openwork or thread work hand-sewing technique for decorating the hem of clothing. In contrast to an ordinary hem, a hem stitch can use embroidery threads of different colors to make it noticeable. Also, it can be bundled in different decorative patterns.
Besides, a hem stitch can be done without using your hand. Thanks to the fast pace of technological advancements, there are hemstitching machines that can imitate hand hemstitching. They often feature a piercer that creates holes on the fabric and two different needles that sew the holes open. Some heavy-duty sewing machines also come with hemstitcher attachments.
According to most reviews, the Janome HD3000 Heavy-Duty Sewing Machine provides perfect help for hem stitches thanks to its 18 Built-in Stitches. This product also features a built-in needle threader, reverse stitch lever, and a one-step buttonhole to deliver excellent hem stitches.
Doing a hem stitch doesn’t involve only one way as you might have thought, it involves several ways. Below, we will explain six hem stitch options and help you learn everything you need to make the perfect hem stitch.
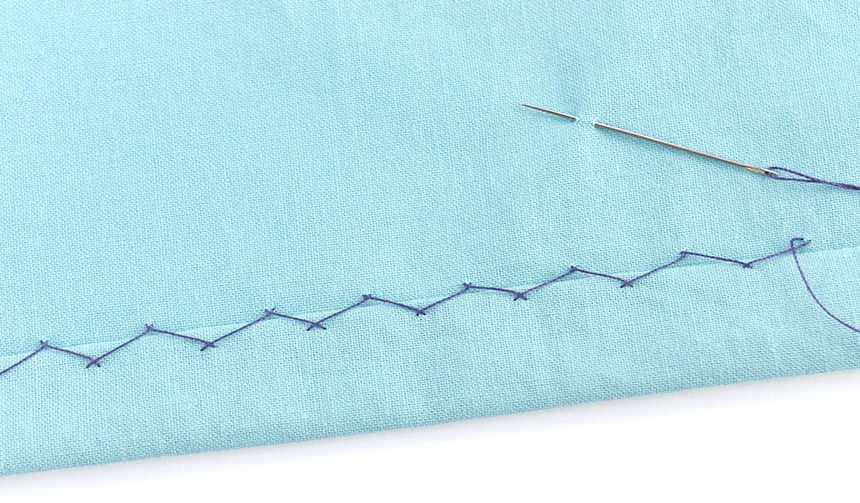
The catch hem stitch is often chosen for knits due to its good amount of stretch and elasticity. It is worked from left to right. This type of stitch requires you to put your thread in the hem’s fold and have your needle pointing to the left. Work just above the fabric’s hem and ensure that your stitch is very small. Also, move the thread and needle to the right and catch a small piece of the hem while the needle faces left.
You should use cotton that matches the fabric’s color if you don’t want the stitch to be visible.
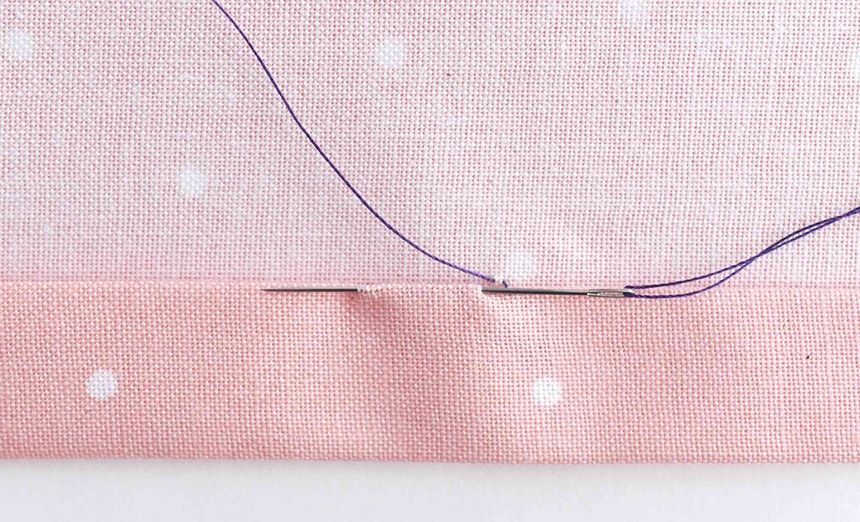
A blind hem stitch is often used to make a hem on pants. It’s a quite professional technique to employ. This stitch requires measuring and folding a double hem to suit the garment’s required length. Then take the folded hem and fold it back to the garment’s right side. Use your needle to catch a little piece of the fabric in the garment’s folded edge. Move the needle a little to the left and catch a small stitch in the garment’s hem. The threads will be hidden in the hem’s fold.
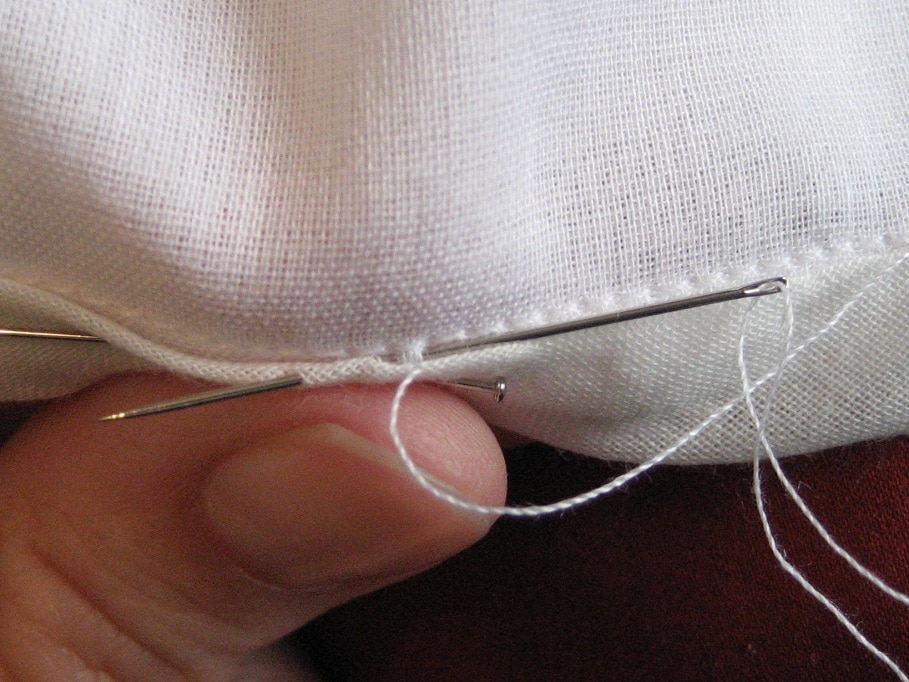
A slip hem stitch is a commonly used option because it looks good on both sides of the clothing. It demands having a double-fold hem prepared. You need to start stitching on the upper fold as you work from right to left. Insert your needle into the fabric and pull up the threads to ensure that the stitches are taut as you sew, not puckered.
Then insert the needle into the prepared fold and push the needle into the fold. Also, remove the needle to the side of the fabric under the hem’s fold. Continue like this for the length of the hem.
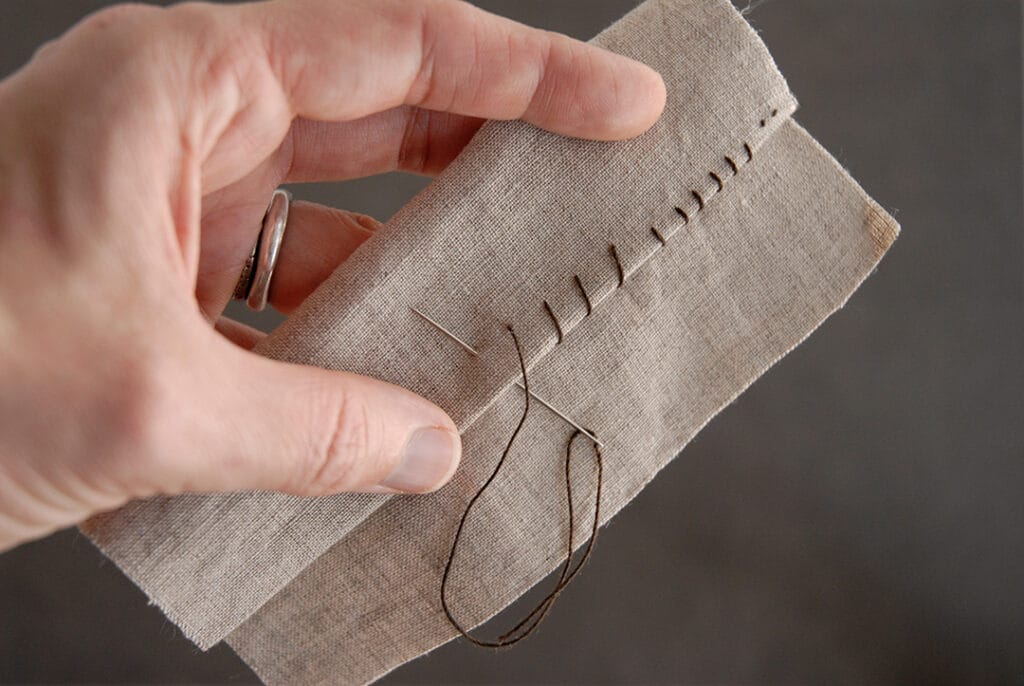
A felled hem stitch is visible on the outside of the garment. It requires anchoring the thread on the wrong side and working from right to left. Then make a stitch from the hem’s folded edge to run into the fabric and come out at the folded edge. After, some slightly slanted stitches form on the right side of the hem.
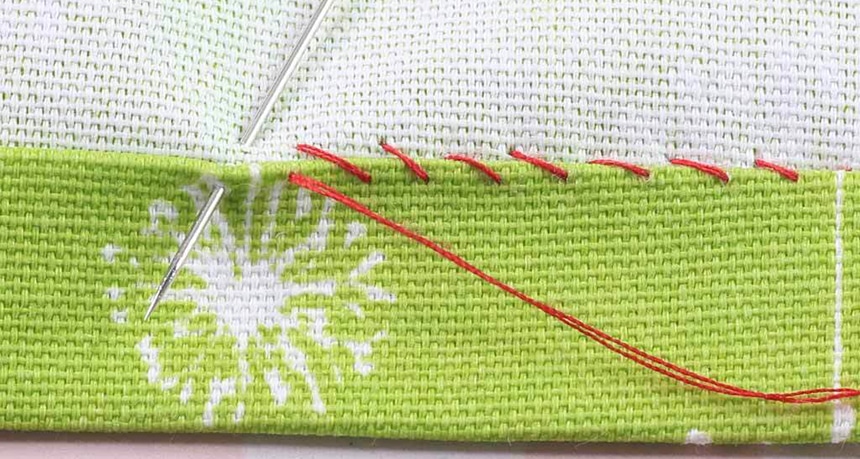
A whip hem stitch is often used for hems that require more control. The stitches are closer together because they are smaller. Before doing a whip hem stitch, you need to press over the hem twice. Then insert the needle into the fabric and remove it at an angle through the hem’s fold.
A hand-rolled hem stitch is ideal for finishing very lightweight fabrics. We advise that you use it with silks, cotton, and soft linens, it doesn’t work well with thicker fabrics. This stitch requires you to work the hem in small stages from right to left. You should start by doing a small slanted stitch into the garment just above its hem. Then slant the needle into the hem and catch another stitch in the hem.
Below are the tools and materials you need to make a hem stitch:
Below are a few important instructions to follow to get the perfect hem stitch:
The beauty of a garment is not complete without a befitting finishing. With the right stitch, the hem can enhance the beauty of clothing. We have explored how to do a hem stitch in different ways; from catch hem stitch to blind hem stitch to hand-rolled hem stitch. Although each of these processes is simple, you need to learn the right steps to achieve the right results. With the right hem stitch, you can give your garment a befitting ending.